Showing posts with label Jodi Baune. Show all posts

Saturday, January 25, 2014

Winter Birdhouse

3:30 AM 8 Comments

Jodi Baune is with us today filling in for Amy.  She has created this amazing card using the newly released Classic Birdhouse.  And what a wonderful spray of foliage she has created below it.  Such a frosty look to the card, perfect for the deep freeze this winter has become.  Be sure to visit Jodi's blog for all the details of how she made this card.  Thanks, Jodi, for helping us out.

 Cheery Lynn Designs dies used:

And don't forget to check out this week's Sweetheart's challenge.  Today is the last day to enter for a chance to win a $20 store credit to Cheery Lynn Designs. 

Friday, November 15, 2013

Fall Garden with Guest Designer Jodi Baune

3:30 AM 3 Comments
Hello, Jodi Baune here and today I am sharing another fall card I created featuring my dies from Cheery Lynn Designs


I began my card by cutting the background from pattern paper using the Scalloped Coved Rectangle Nesting die, and the coordinating Silver Coved Rectangle from white cardstock.  Next I inked the Woodgrain Embossing Plate  with distress ink....I just rubbed the inkpad directly onto the embossing plate.  I then embossed the cardstock as usual.  The ink was stamped into the impression as it embossed!  Cool huh!


The stem for my Sunflower came from the Expandable Tiny Borders plate.  I just trimmed it to the length I wanted! Don't you love the tag?!  I'm so happy the set comes in a variety of sizes so I can chose the one that best fits my need! The wreath was created from flowers in the BAF#2 and BAF#3 sets.  The little Mum was created using several layers from the tiniest Darling Daisy!  The little Pumpkins are my favorite of the fall dies!  I cut each pumpkin twice, then trimmed the outer edge away and adhered the smaller portion with foam adhesive to add dimension.    All the leaves and flourishes were cut from white cardstock and inked with Ranger distress ink. 

Cheery Lynn dies used:

Thanks for stopping by!


Thursday, September 12, 2013

Halloween Fun with Jodi Baune

3:30 AM 3 Comments
Jodi Baune is with us as a guest designer today.  We truly miss her fabulous layouts.  She has some fun Halloween inspiration for you today! 
 The leaves were cut from white cardstock with dies from Cheery Lynn Designs and colored with a variety of Ranger Distress Inks. 
 For a little extra zing, she cut the spider and bats from black glitter paper.
All papers are from the October Haunted House collection; 
Cheery Lynn Designs dies used:
Thanks for helping us out today, Jodi.  We love it when you come back to play.  And don't forget to check out this week's All About Texture challenge.  
 

Thursday, August 8, 2013

A Walk Down Memory Lane with Layouts

3:30 AM 4 Comments
 Today we wanted to take a walk down memory lane and highlight a few layouts that have really stood out to us from past design team members. 
 
Our first is from Debbie Sherman.  Here is the original post, CLICK HERE.  The color combination is just stunning and the doilies she used are just perfect.   


The second is from Sandy Hulsart that is just stunning, CLICK HERE to see the original post.  Granted the picture is just awesome but Sandy really knows how to highlight with the use of her dies.  The font is just beautiful, but I really think her flowers steal the show. 

 
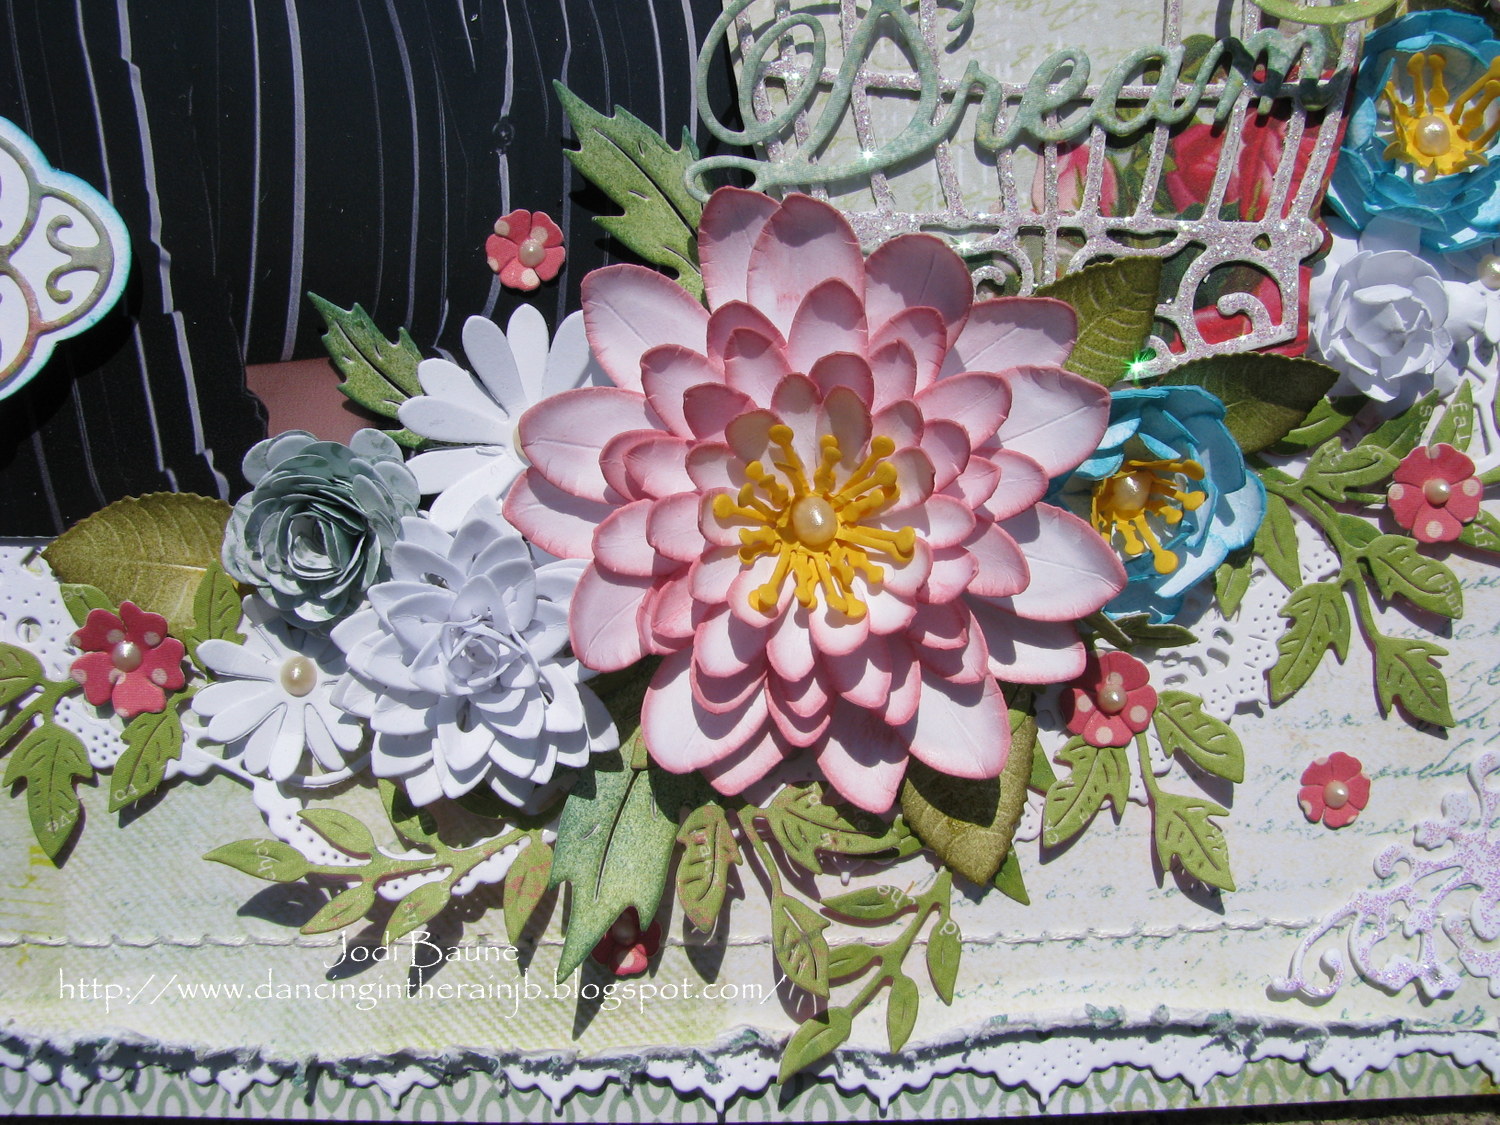
Lastly is Jodi Baune, who has got to be one of the best layout artist, adore her work.  This is a layout she did where it really captures her beautiful handmade flowers.  Check out more detailed pictures on the original post, CLICK HERE.  She truly is a master at clustering and placement of her dies and pictures. 


See you all tomorrow with a fresh new project from our current design team. 


Tuesday, July 23, 2013

A Card from Jodi Baune

3:30 AM 8 Comments


 We have missed Jodi Baune on our design team and are thrilled to be able to share a card from her today.  Jodi's flower arrangements on her projects are always breathtaking - and this is no exception.   Thank you so much Jodi, for letting us share your gorgeous creation!

Saturday, March 30, 2013

Flowers, 'n Doilies, 'n Butterflies! Oh my!

3:30 AM 10 Comments
It is with great sadness, that Jodi will be leaving this week.  We are hoping to convince her to come back to us in the Fall.  Please leave her some love, letting her know how much you have enjoyed her creations.

Hello! Today’s layout features a few of the stunning doily dies from Cheery Lynn Designs, and well as an assortment of their flower dies. 


Such a sweet array of flower dies to chose from, and so many different flowers can be made from each die! 


Cheery Lynn puts such exquisite detail in each of their dies… it never ceases to amaze me!! 


Dies used: Sentiment Frame #1

There is still time to enter this weeks challenge for your chance to win the $20 shopping spree! Details Here
Thanks for stopping by!

Saturday, March 23, 2013

Forever Bouquet

3:30 AM 8 Comments
Hello! I’m want to share some fun ideas I had taking my dies “outside the box” this week!
I started by taking one of my favorite dies, the French Lattice Small Frame and cutting it apart to form corners for my layout. I just adore the pattern of this lattice! It’s delicate flair set the tone for my layout. Using the largest of the Mini Pearl Circle Reflections Boutique, I cut a circle for my background. I placed Lace Corner Deco B all around the edge of the circle to give it a lacy edge. The Victorian Garden Doily Frame surrounds my photo, matted with the Scalloped Rectangle Reflections Boutique. Tucked under my photo is Window A, framing my journaling words.
There is still time to enter this weeks challenge for your chance to win the $20 shopping spree! Details Here
Thanks for stopping by!


Saturday, March 16, 2013

Sweet Memories

3:30 AM 5 Comments
Hello!  Boy oh boy, do I have a bad case of spring fever!  I know it is still March which means a mix of snow and rain storms in Minnesota, but I am really longing for the warm spring days when we can get out and play again!  I decided it was time to bring a bit of the flowers and sunshine to my creations!
 

Dies used: Lady Kate Edger
 
There is still time to enter this weeks challenge  for your chance to win the $20 shopping spree! Details Here
Thanks for stopping by!


Saturday, March 9, 2013

Spring fun!

3:30 AM 14 Comments
Hello! Today I have two projects to share with you! The first is a masculine card featuring the Schooner.
The navy base is cut from the Scalloped Rectangle Reflections Boutique set. I cut the background using the Mini Pearl Rectangle Reflections Boutique set , then I created the sunset background with my distress inks, and used the Classic Circle Silver Stacker for the sun. The cattails were cut from the bottom of Fathers Day Homeward Bound. Outlining the portrait is the Celtic Chain Reflections Die.
Next I would like to share a layout I had published in the March Scrap & Scrap Arts Magazine!
The dies used: Mega Tea Party Doily
There is still time to enter this weeks challenge for your chance to win the $20 shopping spree!
Thanks for stopping by!


Saturday, March 2, 2013

Spring Fever

3:30 AM 6 Comments
Hello!  I have got Spring Fever and decided to create a fun springy card using my dies.
I started by cutting the Little Pink Bicycle twice and piecing the parts together. The flowers in the basket are from Build a Flower Embellishment #2. The Grass Border is layered twice, with the bike tucked between the layers. I inked the background onto a Classic Oval Silver Stacker, layering it atop the Scalloped Oval Stacker Nesting die. Of course we need a couple Mini Dimensional Butterflies! The Swedish Spring Oval Frame has the perfect dainty touch to bring it all together. For some fun texture, I embossed the yellow banner with the Flutter Bys Embossing Plate, and the card base with the Dotted Swiss Embossing Plate. The card base was then cut from the Classic Coved Rectangle Silver Stacker, layered with the Scalloped Coved Rectangle Stacker Nesting Die.
There is still time to enter this weeks challenge for your chance to win the $20 shopping spree!
Thanks for stopping by!


Saturday, February 23, 2013

Boy oh Boy!

3:30 AM 4 Comments
Hello!  Those of you that know me know how much I love to add texture to my projects, and what better way than by embossing plates!
The little critters on the Turtles and Frogs Embossing Plate are sooo cute!! After embossing, I brushed on a little chalk to emphasize the textured pattern. The Celtic Chain Border is the perfect boyish accent!

Dies Used:
Turtles and Frogs Embossing Plate
Celtic Chain
Birthday
Scalloped French Flair Stacker Nesting Die
Classic French Flair Silver Stacker
Scalloped Circle Stacker Nesting Die
Classic Circle Silver Stacker
Mini Pearl Rectangle Reflections Boutique
Scalloped Rectangle Reflections Boutique

There is still time to enter this weeks challenge for your chance to win the $20 shopping spree! Details here
Thanks for stopping by!

Saturday, February 16, 2013

Love You Forever

3:30 AM 10 Comments

Hello! Jodi here with a layout inspiried by this weeks challenge - Frame It. 
I really wanted to keep this soft with a romantic feel, and the these elegantly detailed dies with a combo of soft colors I was really able to let the photos pop!
 
The Baby's Breath creates the best filler!
Details of the laces and Heart doily.

Cheery Lynn Designs dies used-

  
Check out Cheery Lynn Designs for  more inspiration and your chance to win a $20 shopping spree!

Thanks for stopping by!


Saturday, February 9, 2013

Best Wishes

3:30 AM 9 Comments
Hello! Today I have a card featuring some of the new winter dies.
 
The card base is cut using the Scalloped Rectangle Reflections Boutique set. I added texture to the white portion of the background using the Petite Hearts Embossing Plate. I added some trim from the Expandable Tiny Borders plate, and Lady Kate Edger for lace.

 
The flower cluster was created using Build a Flower #3 to create the yellow flower. Cutie Fringe 4 makes the most adorable spiky flowers, shown here in burgundy. The Daisy Strip has three different sizes on one die, making cutting so much quicker! Two different sizes are tucked into the bouquet. Foliage is from Build a Flower #3, Rose Leaf Strip, Stacker Flower #1 Leaf, and Olive Branches. To the bottom right corner is the new Best Wishes Phrase, and a Mini Butterfly fluttering about.
There is still time to enter this weeks challenge for your chance to win the $20 shopping Spree! Details Here
Thanks for stopping by!


Wednesday, February 6, 2013

Love is in the Air

3:30 AM 9 Comments
Hello! Jodi here today with a card for this weeks challenge! The challenge is to add a flourish.
I cut the base of my card using the largest of the Scalloped Circle Stackers dies, layered with the Classic Circle Silver Stackers. To add a touch of elegance, I added the French Pastry Doily. Staggering the Two of Hearts, and adhering with foam adhesive adds texture. Love Sentiment (the set of two, this is the largest) is layered atop the Sentiment Frame #2 is perfect any time of the year! Darling Daisies are the ideal dainty finishing touch. Foliage from Mini Fanciful Flourish, Small Leaves 2, and Wreath Strip. Be sure to enter for your chance to win the $20 shopping spree!
 
Thanks for stopping by!


Saturday, February 2, 2013

Orchid Tutorial

3:30 AM 8 Comments
Hello! Don't you just love the Winter Release dies at Cheery Lynn Designs?! I think the new Orchid is so beautiful! I created a simpler card because I really wanted the flower to stand out on it’s own.
I want to share with you how I assemble my Orchid. Remember, you can enlarge any photo just by clicking on it!
On the left I have arranged the dies in which I assemble them, on the right you see the my die cut petals in accordance with the dies. I’ve numbered the petals to make it a bit easier to follow along.
Once I have my petals inked it is time to shape them. I use a small foam block (from Stampin’ Up) and an embossing tool. I made a little clip of my process.

A close up of the shape of the center.
I’ve glued petals 2 & 3 to petal 1, overlapping 1 slightly.
Here you can see the curvature of the flower taking shape.
I’ve adhered petals 4 & 5 to the backside, angling slightly.
Holding the center in the curved position, I add a dab of glue to the end….I use Rangers Glossy Accents because it dries so quickly and has a strong hold.
I place the center so that it sticks straight out from the flower, just like the real flower.
Another angle so you can see the depth of the flower.
The flower completely assembled.
Please let me know if you have any questions, or if I can help in any way! I can’t wait to see your version!


To create the card, I started by cutting the base using the Scalloped Rectangle Reflections Mega die. The white matte was cut using the Mini Pearl Rectangle Reflections Mega die. I love that the Reflections dies have the added piercing and stitching, adding visual interest and texture. Next, I added the new Ankara Lace Doily, layering with a frame from Sentiment Frame #1. I chose to cut the matte, doily, and sentiment frame from the same color allowing the new Orchid to pop off as the focus. For a bit more texture, I tied a smaller Tag #1 to the flower. To the bottom I added the Best Friends Phrase, again cutting in white so not to take away from the flower. Gently resting on the sentiment is a Mini Dimensional Butterfly.
There is still time to enter this weeks challenge for your chance to win the $20 shopping spree! Details Here
Thanks for stopping by!

Copyright Statement


All content, including designs, pictures and words are the exclusive property of the author of each blog post. Information shared here is for inspiration only and may not be copied for publication, competition or profit. Thank you for your cooperation.

SOCIAL MEDIA 2


Follow Us @jointhemakersmovement


All content, including designs, pictures and words are the exclusive property of the author of each blog post.
Information shared here is for inspiration only and may not be copied for publication, competition or profit. Thank you for your cooperation.