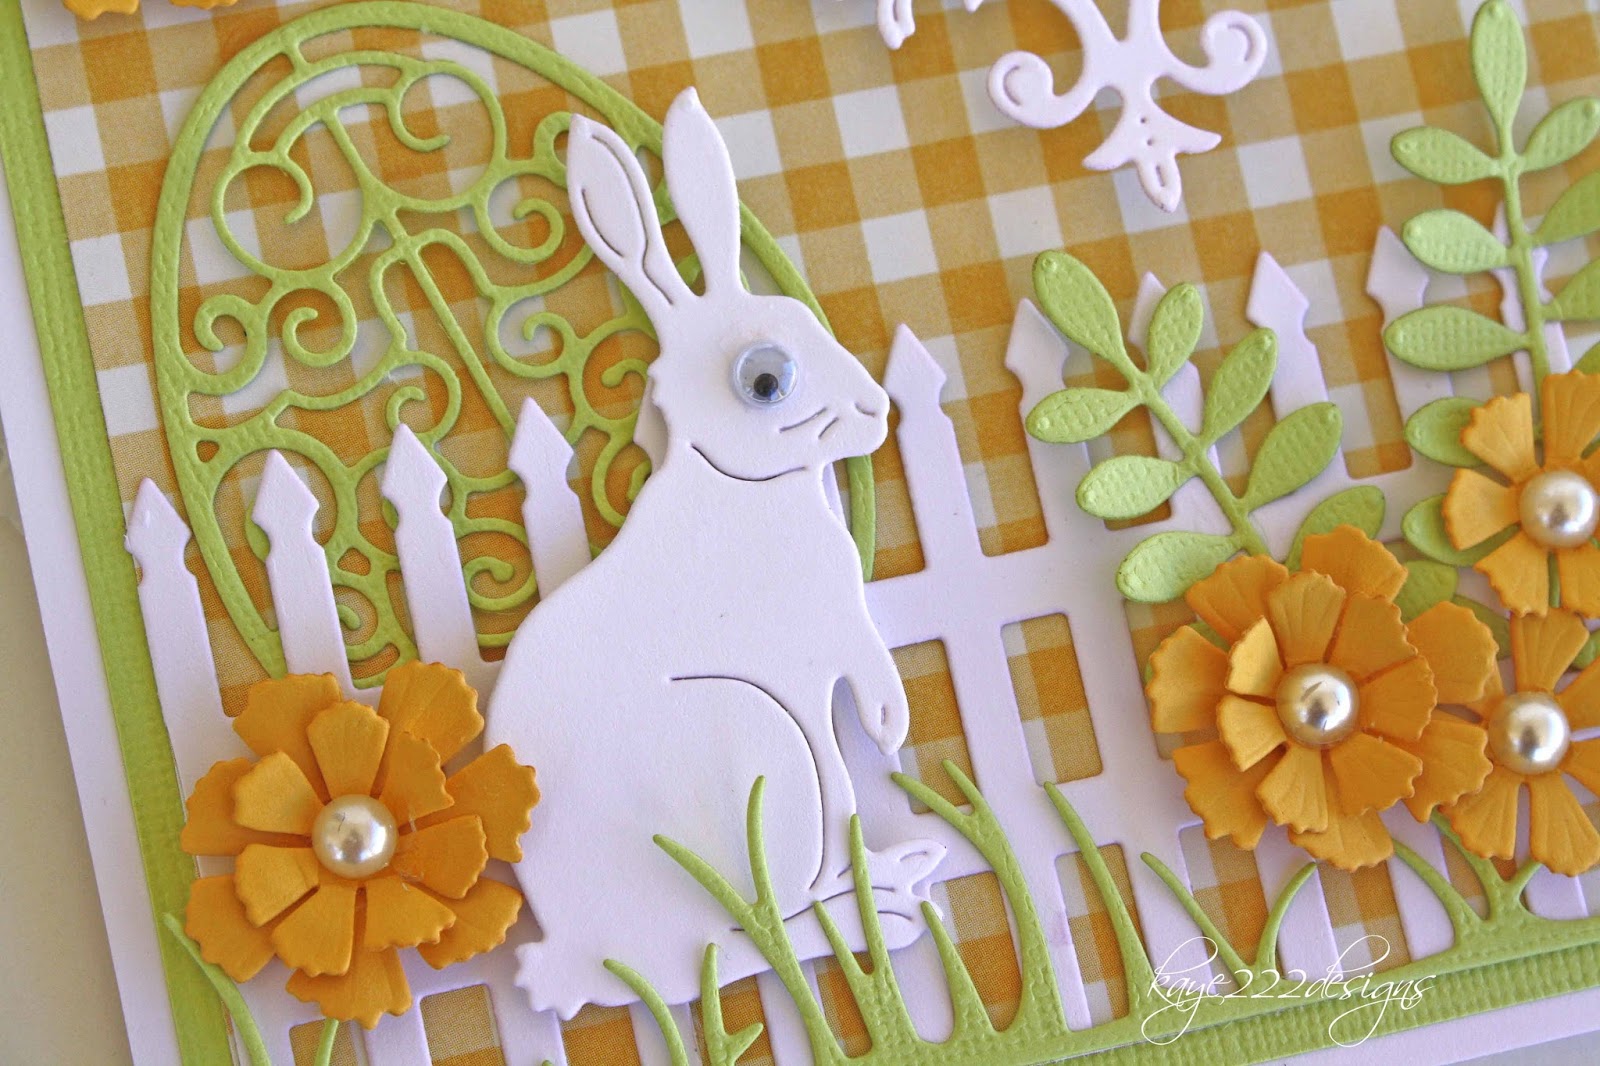
Showing posts with label Bunnies. Show all posts

Monday, March 12, 2018

Easter Basket with Lisa Blastick

3:30 AM 0 Comments

Hello! Thanks for stopping by today! Sharing a new Easter Basket this year using lots of Cheery Lynn Designs die cuts. I have been making several cards for the upcoming holiday and I made a couple of different baskets for treats and tea lights over the years. Today I have a new version of those adorable baskets that you can set on your table with tea lights or give away as mini treat gifts.


I used 2 sets of the victorian fence. One is scored every 2 inches and glued at the ends for the square basket. The other I used the center for the basket handle. I then added a 2.25 x 2.25 inch square on the bottom. Decorate however you like. I used grass twice around the bottom, easter eggs, bunnies and chicks. The animals always get googly eyes and lastly a sheer ribbon bow on top. 
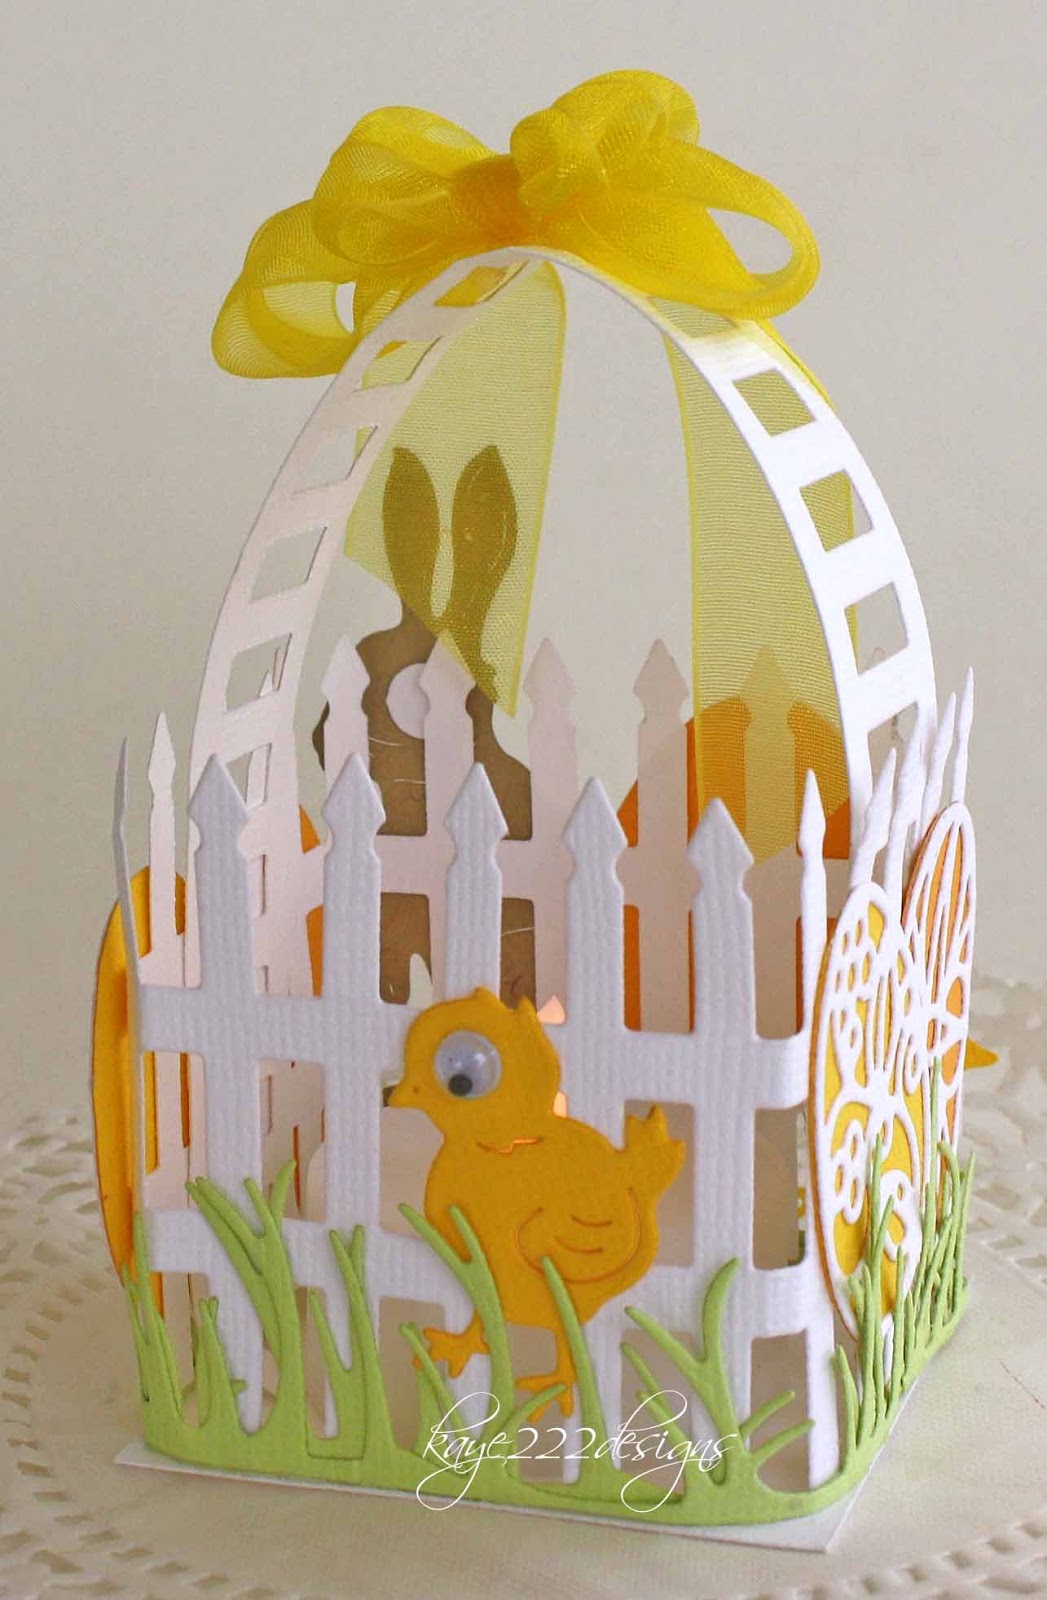

A view with the tea light. Just love this basket!


Thanks for stopping by today!
Have a great week!
Hugs Lisa 

Thursday, March 1, 2018

Some Bunny Loves You with Lisa Blastick

3:30 AM 0 Comments

Hi!   Welcome back to a new card for Cheery Lynn Designs for the upcoming Easter holiday! I was shopping yesterday with a girlfriend of mine and all we could think about was chocolate! So that was my inspiration for chocolate bunnies. 
I love the adorable bunnies and the nesting eggs has a bunny die too. So everyone received one of my googly eyes. The tails have liquid appliqué. Just love how it looks. I added some pearls in the corners and a bow. The hearts went with the sentiment. I forgot how beautiful the dutch daisy tag was...need to bring it out more! 


Thanks for stopping by today! 
Have a great day! 
Hugs Lisa 

Wednesday, February 21, 2018

Happy Easter with Lisa Blastick

3:30 AM 2 Comments
Hello! Welcome back to another card for Cheery Lynn Designs using several die cuts for the upcoming  Easter holiday. I can't believe it is coming up so soon this year on April Fool's Day...LOL
So I wanted to use some fun colorful papers and several beautiful eggs throughout. 


I love the Easter Eggs, Bunny and Chick Egg. The Nesting Eggs are great for the background and the sentiment..there is also a bunny with that set too. Coming soon!


I die cut the laces part of the eggs in white and then used several colors for the background. The cracked egg was die cut in white and I colored the legs with a yellow marker. I decided to use the Pretty Pretty Bows instead of real ribbon. A few pearls and done! 


Hope you enjoyed...
Thanks for stopping by today! 
Hugs Lisa 

Tuesday, April 4, 2017

Easter Egg Hunt by Julie Lavalette

3:30 AM 0 Comments

Hi everyone, it's JULIE here today and I thought I would share some inspiration for an Easter card in a vintage design.


Cheery Lynn have many cute Easter Dies that embellish our crafty designs so well. My sweet little chicks were diecut from a yellow patterned cardstock and I coloured their beaks and feet with Copic Pens and added a touch of Black Liquid Pearls for their eyes.


My rabbit was also cut in patterned paper adding a fluffy cotton tail and some Liquid Pearls also to his eye.


My Stackers were all layered up in different shades of paper adding a little cheesecloth behind my image.

Cheery Lynn Dies Used -

Thanks so much for stopping by today to see my card and I hope you have a lovely creative week.

Crafty Hugs,
Julie x

Saturday, April 1, 2017

Hopping By To Say "Hi" with Lisa Blastick

3:30 AM 2 Comments

Hi! April Fools Day! I hope you laugh all day! Today I'm sharing a new Easter card for Cheery Lynn Designs. I love the "bunnies" and it was a perfect match to my patterns paper. I was going to leave the colors blue and white but then I decided to add some orange carrots with the "sun" 


The "clouds" also come with the "sun".  I used the largest "cloud" for my sentiment. The "curved border" was die cut and then embossed with dots. 


Closer view of the sun and googly eyes. 


More googly eyes on the bunnies and liquid appliqué for the bunny tails. The blue cardstock was embossed with "old brick" The little carrots are stamps from Verve colored with orange Copic.


Thanks for hopping by today!
Have a great day!
Hugs Lisa

Tuesday, March 21, 2017

Easter Wishes With Lisa Blastick

3:30 AM 3 Comments

Hi! Welcome back to another Easter card for Cheery Lynn Designs! I had a fun time making this Easter card using several die cuts from Cheery Lynn Designs. I adore the "bunny" and I added his fun eye. The "lace egg" in the background is so delicate... Perfect for Easter. 


I stamped the sentiment on the "quatrefoil tag" in black ink. All the flowers are "sweet williams strip" and I added pearls in the center. The "floral bouquet kit" is a must have because there are so many flowers and leaves to choose. I also added the "grass border" and "victorian fence" 


A closer view...love the details on the tag...


The adorable bunny, egg, flowers and grass...


The inside using the "curved border set" Easy to place a gift card behind. 


Thanks for stopping by today! 
Hope you enjoyed! 
See you soon....
Hugs Lisa

Saturday, February 25, 2017

Easter Greetings Card

3:30 AM 1 Comments
Hi there peeps! Hope your weekend is going well.  Cherry here at the Cheery Lynn Designs blog.  I have a cute Easter card to share today.  The dies I used are a must have for Easter crafting.  
 I started with covering my card stock with some pattern paper and layered it with the Quatrefoil A2 Frame die.  This die is a go to for me.  It can really set the mood for a card.  Either very simple and casual or can be added to a card for more depth and texture. 
 I then added my ribbon and made my big loopy bow.  From here the Nesting Dolls Tags 2 - 5 piece set was used for more interest.  I hand cut a little banner and stamped my tag.  I die cut the Bunnies and added foam adhesive for dimension.  From here I added my flowers using both the Gardenias and the Sweet Christine flowers.
 Well that is it for me folks!  Happy weekend!  Cherry


Cheery Lynn Dies used:

Sunday, February 19, 2017

Easter Baskets With Lisa Blastick

3:30 AM 2 Comments

Hi! It's still February but who is ready for Spring! 
Here is Arizona it is been pretty nice, but I watch the weather and it appears that winter is still here almost everywhere else...
So, here is a springtime project you can make pretty easy using lots of 
Cheery Lynn Designs Die Cuts. 
Fun little Easter baskets using "Scalloped Party Favor Box".


I have been checking out the little box for some time now and I finally decided to make baskets with them. I cut the favor box in kraft and then stamped a basket pattern on top with brown ink. The handle is "siena double edge border" and was also cut in kraft paper.


I debated between chocolate bunnies and white "bunnies"? White bunny won...because of the basket color...but there are so many options. Little google eyes are a must for me. I used the smallest flower from "floral bouquet kit" in teal and purple with gala glitz in the centers.


Lastly, 2 sets per basket of the "flourish 13" Love that leaf die cut!


Here is the back of the "favor box" I added some green grass in the centers. 
Candy of your choice! Great gift to pass out...


Thanks for stopping by today! 
Have a great day!
Hugs Lisa 

Friday, February 17, 2017

Sweet Bunny Birthday Card with Cheryl Walker

2:30 AM 1 Comments
 
 Hello everyone, and Happy Friday to all!!
Today's card was designed for Cheery Lynn Design using the beautiful dies from Cheery Lynn Designs . I wanted my card to have a Spring feel, and this delivers just that :) It was also created for Really Reasonable Ribbons Challenge this week, to create a Birthday, wedding, baby, or some kind of occasion card. Mine is a Birthday & Spring! hehehe
On my card I used lots of darling dies from Cheery Lynn, and I am loving them all on this one!!! I also used The Project Bin sentiment stamp from the set called "Born Yesterday" this set is all about Birthdays!

Cheery Lynn Dies Used:
B527 Bunnies( brown polka dot) I also added a bow, flower, and viva pearl pen to this cutie
B682 Quadrafoil Tag , cut using the Pink hearts design paper.
LPC4 Circle Pierce set cut out brown card stock, and tree dp from Pebbles
DL280 Royal Scandinavian Doily, cut out in white card stock and layered on card front
B180 Princess Tree , cut out in green card stock, and matching design paper, and layered. I also added some flowers , and branches to this one.
B216 Wreath Strip used as branches under the tree for a filler

I absolutely LOVE the way this card turned out. I love all the layers and colors, it's perfect for a spring birthday!

The tree was super fun to work with, and I will have to do another of this one soon! I love the wreath strip pieces behind it, as it gives some dimension and fills in. I added the little hearts in the design paper, I thought it would be cute. I lastly added some flower embellishments to this!

My Big Bow was created using Really Reasonable Ribbons February Ribbon monthly kit. I also used some RRR for the bunny bow. LOVE how cute this bunny is! All embellishments are also from RRR.

Sewing was done using a very light pink thread and my sewing machine.

I hope you enjoyed my post for today! Please leave a comment letting me know what you think, I truly enjoy reading them!

Hugs to all,
Cheryl 

Saturday, March 12, 2016

Easter Cupcake Baskets by Julie Lavalette

3:30 AM 3 Comments

Hi Everyone, it's JULIE here today and I am sharing with you some Easter Inspiration using our fab new Cupcake die.


These cute little baskets which measure approx 3" diameter by 4" height are easy to make and once I worked out all the measurements it didn't take long to make the second one. So let me show you how to make them.


I started by cutting my Cupcake Wrapper from cardstock and added a double layer of grass to the base. To get the grass strip to curve around your cupcake die, layer on sections measuring about 2 inches in length, offsetting the grass on each layer.


For my base I used the 2 largest dies in the Circle Classic set. You will see in this photo I cut my die out and then drew around the outer part of my smaller die and fussy cut out some notches.


My Cupcake Wrapper I added a little bit of glue to the die cut join for added strength for the weight of my chocolate eggs and formed the shape of my cupcake. I then bent all my notches up on my circle and added a little glue to each one, pushing my circle down into my cupcake to form the base of my basket, pressing all the notches onto my cupcake wrapper.


This makes it all lovely and neat and the grass disguises the notches on the inside.


Next I added on my handle with some brads, you will notice I have the pretty side of my Brad to the inside of my basket as I hid the closure with a flower on the outside.


Now the fun bit of adding all my Easter Chicks, sweet Bunny and flowers.


I disguised my join on the cupcake wrapper be carefully placing a Chick or Bunny over the join.


I finished off my baskets with a pretty bow and some Chocolate Mini Eggs which had been gathered inside a Cello bag that we normally place our cards into. I tied with some Easter ribbon and a die cut Sweetheart Candy.


Cheery Lynn Dies Used:


Thanks so much for stopping by today and you still have plenty of time to join in our Current Challenge which is Doilies.

Crafty Hugs, 
Julie x 

Wednesday, February 17, 2016

Hoppin' with Lisa Blastick

3:30 AM 3 Comments

Hi everyone! It's Lisa back this week sharing a fun card for the upcoming Easter holiday with Cheery Lynn Designs. I love these "bunnies" and they pair up well with the "grass border" and some leaves from one of my favorite dies "flourish leaf strip" 


The "fin's magic mirror" has been on my wish list for a very long time and now that I have it...I'm so happy! The details are amazing... My bunnies wouldn't be complete without the google eyes...lol


Cheery Lynn Designs Dies Used:


Thanks for Hoppin' by today! Hope you have a great day and be sure to check out the challenge "ticked pink" and a new challenge starting tomorrow for your chance to win $20 at the Cheery Lynn Designs store.
Hugs, Lisa

Copyright Statement


All content, including designs, pictures and words are the exclusive property of the author of each blog post. Information shared here is for inspiration only and may not be copied for publication, competition or profit. Thank you for your cooperation.

SOCIAL MEDIA 2


Follow Us @jointhemakersmovement


All content, including designs, pictures and words are the exclusive property of the author of each blog post.
Information shared here is for inspiration only and may not be copied for publication, competition or profit. Thank you for your cooperation.