Showing posts with label sentiment Tag 2. Show all posts

Saturday, December 24, 2016

Wishing you a Happy Christmas by Julie Lavalette

3:30 AM 0 Comments

Happy Christmas to all our Cheery Lynn fans, it's JULIE here today and I am sharing a Vintage styled Festive card using one of the beautiful Cardmaker Dies. I do love the intricate lace look to these dies and how they make a quick and very effective background to a card.


Once I cut mine out I tattered the edges for a shabby feel and pressed the edges into my embossing ink pad and heat embossed some Red Tinsel powder. Layering onto my other cardstock layers and adding some Glass Glitter to the edges for sparkle.


My Snowflake Doily was also heat embossed with Red Tinsel and cut in half and layered behind my Sentiment tag which had also been tattered at the edges, mounting on Noel.


My Poinsettia was cut in cream cardstock inking at the edges, adding micro beads to the centre finishing with a little Liquid Snow and Glass Glitter, mounting onto my glittered Holly Leaves.


Cheery Lynn Dies Used:

Thanks so much for stopping by today and wishing you a wonderful Christmas filled with precious memories.

Crafty Hugs,
Julie x

Sunday, March 6, 2016

Thank You with Jenny Alia

3:30 AM 1 Comments

Hi friends!  It's Jenny posting today with a card using one of the Card Cover Maker backgrounds.  Background dies can add sophistication to a simple card.  I cut the Card Cover Maker #7 out of white card stock and layered it onto an A2 green patterned card.  The Thank You #2 sentiment was cut out of light blue card stock and then the edges were brushed with distress ink.  Thank you was glued to a Sentiment Tag 2 die cut that was adhered to the card front with foam adhesive for dimension.


To make the rose I cut two roses with the new 3D Rose #2 die.  I glued them together so they were offset (the petals of one rose were between the petals of the other rose) and then rolled them as one flower.  I like the look of this rose doubled, it produces a very full flower.  I started rolling the flower with a quilling tool and then halfway through began rolling it by hand.  It's glued together underneath.  After it was together, I sprayed it with yellow and pink mists for color and shimmer and then rolled the petals with my fingers until I was happy with the shape.  The leaves were cut using scraps of patterned paper and the Flourish #14 die.

Cheery Lynn Dies

Thank you for stopping by the blog today and make sure to check out the current Doilies challenge for a chance to win a $20 gift card to Cheery Lynn Designs!

Saturday, January 2, 2016

Happy New Year 2016 by Julie Lavalette

3:30 AM 1 Comments

It's JULIE here and a Happy New Year to everyone, let's hope 2016 is a wonderful year ! Today I have made a celebration card that could easily be adapted into another type of card by simply changing the words.


I started off by cutting layers using plain and patterned Cardstock and tattering the edges of the faux stitched layers.

I layered up my Ornament Flourish and Word dies twice to give a shadow effect. 


My Sentiment Tag was also tattered around the edges.


Finishing off with a few sparkly gems and a double layered Butterfly.

Good luck to everyone entering our Weekly Challenge with the chance of winning a $20 spending spree at Cheery Lynn Designs.

Cheery Lynn Dies Used:

Crafty Hugs, 
Julie x

Saturday, July 25, 2015

Gingerbread Tree by Julie Lavalette

3:30 AM 2 Comments


Hi Everyone, it's JULIE here today showcasing this adorable Gingerbread Family. I love how you can dress them up, aren't they so cute !


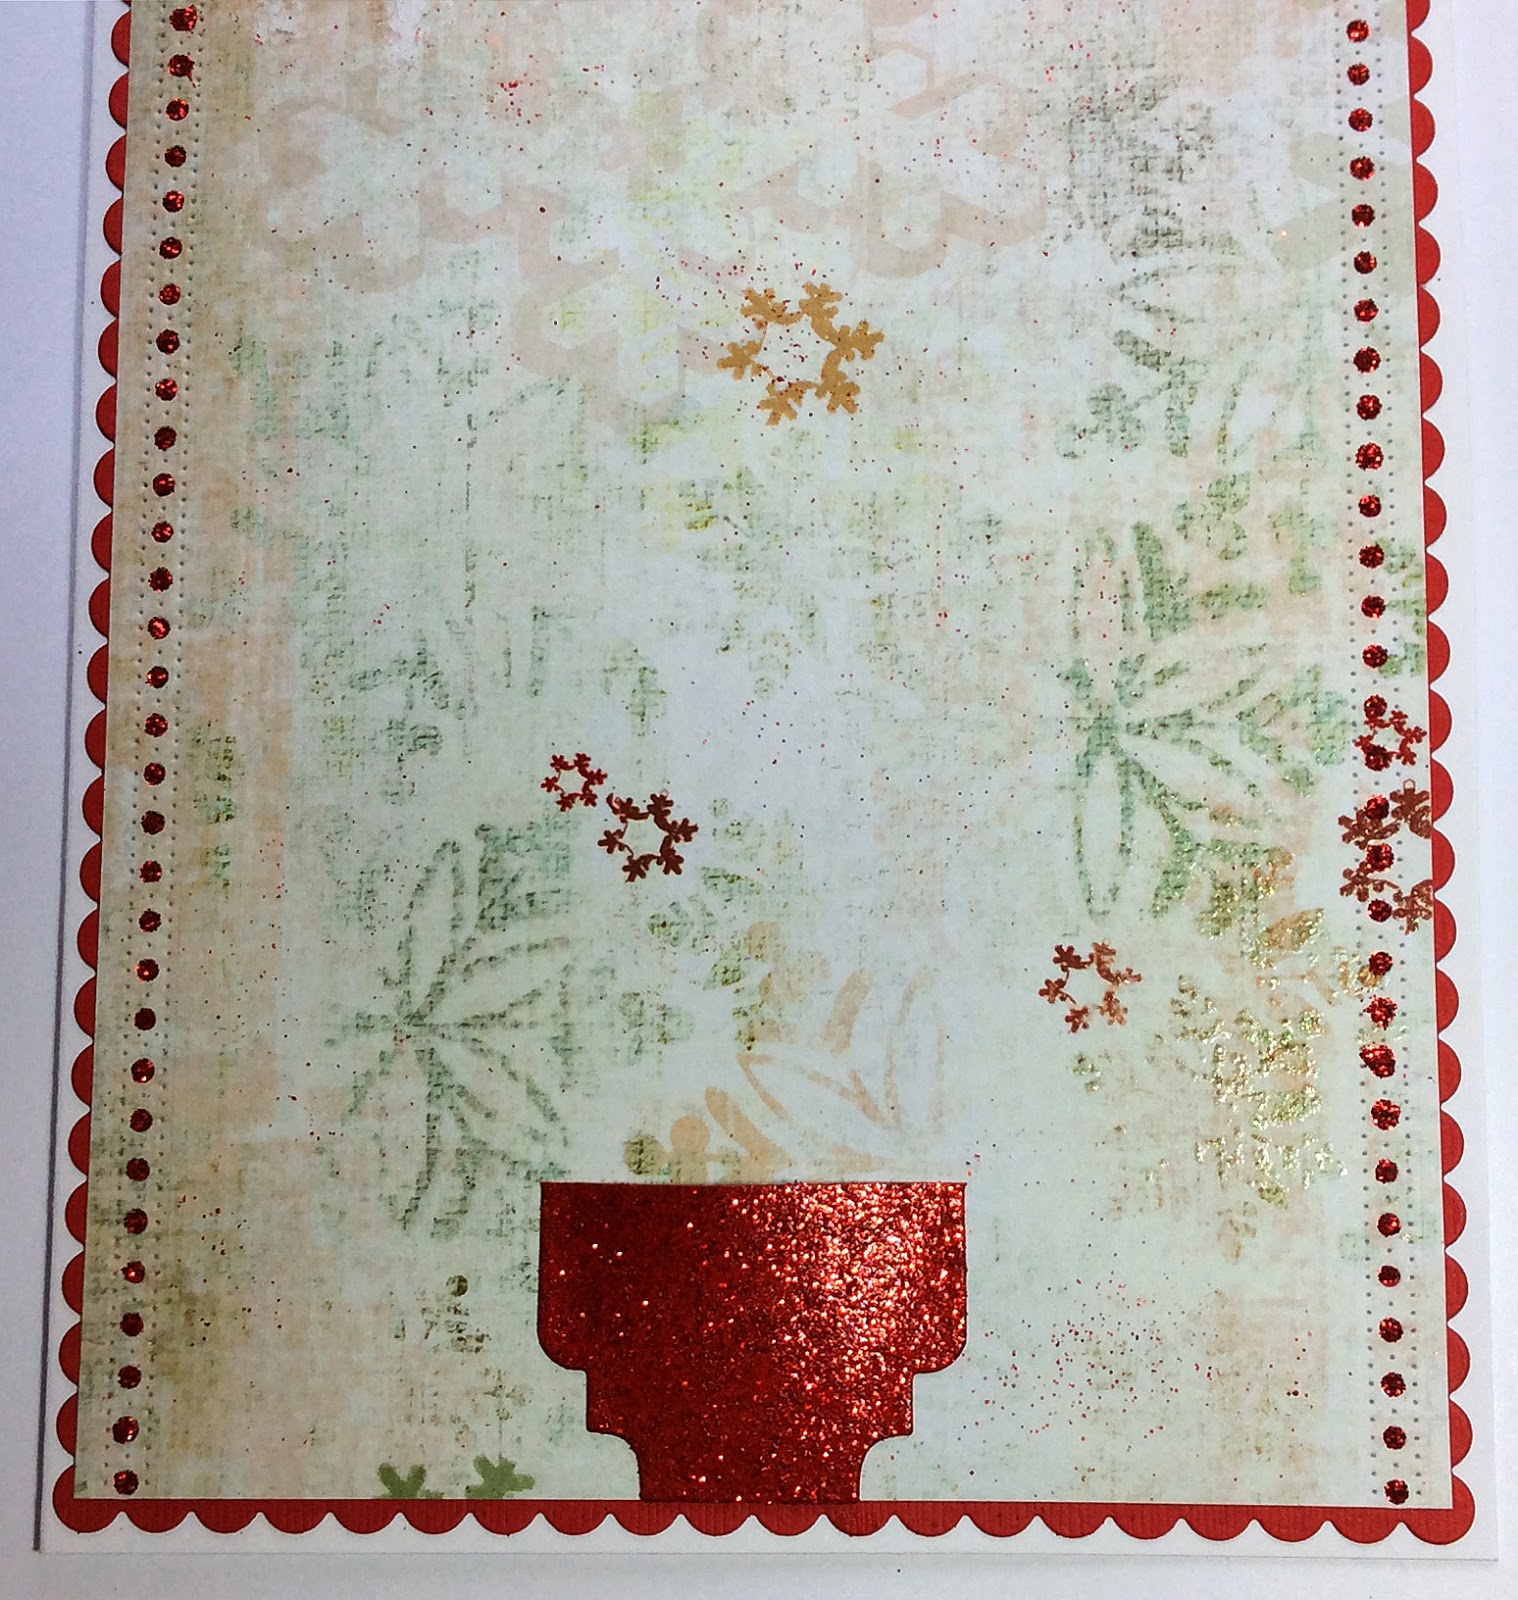
I started off by cutting out 2 Scalloped Squares in red cardstock trimming a strip off them both to form the length of rectangle required for my 8 x 6 card. My next layer I used my die cut edge strip, gluing the layers together and adding Stickles into all the small holes. I then sprinkled a little Red Tinsel Embossing Powder over my paper and heat set for a little more sparkle.


My pot for my Tree was made using a section from my die cut Sentiment Tag. I heat embossed Red Tinsel Embossing Powder on it and my word Believe.


I started layering sections of my Build a Christmas Tree onto my card to form a large tree and added Santas Sleigh.


My Gingerbread Family were coloured with Copics and Glitter Pens, highlighting the embossed details with a white pen. The girl's bows and dresses were layered twice.


The boy's hats I used Snowtec on them adding extra fine glitter whilst still wet and a few gems for buttons.

Cheery Lynn New Release Dies Used:


Other Cheery Lynn Dies Used:


Good luck to everyone entering our Weekly Challenge with a chance to win a $20 spending spree at Cheery Lynn Designs and thanks for stopping by today.


Julie x

Saturday, July 11, 2015

Rainy Day Friends by Julie Lavalette

3:30 AM 3 Comments

Hi Everyone, It's Julie here hosting the blog today. With an abundance of beautiful colours everywhere from Summer flowers I found myself inspired to make a brightly coloured card.


I used my Cuties Strip around the edge of my frame, layering on my doily and stamped sentiment with Silicone Glue. My Butterflies were layered 3 times using a smaller one in the centre and adding some gems.


My flowers were made using 3 layers of paper, shaped on my embossing mat and a few Pearl Stamens added to the centres.

Cheery Lynn Dies Used:


Thanks for stopping by today and good luck to everyone entering our Weekly Challenge where you could win yourself a $20 spending spree here at the Cheery Lynn Designs On-Line shop .


Julie x

Saturday, May 30, 2015

Kisses by Julie Lavalette

3:30 AM 6 Comments

Hi Everyone, It's Julie here today and I have made a card using the beautiful Hummingbird die. Let me show you my layers on this card as I build it up.


In this photo you will see I have paper pieced in pale pink corners.


The corners were made using the Horizon Rectangle die that is in the centre of this photo.


My doily was cut in half and pieced behind my Sentiment Tag. This gave me an oval shape to it.


My Hummingbird was shaded with Distress ink and layered up twice for added dimension.


Finishing off my card with some Cheery Lynn flowers and the word Kisses.

Cheery Lynn Dies Used:


Thanks for stopping by today and good luck to everyone entering our Weekly Challenge.
 Julie x


Tuesday, April 14, 2015

Thoughts of You with Karen Maldonado

3:30 AM 2 Comments
Hello Cheery Lynn friends!  It's Karen here sharing a "Thoughts of You" card
in tones of teal blue, green, and yellow!


I've layered the card first by cutting the French Flair Classic Scalloped die in 
white cardstock.  Then, I followed by using the French Flair Classic dies 
in teal blue and green print papers.

I wanted that lovely Kiwi Spirt Doily to accent the layered sentiment, so
I cut it out using thick white cardstock.  By using this thicker cardstock,
it super-defines the intricate details 
of this beautiful doily even more, and adds great depth!!


Then, I stamped the sentiment onto the Oval Classic SM Silver Stacker 
using white cardstock, and layered it onto the Sentiment Tag #1 in green.  
Lastly, layered that piece onto the teal blue Sentiment Tag #2
and added two shiny pearls!

I ink distressed the flowers and leaves, making four full Tea Rose medium
and two closed Tea Rose Medium flowers and placed them on the 
top and bottom corners of the card.


List of dies used on my project:

B436 Tea Rose Medium

Be sure to check out this week's "Pretty in Purple" challenge
for a chance at a $20 gift certificate to the Cheery Lynn Designs store!

Have a wonderful day, and thanks for visiting!

Hugs & Smiles,
Karen

Friday, April 10, 2015

In One Yesterday Card with Corina Finley

3:30 AM 5 Comments
 
Hello, Corina here with you today to host the blog!
 
For todays card, I decided to play with my new Mirror Mirror Doily Frame die and the Stacker Flower 5 die. - I used a turquoise pattern paper, white cardstock, a little turquoise ink and of course my Cheery Lynn Dies to create this card.


I layered the background using a die from the A2 Frames Rectangular Classic to die cut a turquoise pattern paper panel and white cardstock panel. I distressed the edges and adhered them on to my white cardstock base. The Mirror Mirror Doily Frame went on next.
 
I stamped my sentiment with black ink on to the Sentiment Tag 2 (Set of 3) and layered it upon a turquoise die cut from the same set - one size larger. Then pop-dotted to the center of the Mirror Mirror Doily Frame.
 
To form my floral arrangement, I used the two layers of the Stacker Flower 5 and then the Shasta Daisy on top. Tucked in a mix of foliage die cuts with some flourishes from the center of the Celtic Oval Frame die.
 
 
Added Rhinestones to finish it off!
 
Dies Used:
 
I hope you will play along in our weekly Cheery Lynn Designs Challenge 179 - Flowers.  You could win a $20 shopping spree at the online Cheery Lynn Design Store.
Thanks for joining me today!

Take care,
 
Live, Laugh & Create

Saturday, January 31, 2015

Shabby Butterflies by Julie Lavalette

3:30 AM 5 Comments

Hi Crafty Friends,  Its Julie here today. I'm sharing with you a Shabby Style card with some mixed media on it. It is approximately 5 3/4 inches square in size.


Here is the start of the layers on my card. I cut a square of patterned paper and then placed my Dutch Daisy Border die on with some low tack tape to cut. I used my Distress Tool around the edges and added a couple of scraps of paper which I inked at the edges.I then applied some Texture Paste through a strip of Sequin Waste to act as a Stencil. Once dry I added a little Distress ink to coordinate with the paper.


I used the large and medium die in the Sentiment Tag set, cutting white cardstock and adding a little Distress ink to the larger die before layering up and adding some Stickles around the middle. I then layered onto my Alpine Flourish.


My Butterflies were cut in patterned paper and layered up twice.

Hope you have enjoyed looking at my card and now feel inspired to try this style of card. Good Luck to everyone entering our Weekly Challenge.

Cheery  Lynn Dies used :

Have a creative weekend,


Julie x


Friday, January 23, 2015

Just be You Card by Corina Finley

3:30 AM 3 Comments

Hello!

Corina here with you today to host the blog. This week, I wanted to create a card using the New Release Rose and Leaves Set.

The Rose and Leaves comes as a set of 3. The Rose is very versatile. A few of the Designers have used it as a vocal point on their cards, created pattern paper with only the Rose or have just used the detail leaves in their floral arrangement.


Above is a closer look! This die also allows you to adhere the outline of the petals to papers and bend the petals up to give depth and dimension to your flower. 


I also used a border from the New Release Royal Scandinavian Border Set. This also comes in a set of 3. Last week I used one from the same border set and I hope to use the remaining border from this set on next weeks card!

Dies used:

Royal Scandinavian Border Set (set of 3) - B524


I hope you will play along in our weekly Cheery Lynn Designs Challenge 168 - Sweethearts. You could win a $20 shopping spree at the online Cheery Lynn Design Store.

Thanks for joining me today!

Take care,

Corina Finley
Live, Laugh & Create

Friday, December 26, 2014

Vintage Holiday Card with Corina Finley

3:30 AM 2 Comments


Hello!

I hope everyone is having a Festive Holiday! Spending time with loved ones and making wonderful memories!

Today I am sharing with you a Vintage Holiday Card.

I created this card using pattern paper, a rich burgundy cardstock and three tones of green. I distressed the edge of the burgundy base and embossed the burgundy Sentiment Tag 2 with the Poinsettia embossing plate.


I second generation stamped a Script Stamp in brown ink to the top cream layer of the Sentiment Tag 2. *Second Generation stamping is when you ink your stamp and stamp off on scratch paper and then stamp. Leaving a lighter image in the true ink colour.

I adhered the Joy to the World sentiment which fits wonderfully!


I then wanted to create a wreath. I used the Joy to the World Wreath but wanted thicker boughs. I went to my die cut machine to cut another Joy to the World Wreath and saw the negative pieces that are removed from the Florence Filigree Doily die!


Perfect! No waste! I tucked them behind the Joy to the World Wreath and added the festive Holly Corner.

Dies used:

Thanks for joining me today!

Take care,

Corina Finley
Live, Laugh & Create!

Saturday, December 20, 2014

Merry Christmas Everyone by Julie Lavalette

3:30 AM 1 Comments
Click to Enlarge

Hi Everyone, it's Julie here hosting the blog today. In Scotland we have had our first covering of snow on the hills and it has turned very cold, but I don't think we will get a White Christmas. 
My card this week has been arranged by building up layers of die cuts in complimentary colours of card.


You will notice I have added Stickles to help define my layers and to add the all important sparkle to a festive card.


My Poinsettia's were made by colouring White card with Distress Spray Stains and adding a little Gilding wax to the edges and a few stamens in the centres. I arranged my Holly Leaves and Pine Branches to form a Festive arrangement. 


I stamped my centre image adding more Stickles and Silicone glue to raise it up slightly. Finishing off my card with a few Red Gems. 

Cheery Lynn dies used : 


Good luck to everyone entering our weekly challenge

Wishing you all a Merry Christmas and thanks so much for all your lovely comments throughout the year. I love reading them. 

Julie x 

Thursday, December 18, 2014

Joy to the World Card by Corina Finley

3:30 AM 2 Comments

Hello Everyone!

Corina here with you today to share another Festive Card Creation. This week I took my inspiration from decorating our tree! 


I cut the ornament with angel wing and the Joy to the World sentiment both out of cream card stock. I embossed Joy to the World and the top of the ornament with Gold embossing powder and the bottom of the ornament with a mixture of clear and gold embossing powder.


I layered the pine branches to create a branch effect and added the Cutie die to the top to create a clean line. I popped the ornament up with foam adhesive and layered Joy to the World to the Sentiment Tag.

Dies used:

Ornate Ornament w/Angel Wing - B478


I hope you will play along in our weekly Cheery Lynn Designs Challenge 163 - Sparkle and Shine. You could win a $20 shopping spree at the online Cheery Lynn Design Store

Thanks for joining me today!

Take care,

Corina Finley
Live, Laugh & Create!

Copyright Statement


All content, including designs, pictures and words are the exclusive property of the author of each blog post. Information shared here is for inspiration only and may not be copied for publication, competition or profit. Thank you for your cooperation.

SOCIAL MEDIA 2


Follow Us @jointhemakersmovement


All content, including designs, pictures and words are the exclusive property of the author of each blog post.
Information shared here is for inspiration only and may not be copied for publication, competition or profit. Thank you for your cooperation.