Showing posts with label Square Scalloped Stacker. Show all posts

Friday, November 25, 2016

Best Wishes by Jenny Alia

3:30 AM 0 Comments

Hi everyone!  If you are in the US I hope you had a wonderful Thanksgiving!  I needed a baptism card last week and made a card similar to this, I thought the white on white would work well for a wedding or shower card too.  It's difficult to see in the photo but the cream colored card stock has a beautiful metallic shimmer that adds an elegant touch.  


 I began with a 5.5" card base and then layered a square of white card stock cut with the Circle Pierce & Cut Tool.  I then added a shimmery layer cut with the Square Scalloped LG Stacker die.   Last I added the Quadrafoil Square Doilyand the Best Wishes also cut with shiimmery cream card stock.  


Cheery Lynn Dies

Thank you for stopping by the blog today.  Make sure to check out the latest Cheery Lynn Challenge for a chance to win a $20 gift certificate to Cheery Lynn Designs.

Saturday, February 6, 2016

With Love from Cupid by Julie Lavalette

3:30 AM 3 Comments

Hi everyone, lovely to have you stop by. It's JULIE here today and I'm sharing some inspiration using the adorable newly released Cupid die.


I started by die cutting out my layers from patterned cardstock, tattering at the edges and adding a little Distress Ink. My frame I cut out an aperture using my square stackers to create a window effect, I then glued on my Scandinavian Heart frame. I placed lace around the centre of my frame and added lots of pearls, mounting onto my card.


My 'Love You' was also shaded with Distress Ink and mounted onto my tattered square frame adding a touch of cheesecloth and finishing with a few more pearls.


My Cupid was shaded with Distress Inks....isn't he so cute !


I mounted my Tea Rose onto my Heart as an extra finishing touch.

Cheery Lynn Dies Used:


Our current fortnightly challenge has just started on 4th Feb and is called Tickled Pink, love to have you join in the fun.

Crafty Hugs,

 Julie x

Thursday, January 28, 2016

Mixed Media Frame by Jenny Alia

3:30 AM 3 Comments

Hello!  It's Jenny here with you today.  Since the current challenge theme is Anything Goes I thought I'd make something different than a card.  This is a picture frame made out of chipboard.  I've never created anything like this before so I took lots of photos along the way.

First I cut three pieces of thin chipboard to 5.5" square.  I cut the middle out of two of the three pieces using two different sizes of the Scalloped Square Stackers.  The two pieces with square windows will be used to double mat the central image and the whole square is for the back of the frame.  


I painted the frame with the larger square opening with a clear matte gesso.  When the gesso was dry I glued elements from the new Quadrafoil Accents die set (also cut out of chipboard) on top and then painted the entire frame with a metallic distress paint.  I wasn't worried about the paint being even because I planned to cover it.


I sponged black distress ink on top because I wanted contrast and an antique feel.  The crackle paste I used suggested a black color base.  There was still a metallic sheen to the frame.


I covered the frame with white Crackle paste, leaving less on the raised Quadrafoil Accents so they'd show up more.  I didn't worry about neatness.  Variations makes the crackle interesting when dry.


My heat tool unfortunately went on strike so while I was waiting I added clear crackle glaze to the edges of the flowers.  The large flower was created using the Stacker Flower 5 die.  The smaller roses are from the Tea Rose Medium die.  They were colored with distress ink and sprayed with shimmery mists.


 Once the crackle glaze was dry and I moved around the flowers a bit to determine placement.


The sentiment paired well with the vibrant flowers but everything felt too bright so I added brown distress ink to the frame and flowers.


The second piece of chipboard with the smaller window was colored with bronze metallic paint.  I sandwiched a piece of clear acetate from toy packaging between the two chipboard mats before gluing the chipboard together.  

I added a stand to the third piece of chipboard so the frame can stand independently.  The chipboard was thin so I cut and glued two pieces together to create the stand and scored and folded the top.

 Brads connect the stand to the frame.  I punched two small holes through the top part of the stand as well as through the back of the frame and then threaded two brads through the holes.

Last in the assembly, I glued the front of the frame to the back only gluing around the bottom and sides, leaving the top open in case I want to change the image inside.  I put heavy books on top to hold the chipboard together while it dried. 


The Fern Leaves were coated with a sepia gloss and I adhered the flowers and leaves to the frame with the same glaze.


Cheery Lynn Dies

Thanks for visiting and make sure to join us for the Anything Goes challenge that ends on February 3rd.  Our challenge rules have changed, beginning February 4th you'll have two weeks to enter and can enter up to two projects for a chance to win a $20 gift card to the Cheery Lynn Store.

Saturday, January 9, 2016

Create Flowers by Julie Lavalette

3:30 AM 4 Comments

Hi Everyone, It's JULIE here today and now that the Christmas season is over I thought it would be nice to make a card filled with summery flowers. 


My card has lots of layers, tattering at the edges, adding Frantage Powders and tucking in doily accents. My inverted scalloped edge was made using a piece of waste paper and cutting out a scalloped square. 


My Watering Can was painted with Pewter Distress Paint and adding some Archival Ink for shading. I then added a little Grass to the base and on the top of the Watering Can I shaded with a Pale Blue pen and added Glossy Accents for a watery look. 


I cut out 2 of my Leafy Flourishes, placing one on my card, the other I cut into sections and placed into my design with my Flowers which have Flower Soft added to their centres. 

Cheery Lynn Dies Used: 


Thanks for stopping by today and good luck to everyone entering our Weekly Challenge. 

Crafty Hugs, 

Julie x 

Saturday, November 28, 2015

Merry Christmas by Julie Lavalette

3:30 AM 0 Comments
Click to Enlarge

Hi Everyone, it's JULIE here today sharing with you my sparkly Festive card. Let me take you through the process of how to apply your glitter to your die cut with a double sided sheet of adhesive.
Step 1: Attach adhesive sheet to White cardstock by releasing one side of the protective layer. You should now have a sheet of paper that has cardstock on one side and the adhesive film for the sticky sheet on other side with its protective layer still on.

Step 2: Place the protective layer side up on die cutting machine and place your die on top and cut.

Step 3: Once cut, glue a fussy cut oval to the back of your die cut. This makes the design POP.
Step 4: Rub an anti static bag over your paper, this way the glitter will only adhere to the adhesive. Now start to cut into the protective layer and lift off the film to reveal the sticky parts of the Holly. Start rubbing green glitter into the area with your finger.
Step 5: Repeating the  process to lift adhesive film again with your craft knife to reveal the sticky parts where you want to put the red glitter.
This process takes a little while but is a great way to apply different colours of glitter without them mixing.
A close up of my mistletoe, using embossing powder with Glossy Accents on top to create the little buds.  
My snowy scene at the bottom was created using Embossing Puff powder and Distress inks.

Cheery Lynn Dies Used:
Good luck to everyone entering our Weekly Challenge and have a lovely weekend.

Julie x

Saturday, November 7, 2015

Mixed Media Christmas Card by Julie Lavalette

3:30 AM 2 Comments
Hi Everyone, it's JULIE here today and I'm sharing some Festive Inspiration using the new Royal Scandinavian Doily.
I die cut out my Doily and Corners and heat embossed with a Gold Tinsel Embossing Powder, layering onto my patterned cardstock.
Next I cut out my Candlelight die 3 times, so I had plenty parts to build up my layers for texture. My foliage was shaded with Copics, shaped on my embossing mat and layered up a few times. My Poinsettia was also shaded with Copics, layering in my shaped petals and adding a little Gold Flower Soft to the centre.
My candles were layered twice. On the top section I brushed on some Beeswax which I had melted in my Meltpot. I then added some drips of wax and once set, highlighted with Gilding Wax. My flames were shaded with Copics and some Glossy Accents added onto them.

I do hope you have enjoyed my techniques and feel inspired to try them out on your die cuts.

Cheery Lynn New Release Die:

Other Cheery Lynn Dies Used:
Thanks for stopping by today and good luck to everyone entering our Weekly Challenge.
Julie x

Tuesday, August 18, 2015

You're the Best by Karen Maldonado

3:30 AM 1 Comments

Hello Cheery Lynn Design friends!  It's Karen here today sharing
a card I made for this week's challenge!  It's a quick layered "thank you" card,
that comes together pretty quickly!

First, you start by layering the Square Classic Silver Stacker right on top 
of the  Square Scalloped Stacker .  Then, you take the Fleur De Lis Doily
and place the Circle Classic Silver Stacker right on top.  Now,
adhere both of these layered sets together.

Lastly,  layer the remaining dies in this order:  Pierced Stacker #4
Flourish #6, and then the beautiful Chrysanthemum Strip die!

I added a sweet little stamped sentiment and a beautiful metal brad
to the center of the flower...and, that's it!


List of Cheery Lynn Design dies used:


It's "Doilies" for this week's challenge!  Hope 
you come and play along using all of your favorite Cheery Lynn dies
for a chance at winning a $20 shopping spree to the 
Cheery Lynn Designs on-line store!!

Have a wonderful day!
Karen

Saturday, August 1, 2015

Gingerbread House by Julie Lavalette

3:30 AM 2 Comments

Hi Cheery Lynn friends, it's JULIE here today sharing with my card using the adorable new Gingerbread House. This House reminded me of the story Hansel and Gretel and this is where my inspiration for this card came from.


My background was cut out in black card highlighting all the stitches around the edges with a white pen. I sprinkled on some chunky white Embossing Powder and heat set it to give a snowy look. My Icicles were cut out in white cardstock, spray adhesive added onto it and a layer of extra fine glitter.


My Trees and Grass were cut out in green and glitter added in the same way as the Icicles.


My Gingerbread House I cut out twice. My top layer in Kraft card and I shaded it with Copic Pens and used my Fineliner Pen in to all the embossed grooves to highlight it. My underneath layer my die was used to emboss onto white cardstock and I coloured with Copics before adding behind my card. Please check out the Cheery Lynn video HERE on how to do this technique. Finally adding an extra layer of glittered Icicles to my house.

Cheery Lynn New Release Dies Used:

 Other Cheery Lynn Dies Used:


Thanks for stopping by today and good luck to everyone entering our Weekly Challenge. 

Julie x

Tuesday, July 28, 2015

For You by Karen Maldonado

3:30 AM 3 Comments


Hi there Cheery Lynn friends!  Karen here today sharing
this fun 3-D Poinsetta card!

I started by using the pink snowflake designer paper and
die cut it using the French Flair Classic Silver Stacker set for the card base.

Then, I created a 3-layered piece to put on the base of the card
using these dies in this order:  Square Scalloped LG Square Stackers,


Then, I die cut the 3-D Poinsetta twice, distressed inked both pieces,
and layered, and added some pearls to the center of the flower.

Finally, I die cut the smallest Pierced Banner die and stamped the sentiment.
I added a few pearl and rhinestone swirls to give a little elegant flair!

List of the dies used: 


It's "Anything Goes" for this week's challenge!  Hope 
you come and play along using all of your favorite Cheery Lynn dies
for a chance at winning a $20 shopping spree to the 
Cheery Lynn Designs on-line store!!

Have a beautiful day!

Hugs, 
Karen

Saturday, July 25, 2015

Gingerbread Tree by Julie Lavalette

3:30 AM 2 Comments


Hi Everyone, it's JULIE here today showcasing this adorable Gingerbread Family. I love how you can dress them up, aren't they so cute !


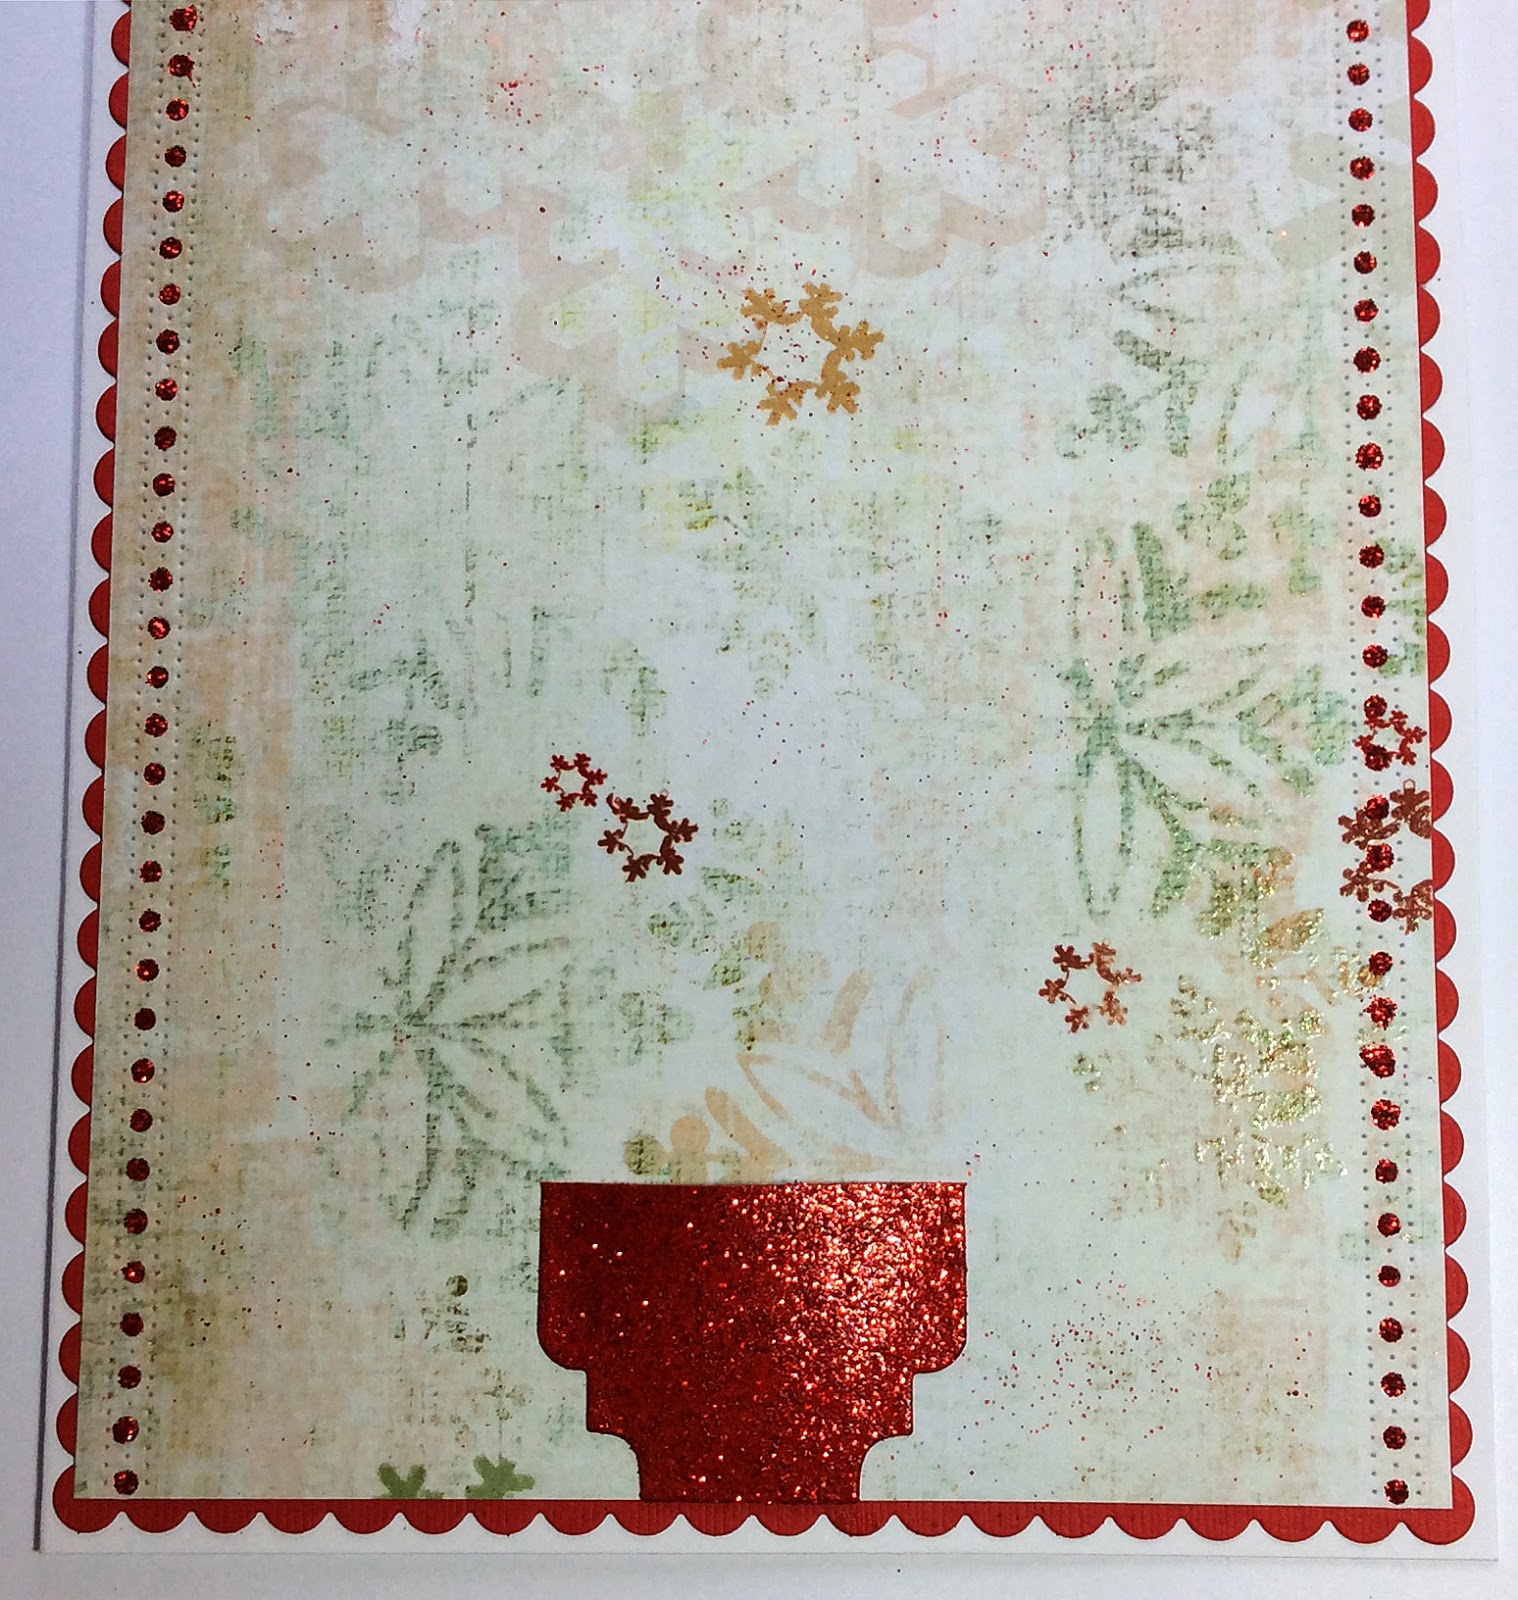
I started off by cutting out 2 Scalloped Squares in red cardstock trimming a strip off them both to form the length of rectangle required for my 8 x 6 card. My next layer I used my die cut edge strip, gluing the layers together and adding Stickles into all the small holes. I then sprinkled a little Red Tinsel Embossing Powder over my paper and heat set for a little more sparkle.


My pot for my Tree was made using a section from my die cut Sentiment Tag. I heat embossed Red Tinsel Embossing Powder on it and my word Believe.


I started layering sections of my Build a Christmas Tree onto my card to form a large tree and added Santas Sleigh.


My Gingerbread Family were coloured with Copics and Glitter Pens, highlighting the embossed details with a white pen. The girl's bows and dresses were layered twice.


The boy's hats I used Snowtec on them adding extra fine glitter whilst still wet and a few gems for buttons.

Cheery Lynn New Release Dies Used:


Other Cheery Lynn Dies Used:


Good luck to everyone entering our Weekly Challenge with a chance to win a $20 spending spree at Cheery Lynn Designs and thanks for stopping by today.


Julie x

Copyright Statement


All content, including designs, pictures and words are the exclusive property of the author of each blog post. Information shared here is for inspiration only and may not be copied for publication, competition or profit. Thank you for your cooperation.

SOCIAL MEDIA 2


Follow Us @jointhemakersmovement


All content, including designs, pictures and words are the exclusive property of the author of each blog post.
Information shared here is for inspiration only and may not be copied for publication, competition or profit. Thank you for your cooperation.