Sunday, November 4, 2012

Dreaming of a Sunny, sunshine day...

3:30 AM 8 Comments
Hello all, welcome to another Sunday here at Cheery Lynn Inspirations Blog.. Tamara here to show you what I have been creating this week.. 
Cheery Lynn Dies you will need 


I love these rolled flowers and they are so easy to make.. All you do is die cut a circle and cut around the circle so as to create a spiral then roll it up. Once rolled glue in place  and you have yourself a very pretty flower..

Thank you for looking today, we also have a Challenge Blog that starts on Monday's with a very nice prize of a $20 voucher to spend in the Cheery Lynn Store ..


Saturday, November 3, 2012

Font Fun!

3:30 AM 8 Comments
Hello! Jodi here with a Holiday card full of fun tips and ideas!
I started by cutting the base of my card with the largest of the Scalloped Square Stackers Nesting dies, layered with the Classic Square Silver Stacker. The Dainty Dutch Deco Frame adds the perfect elegance to the background on my card.
To add dimension to my card and letters, I cut the letters "J" and "Y" from the cardboard of a cereal box.
I cut each letter three times.
I stacked each of the letters adhering as I went followed with a cardstock letter, creating the same feel as the expensive store bought letters for a much better price, and custom made to match my project!
For fun, I used the Ornamental Wreath as the “O” in my word. Here is a close up of the fabulous details on the wreath. The Wreath set comes with a beautiful bow die, but I chose to add a real bow for more texture on my card. I tucked in some foliage from the Holly Leaves and Wreath Strip.
There is still time to enter this weeks challenge for your chance to win the $20 shopping spree! Details Here
 
 
Thanks for stopping by!

Friday, November 2, 2012

My Vintage Box

3:30 AM 10 Comments
Welcome to Friday everyone!   : )

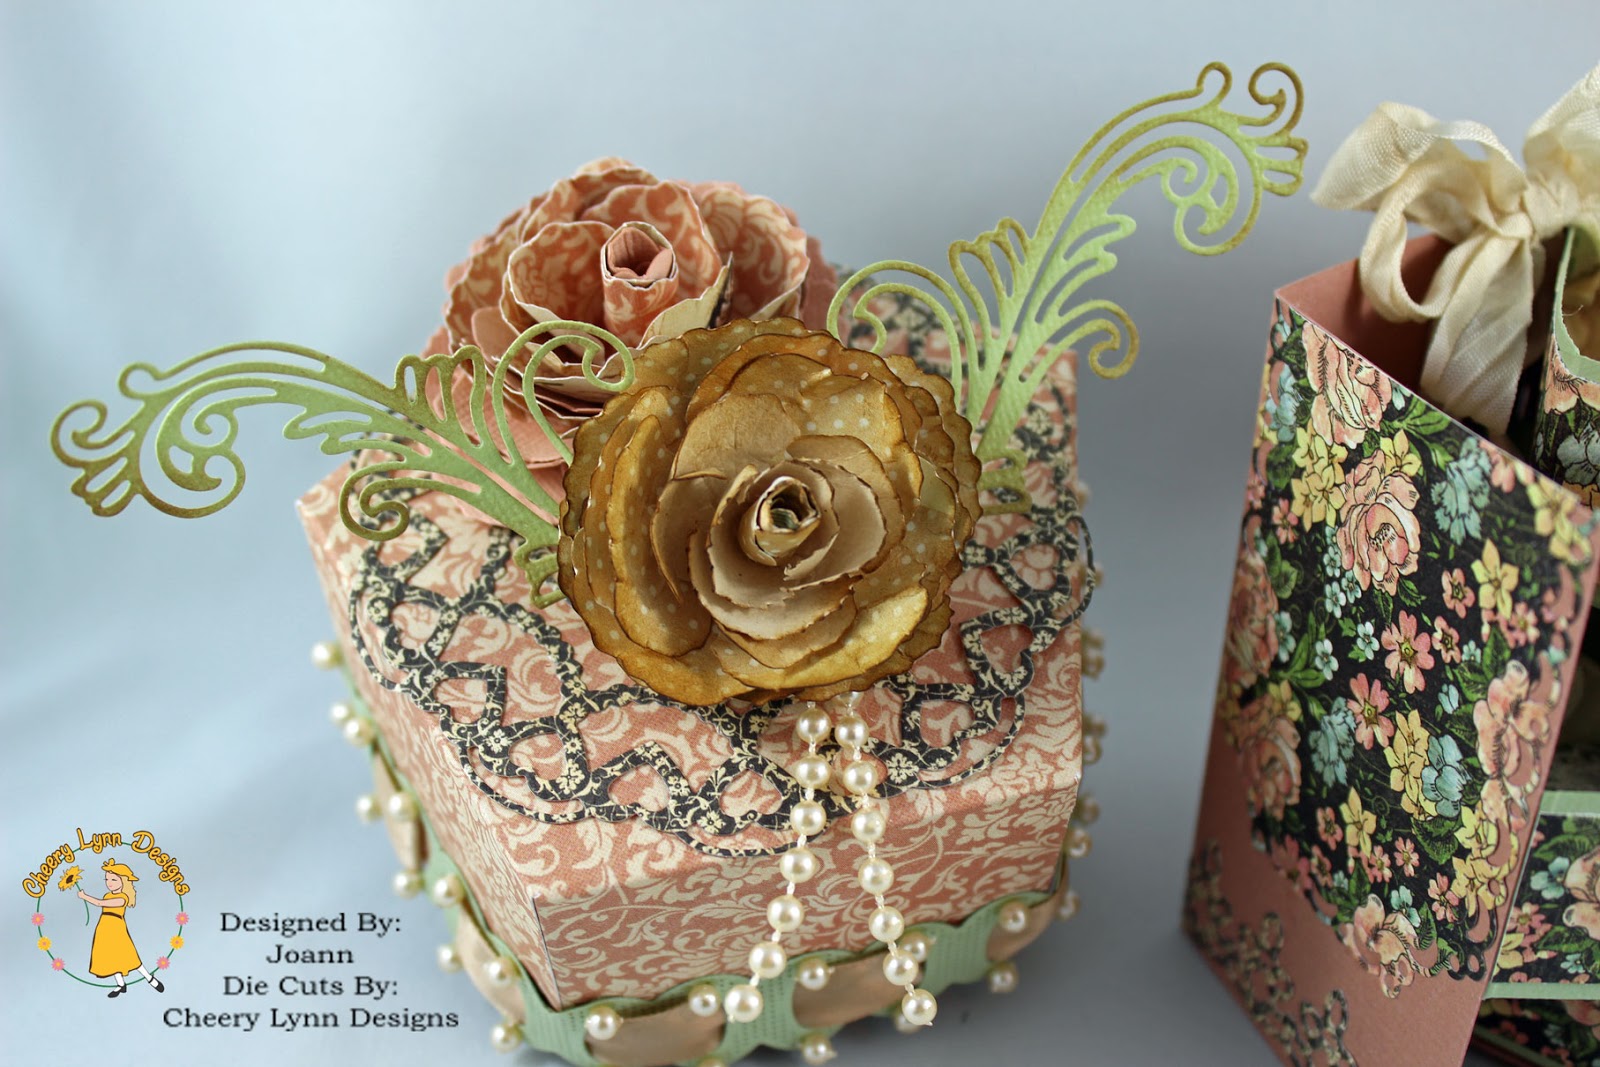
When I was thinking about our challenge theme this week I remembered a keepsake box that my Grandmother had many years ago.  She kept various pieces of her jewelery and things that had special significance in this box.  My plan was to attempt to replicate that box as the unusual shape and opening always intrigued me.  Although the box my Grandmother had was larger, this miniature version gives you an idea of it's shape.

For the top of the box I layered a Sophia's Heart Doily which is just so pretty and elegant and then added some vintage roses that I made using  Build a Flower 2.  The Ribbon Eyelet Border and the Victorian Romance Flourish (and a few pearls) were the perfect accents to give this box that true vintage feel.

Here is a look at the box open:


And this is what it looks like closed:


For this project I used the following dies:

B122 - Ribbon Eyelet Border w/Piercing
B160 - Queen Anne's Lace Border
B187 - Build a Flower #2
DL151 - Victorian Romance Flourish
DL184 - Sophia's Heart
DL193 - Horizion Coved Rectangle

I hope you can find some time to visit the challenge this week and put in your entry where the theme is Vintage!  With your entry you will have a chance to win a $20.00 shopping spree at Cheery Lynn Designs!

Of course, if you would like more inspiration be sure to pop-in to see what my fellow Teamies have been up to!
Have a Cheery Day!


Video Tutorial, Vintage Inspired Baby Card

3:30 AM 11 Comments
This week for Cheery Lynn Designs I have created a baby card, using a range of Cheery Lynn Designs dies.  This card would certainly look beautiful in pink or blue!  I used the Oval Classic Stacker Series, to form a frame, and dressed it up using ribbon. 
I have completed a full tutorial on how to make this card from start to completion.  Also, for those on a slow internet connection, I have shared the basic instructions on how to form the frame, below.


Instructions:
1. Use a small piece of blu-tac between Oval Classic Stacker Series dies to hold them together.  This stops dies moving and you will achieve an evenly cut frame.

2. Die-cut your frame from chipboard, using the Oval Classic Stacker Series dies.
3. Set aside middle of die-cut to use in a future project.
5. Place a small glue dot on back of cut frame, adhere ribbon and begin to wind around the frame.
6. Continue carefully winding around frame until the whole frame is covered.
7. Affix ribbon in place with another glue dot on back of frame.
8. Die-cut Manon's Wedding Garland twice, cutting between the details as pictured above.

9. Adhere Manon's Wedding Garland to the back of the frame using a strong adhesive.
10. Insert fine lace in the same manner as above, though on the inside of the frame.
11. Use the same shaped Oval Classic Stacker that you created with, to draw around the photograph or image you wish to have featured in the frame. Cut out, and affix to the back of frame.

A simple technique, which looks very striking!
This weeks challenge on the Cheery Lynn Designs Challenge Blog is 'Vintage', do pop on over for a chance to win a shopping voucher.

Till next week
Sandie
   
Supplies List:
Oval Classic Stacker Series
Lace Corner Deco A
Sentiment Frame #1
Iris Leaves
Manon's Wedding Garland
NiceCrane Designs - Bessie Gutman Pack
Seam Binding Ribbon
Spun Straw Distress Ink
AC Cardstock
Helmar Adhesives
Blu-Tak
Kaisercraft Mini Sticker Letters
Kaisercraft Crystal Jewel

Thursday, November 1, 2012

vintage card - Kianel

7:02 AM 5 Comments
Hi there everybody,
Well Blogger was playing tricks on me all morning long so i couldn't download anything but it's back now so here is my card for today:
The card is 15x15cm. 
Here are the dies i used on the card:

All papers are handmade with stamps from La Blanche/Hampton Arts/Florilège Design and distress/colorbox/versafine inks.
Don't forget our weekly challenge which this week is "Vintage" and enjoy my fantastic DT mates' creations each day on both blogs!
Love from France, Kianel.

Copyright Statement


All content, including designs, pictures and words are the exclusive property of the author of each blog post. Information shared here is for inspiration only and may not be copied for publication, competition or profit. Thank you for your cooperation.

SOCIAL MEDIA 2


Follow Us @jointhemakersmovement


All content, including designs, pictures and words are the exclusive property of the author of each blog post.
Information shared here is for inspiration only and may not be copied for publication, competition or profit. Thank you for your cooperation.