Showing posts with label Rhonda Van Ginkel. Show all posts

Thursday, March 26, 2015

Give Thanks and Farewell with Rhonda

3:30 AM 5 Comments
Thursday greetings to you! It's Rhonda here to host the blog today for one last time.

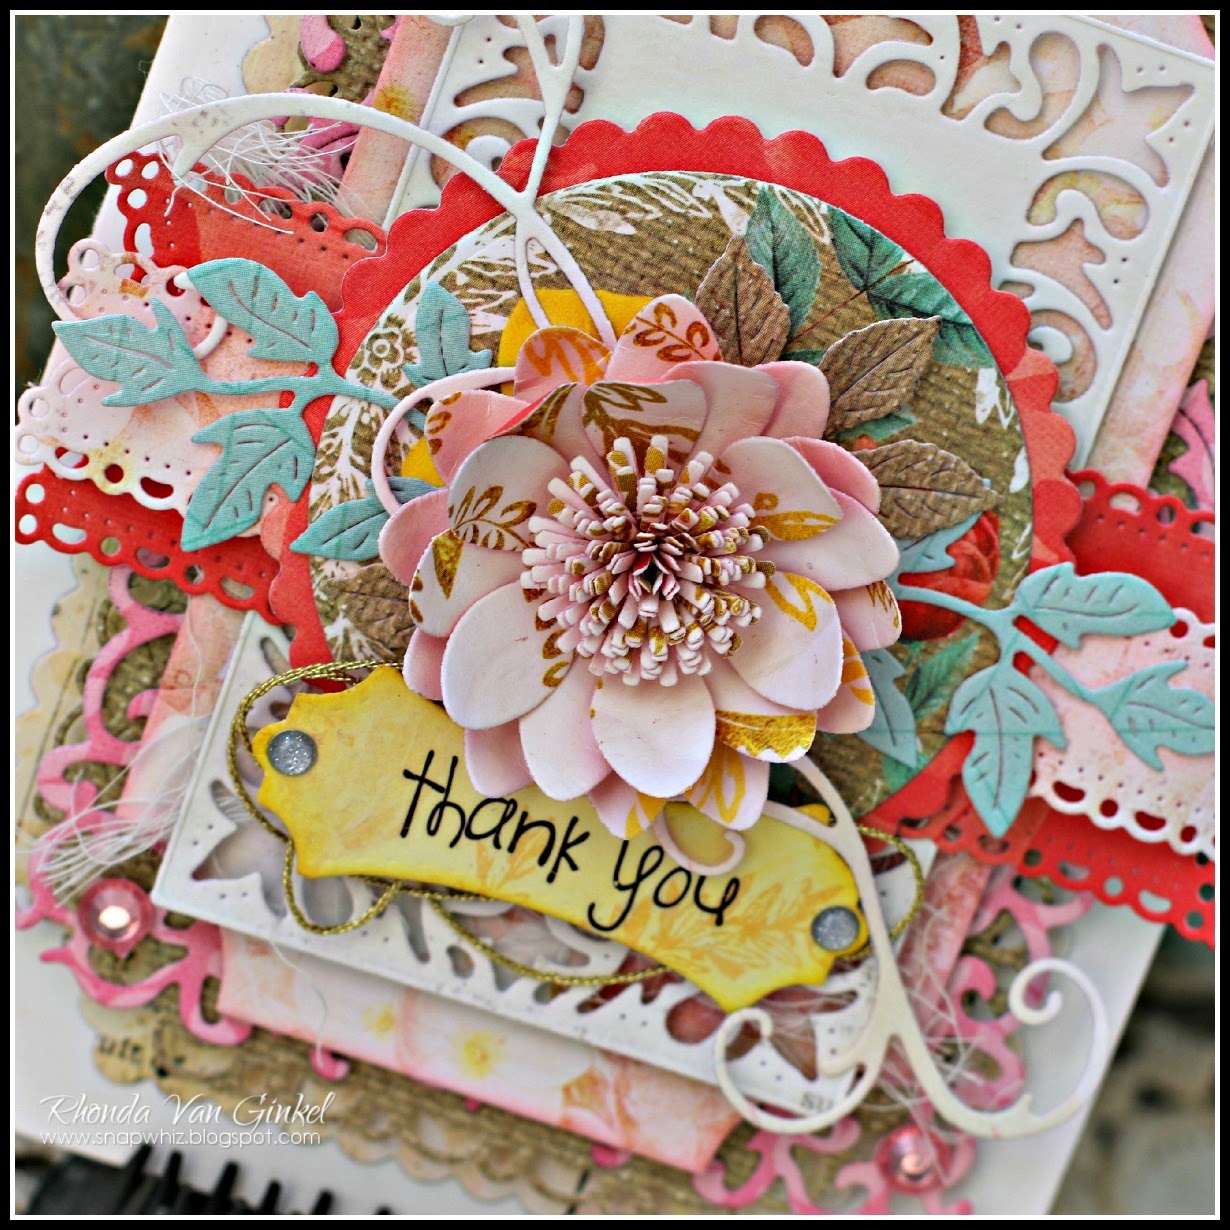
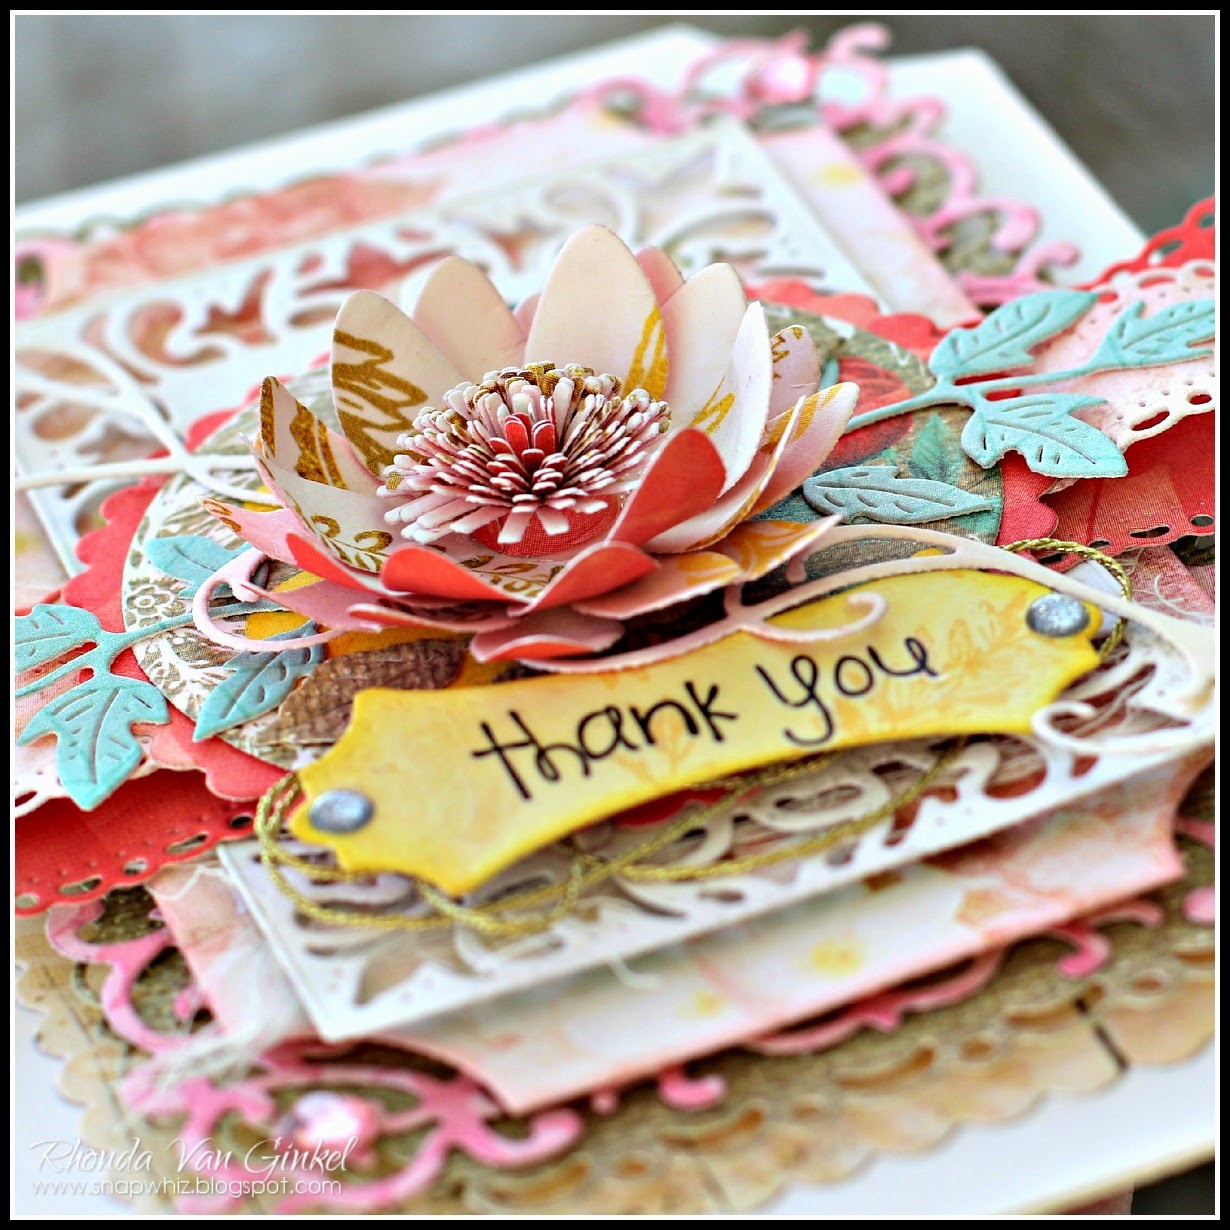
I selected the theme of "Give Thanks" for my card as I am extremely thankful for the opportunity to be a part of this amazing Design Team for over two terms. These dies are so very pretty, I just love using them!

"Give Thanks" (A2 Card)

I used a white card base and layered the Lord and Commons on first. Next I stitched it down in the inside border.  After that I cut a Horizon Coved Rectangle Boutique Stacker in medium and layered the Mirror Mirror Doily Frame on top. 


I cut an Oval Classic Stacker from vellum and layered it on top of the Mirror Mirror Doily Frame, then a cut using Chicken Wire and layered between the Oval center layer on top.


I added the Princess Tree, then the Cherry Blossom, Sweet Christine and Darling Daisy florals next, mixed in with the Sentiment Frame #2. The Ivy Strip and Flourish Leaves were added behind the florals. A few gems helped finish the card.


Cheery Lynn Designs Dies Used:
Mirror Mirror Doily Frame - DL286
Add A Flourish - B456
Cherry Blossom - B129
Darling Daisies - A196
Sweet Christine - B434
Flourish Leaf Strip - B178
Ivy Strip - B304
Princess Tree - B180
Oval Classic Stackers LG - XL-7
Chicken Wire - FRM144
Sentiment Frame #2 - B190

Please be sure to join our challenge this week, the theme is "Anything Goes", so get creative! You could win a $20 gift certificate just for playing along.

I wanted to take a moment to say thank you to Cheery Lynn Designs for having me and to you for all of the kind comments you leave. I have enjoyed every moment being a part of this wonderful team and company!

Thanks so much for stopping on over today!
~ Rhonda

Thursday, March 19, 2015

Nature Themed Dies with Rhonda

3:30 AM 7 Comments
Greetings and happy Thursday to you! It's Rhonda here today to host the blog for you.

For today's project I mixed a few of our nature themed dies (Happy Halloween Twiggy Wreath, Cattails and Reeds and Quill and Ink Pot) together with our pretty Lilith Edger and Dutch Daisy boutique stacker frames to mix things up a little bit. I think it takes on a soft and romantic feel.


I started with a base white A2 cardstock background, then added the Dutch Daisy Boutique Stacker Frame to it. Next, I cut a Cardmaker's Rectangle Scalloped, then used the Lilith Doily Edger on one side. Next, I cut the Happy Halloween Twiggy Wreath and the Horizon Fishtail Banners.


The medium Horizon Fishtail Banner is a bit long for the card, so I cut a little bit from the middle and adhered behind my pink Scalloped Rectangle and Edger cut layer. I cut the Coved Rectangle and adhered behind the pink Scalloped Rectangle. 


I used the Quills and tucked them under the banners, then the Princess Tree was layered as well and tacked down with the flowers arranged on top.  Here you can see the dimension of the Sweet Williams and Darling Daisies. The Tiny Fanciful Flourishes are tucked in under either side of the flowers.

Cheery Lynn Designs Dies Used:
Quill and Ink Pot - B369
Cattails and Reeds - B389
Princess Tree - B180
Happy Halloween Twiggy Wreath - B469 
Darling Daisies - A196
Ivy Strip - B304 
Horizon Fishtail Banners - DL278
Dutch Daisy Boutique Stacker A2 Frame - DL293
Tags 4 - B263
Sweet Williams Strip - B307
Tiny Fanciful Flourish - B387 
Coved Rectangle Classic Stacker - XL-10 
Lilith Doily Edger - B404
Card Maker Rectangle Scalloped - CM2 

Please join us this week for our new challenge, Celebrate! You can win a gift certificate to the online Cheery Lynn Designs store just for playing along!

Thanks so much for stopping on over to the blog today, have a super week!
~ Rhonda

Thursday, March 12, 2015

Lattice and Trellis with Rhonda

3:30 AM 4 Comments
Happy Thursday to you, it's Rhonda here today to host the blog and share a project.

Cheery Lynn has some gorgeous frame dies and I particularly like the Lattice background. I also really love the Trellis die, it always adds a bit of charm to your project.


I started with a white cardstock A2 base, then cut the Lattice Frame from light kraft cardstock and adhered. Next I cut the Polynesian Sails Oval in a pretty blue, then attached. The next layers are the Horizon Oval Boutique Stacker (medium) followed by an Oval Scalloped LG Stacker.

The Trellis was cut from kraft cardstock, as well as two different frames from the Sentiment Frame #2 set which I added a rub-on sentiment to. The top sentiment frame is adhered with foam dimensional dots so the Add A Flourish and foliage could be tucked in.    


The florals were arranged and a few smaller flowers were added from the Tiny Flower Kit. Some gems in a variety of colors finished the card along with a tiny bow.

Cheery Lynn Designs Dies Used:

Be sure to join us in our Easter challenge this week, you can find all of the details here. You could win a $20 gift certificate just for playing along. You can't win if you don't play!

Thanks so much for stopping on over today! 

Thursday, March 5, 2015

Springtime Mix of Layered Doilies

3:30 AM 5 Comments
Greetings and happy Thursday to you!  It's Rhonda here today to host the blog for you.

I have a creation today inspired by our current challenge theme of Doilies. The color scheme here is a nod toward Spring. I've also featured one of our pretty flower dies, the Black Eyed Susan Strip.

"Thank You"
Coved Rectangle Card for Cheery Lynn Designs by Rhonda Van Ginkel

The base of my card was created using the Coved Rectangle Silver Stacker on the fold of my paper. By placing the fold of my paper just inside of the die, it created my base card shape.

Coved Rectangle Card for Cheery Lynn Designs by Rhonda Van Ginkel

The next layers are the Coved Rectangle Scalloped - LG in a woodgrain paper, followed by the Horizon Boutique Coved Rectangle which is attached with foam dimensional. On top of that, I placed the Alpine Flourish Doily in pink followed by the Coved Rectangle Classic which was also attached with foam dimensionals.

The next layer is cut from the Card Maker Rectangle Classic, with the Dutch Daisy Boutique Stacker cut from the interior. On top of this you find the two layers of Horizon Fishtail Banners nested under the Scalloped Circle and Circle Classic dies.

Coved Rectangle Card for Cheery Lynn Designs by Rhonda Van Ginkel

The flower here is the Black Eyed Susan Strip and for the leaves, I chose the Flourish Leaf Strip as well as a few leaves from the Tea Rose Medium. The Sentiment Frame #1 and Add A Flourish along with a few gems completed the card. I adhered a bit of gold string under the sentiment as well.

Cheery Lynn Designs Dies Used:
Coved Rectangle Classic - Silver Stackers - L-10
Horizon Coved Rectangle Boutique Stacker Frames - DL251
Dutch Daisy Boutique Stacker A2 Frame (set of 4) - DL293

Please be sure to join us this week for our challenge - "Doilies"!  You could win a $20 gift certificate just for playing along!!!

Thanks so much for stopping on over for a visit today.

Thursday, February 26, 2015

Layered Doily Dies with Rhonda

3:30 AM 1 Comments
Happy Thursday crafty friends!  It's Rhonda here today to host the blog for you. My project today is a square card.

"Hello" (5x5 card)

I love the pretty layers of our doily dies and how they add such a delicate touch to your project. Here I'm showcasing a few of our newer dies, the Royal Scandinavian Doily and the Florence Filigree Doily. The steps that I used to create this card are:
  • To start I used a 5x5 card base in white card stock. 
  • Next I added the square scalloped layer.
  • This was followed by the Royal Scandinavian Doily in light pink card stock. 
  • Then I added the Florence Filigree Doily with foam adhesive for dimension. 
  • I cut a layer using the Horizon Circle Boutique Stacker medium die.
  • The Bird Cage was added on top.


  • Cut the Daisy Strip, misted lightly with water, shaped and formed the layers and adhered.
  • Add the Princess Tree and arrange under the Daisy.
  • Hummingbird was cut next, then cut the wing a second time and attach to behind the bird. Ink edges and attach with foam adhesive for dimension.
  • Final step is to cut the smallest Horizon Fishtail Banner and trim to fit. Add sentiment by stamping or using a rub-on. Shape and attach by tucking under the Daisy.
  • Finishing touches were to add a pearl for an eye on the Hummingbird and gems in the corners of the Royal Scandinavian Doily.

Cheery Lynn Designs Dies Used:

Please be sure to join us this week for our challenge, the theme is "Anything Goes".  You can find all of the details right here.

Thanks so much for stopping on over to the blog today!

Copyright Statement


All content, including designs, pictures and words are the exclusive property of the author of each blog post. Information shared here is for inspiration only and may not be copied for publication, competition or profit. Thank you for your cooperation.

SOCIAL MEDIA 2


Follow Us @jointhemakersmovement


All content, including designs, pictures and words are the exclusive property of the author of each blog post.
Information shared here is for inspiration only and may not be copied for publication, competition or profit. Thank you for your cooperation.