Showing posts with label Deutschland Border. Show all posts

Thursday, March 10, 2016

Now is the Right Time Card with Corina Finley

3:30 AM 0 Comments

Hello!

Hope you are having a great week and have had some time to be creative! I wanted to share with you a card that I created using a stamp set that I purchased awhile ago but did not get a chance to play with!
I stamped my image on watercolour paper with VersaFine Onyx Black Ink and embossed with Super Fine Black embossing powder. Heat set and used Ink sprays to colour the panel and one matte. I cut two mattes from black cardstock using the Rectangle Stitch and Cut die. I layered the four together and used one die from the Deutschland Border Set to add detail.


For my floral arrangement, I used two floral dies from the CRAFTY-ANN Collection.
Flower and Chrysanthemum were both inked with vintage photo distress ink, added a flower center to each and dipped the tips of the centers in black glitter. I also cut the medium Tea Rose flower, foliage and flourish accents from white cardstock and inked.


I wanted to add focal interest to the top left corner, so I decided to add a couple of tags, flourish accents and a small flower for more detail and layers. Used copper mini brads to attach my sentiment and added some small black rhinestones.


Dies Used:

I hope you will play along in our Cheery Lynn Designs ChallengeYou could win a $20 shopping spree at the online Cheery Lynn Designs store.

Thanks for joining me today!

Take care,

Live, Laugh & Create!

Friday, September 25, 2015

Be Bold Card by Corina Finley

3:30 AM 1 Comments

Hello Cheery Lynn Crafters!

Corina here with you today to host the blog and share this weeks card! So lets get to the steps I used to create this card.

I started with a white cardstock base, added a layer on top using a die from the A2 Frames Rectangular in grey polka dot pattern paper, and corner rounded the right top and bottoms corners of each. I cut a layer from white text pattern paper and cut my matte using a die from the A2 Frames Rectangular in black cardstock. The vertical strip was from the same text pattern paper and matted in black cardstock.


I cut three circles using the Circle Classic - Silver Stackers die set. One in black cardstock, one in floral grey & white pattern paper and one in the turquoise small polka dot pattern paper. I cut the Candy Hearts Doily also from the turquoise small polka dot pattern paper, added the larger black cardstock circle to the back of the Doily and the turquoise small polka dot circle to the front.

On the black Polynesian Sails Mini Doily, I added my flowers and leaves. I layered these elements on to the card front and tucked in the thin border from the Deutschland Border Set. I added my sentiment to the circles and I was finished!


Dies Used:

Circle Classic - Silver Stackers - L-4


I hope you will play along in our weekly Cheery Lynn Designs Challenge 203 - Lace. You could win a $20 shopping spree at the online Cheery Lynn Designs store.

Thanks for joining me today!

Take care,
Corina Finley

Live, Laugh & Create!

Friday, September 18, 2015

Hello Card with Corina Finley

12:30 AM 1 Comments

Hello! Happy Friday! 

Corina here with you today to host the Cheery Lynn Blog. I have been showcasing Christmas Cards and Well Wishes Cards these past few weeks. Today is an "All Occasion" type card which was inspired by this weeks challenge Things with Wings - here on the Cheery Lynn Blog. 

When I saw the pattern paper - I just knew I wanted to use the cute Bee Die. Perfect Combo! I pulled a few more dies from my Die albums (how I store my dies - which I will share in the future!) and started to create!


I layered the Italian Flourish Tiny Doily on top of the Polynesian Sails Mini Doily. I then die cut a small and medium Tea Rose - inked and sprayed each and added the trio leaf that cuts out with each of the Tea Rose strip.

I think that Bee works perfectly! So easy to colour because it comes with the coordinating solid background die. I cut the top detailed layer from black cardstock and cut the back die in white. I coloured the white die cut and adhered the black detailed die cut on top. Added some glitter to make the wings sparkle!


My top right hand corner needed something! I cut the Tag from scraps left over of the pattern paper and cut the smallest of the Horizon Fishtail Banners.  I trimmed the banner to fit and added the flower, leaf and rhinestones.


Here is a closer view of the floral arrangement, Bees and sentiment banner.

Dies used:

Tiny Things with Wings - B266


I hope you will play along in our weekly Cheery Lynn Designs Challenge 202 - Things with WingsYou could win a $20 shopping spree at the online Cheery Lynn Designs store.

Thanks for joining me today!

Take care,
Corina Finley

Live, Laugh & Create!

Saturday, July 25, 2015

Gingerbread Tree by Julie Lavalette

3:30 AM 2 Comments


Hi Everyone, it's JULIE here today showcasing this adorable Gingerbread Family. I love how you can dress them up, aren't they so cute !


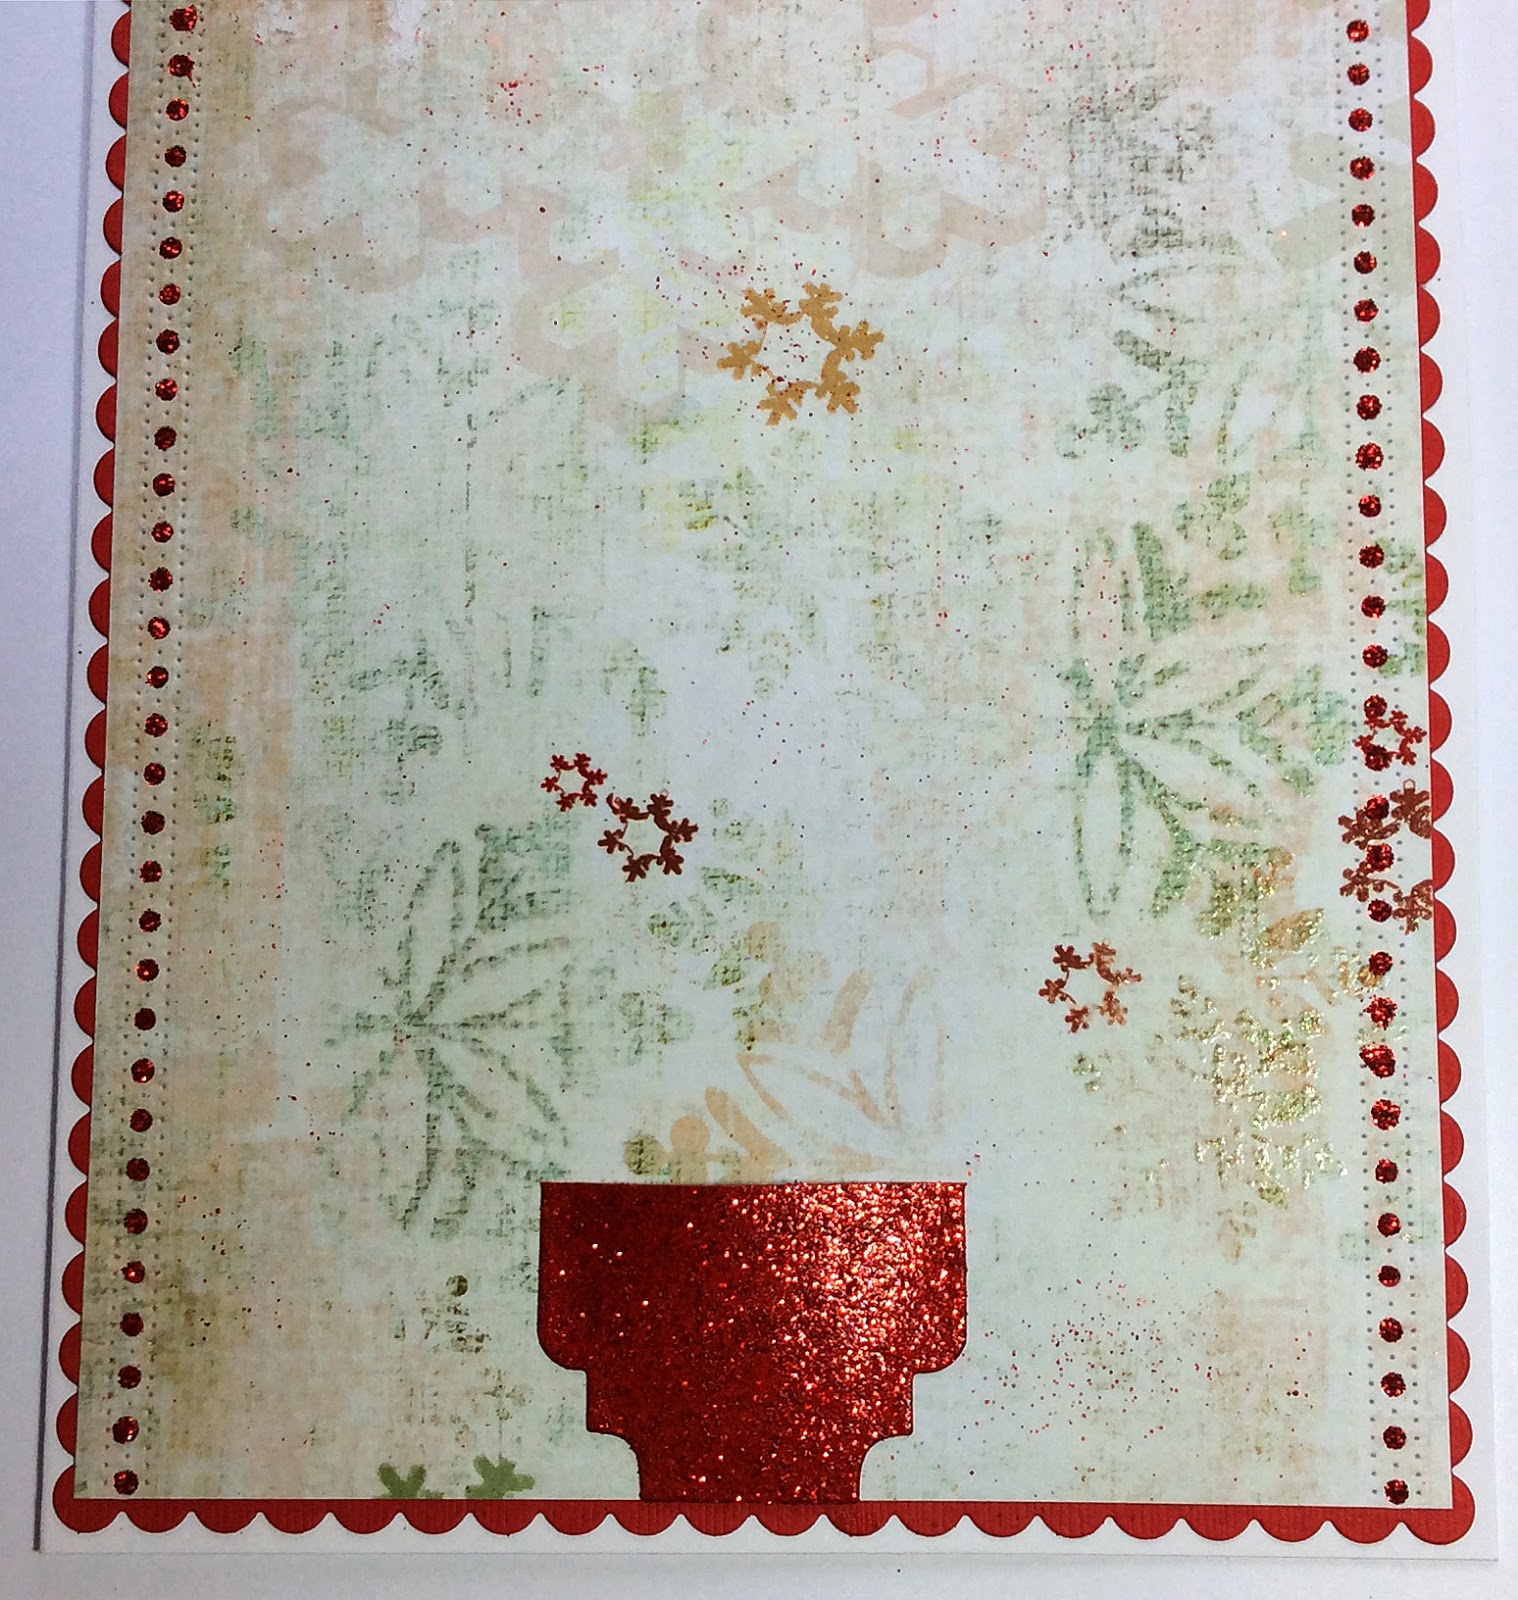
I started off by cutting out 2 Scalloped Squares in red cardstock trimming a strip off them both to form the length of rectangle required for my 8 x 6 card. My next layer I used my die cut edge strip, gluing the layers together and adding Stickles into all the small holes. I then sprinkled a little Red Tinsel Embossing Powder over my paper and heat set for a little more sparkle.


My pot for my Tree was made using a section from my die cut Sentiment Tag. I heat embossed Red Tinsel Embossing Powder on it and my word Believe.


I started layering sections of my Build a Christmas Tree onto my card to form a large tree and added Santas Sleigh.


My Gingerbread Family were coloured with Copics and Glitter Pens, highlighting the embossed details with a white pen. The girl's bows and dresses were layered twice.


The boy's hats I used Snowtec on them adding extra fine glitter whilst still wet and a few gems for buttons.

Cheery Lynn New Release Dies Used:


Other Cheery Lynn Dies Used:


Good luck to everyone entering our Weekly Challenge with a chance to win a $20 spending spree at Cheery Lynn Designs and thanks for stopping by today.


Julie x

Friday, May 22, 2015

Reason I Smile Tag by Corina Finley

3:30 AM 1 Comments

Hello and Welcome!

Thank you for joining me, Corina, today on the Cheery Lynn blog. I decide to create a tag this week instead of a card. I hope you like it!


I used the Pierced Stacker #3 to cut the coloured stamped image. I also cut the matte using one size larger stacker die from dark gray cardstock.

The smallest Pierced Banners was cut from light gray cardstock and stamped with my sentiment. I attached the banner to the top right corner with a tiny stapler and trimmed.


The bottom portion was cut using border dies. The Curved Border was cut on an angle, using 2 dies from the set of 4, then highlighted with a black pen. I used one die from the Deutschland Border Set on the very bottom and also used tiny staples to mimic the design. 


Dies used:
I hope you will play along in our weekly Cheery Lynn Designs Challenge 185 - Make It ManlyYou could win a $20 shopping spree at the online Cheery Lynn Design Store.

Thanks for joining me today!

Take care,
Live, Laugh & Create 

Copyright Statement


All content, including designs, pictures and words are the exclusive property of the author of each blog post. Information shared here is for inspiration only and may not be copied for publication, competition or profit. Thank you for your cooperation.

SOCIAL MEDIA 2


Follow Us @jointhemakersmovement


All content, including designs, pictures and words are the exclusive property of the author of each blog post.
Information shared here is for inspiration only and may not be copied for publication, competition or profit. Thank you for your cooperation.