Showing posts with label Vintage Hot Air Balloon. Show all posts

Friday, August 18, 2017

And We Are Off...

12:30 AM 0 Comments


Hi everyone!

 Laurie here from Stamping Up North sharing a Birthday card I made with some of the dies from the Veriloquent Vintage release. What a great set of dies to add to your collection. I find myself reaching for them again and again...so versatile and fun!

I cut the Hot Air Balloon out in some gingham and checked purple papers, adding just a piece of the Wrought Iron Fence at the base. Then I added a sentiment on a banner from the Weathered Scrolls 3 piece set.


For my background I started with the Distressed Honeycomb....there are so many possibilities for using this die! I added some clouds and a sun I made with the Flourish Frame set. I adhered it all on a stitched rectangle, and added a few pearls for embellishment.

Here's a list of the dies I used:

Thanks for stopping by!

Sunday, August 13, 2017

Little Things by Jenny Alia

3:30 AM 1 Comments

Hi Everyone!  I've been itching to use the new patina paints I picked up last week and the first thing I wanted to paint with them is these gears.  The new Cheery Lynn Vintage Hot Air Balloon has been calling to me too.  I use the smaller hot air balloons a lot and this one is different enough both in size and style that it needed a place in my die collection.


I love how the background of the balloon is a perfect fit behind so it's easy to add additional colors.  I'm looking forward to cutting and paper piecing different colors inside the balloon to create a different look. 

I painted the Gears and embossed both the Vintage Hot Air Balloon and the heart lock from the Whimsical Lock and Key set.  I adhered the front of the balloon to the background with a tinted glaze.  I found the sentiment in a paper pack and thought it was the right size to add to the card. Last I added the black rhinestones and the gold thread to the lock.

Cheery Lynn Dies

Thanks for stopping by the blog today!
Hugs, Jenny

Friday, August 4, 2017

Adventure is Worthwhile - Step by Step Tutorial by Julie Lavalette

3:30 AM 0 Comments

Hi everyone, it's JULIE here and today and I am sharing with you all a step by step mixed media project on a 5" x 7" Artist Canvas Board using more of the fabulous Dies from the newly released Vintage Collection, so let's get started.


When I was deciding the composition on my canvas I first placed my Dies roughly where I wanted them and once I had decided on the placement I cut them all out from Cereal Box card. Cheery Lynn Dies always cut beautifully with this substrate and it helps to give more texture on a mixed media project when paints and mediums are applied. You will also notice on the Hot Air Balloon I cut the Balloon section from corrugated card.


Next I added Black Gesso to my die cuts and whilst still wet I sprinkled over Embossing powders for texture and a rust effect, heat setting in place.


Next I placed my die cuts back on my board to help me decide what colours I would make my balloon and wings. You will also notice at this point I had highlighted the texture on my cogs with some Gilding wax in a Renaissance Gold.


The wings were coloured with a Silver Alcohol Marker, touches of Gilding Wax and a Clear Glitter Pen to add touches of sparkle.


For my balloon I added Gilding Wax over the corrugated card. The outer part I added Black Gesso and a dark brown to the basket..


My ballon was glued together adding the cogs and a chain from an old necklace which was attached with brads for extra detail and a steampunk feel.


I now started to work on my background, gluing the negative parts of the Distress honeycomb die onto my canvas.


I added a selection of Acrylic paint onto my canvas starting with darker colours at the top. My plan was to have an ombré look of dark going to light and in colours that look similar to a landscape.


I loaded my flat paintbrush up with a lot of water and brushed the paint through from one side to another, making sure my paintbrush had plenty water on it to blend the paints easily.


Once dry I started to add some stamping with a Cogs Stamp and Grey Archival Ink, adding touches of Gilding Wax around the outside of my frame and onto the small corrugated pieces of card.


Now onto the fun part of seeing all the elements come together as I glued them into place. You will notice I also added some extra cogs onto the frame, keeping some complete and others cutting into sections.


My Penny Farthing I added Gilding Wax at the spokes on the wheels and cogs in to the centres. Finishing with a fun sentiment from Chit Chat Stickers.

I do hope you have enjoyed my post and feel inspired to have a go at making a mixed media project with your die cuts.

Thanks for stopping by,

Crafty Hugs,
Julie x 
Cheery Lynn Dies Used -

Thursday, August 3, 2017

Believing in Yourself by Jenny Alia

3:30 AM 0 Comments

Hi Everyone!  The new Cheery Lynn Vintage Hot Air Balloon has been calling to me.  I use the smaller hot air balloons a lot and this one is different enough both in size and style that it needed a place in my die collection.


The die is a two piece set and I love having the backing for the balloon.   It is so easy to cut various papers to create different looks.


I started with the dark blue Vintage Hot Air Balloon and then cut the sparkly background.  I was originally planning a more complicated card but once the back was in place I thought the balloon could carry the design of the card on its own.  I ended up using a scallop die to add the white background layer.  The scallops reminded me of clouds and it added some needed interest.  

Cheery Lynn Dies

Thanks for stopping by the blog today!
Hugs, Jenny

Wednesday, August 2, 2017

Just Because Card with Cheryl Walker

12:30 AM 1 Comments
 Hello everyone and Happy Wednesday to you all! Today I'm super excited to share with you all some of the dies from the Sweet New Veriloquent Vintage Cheery Lynn Release. LOVE LOVE LOVE this release!!! There are so many beautiful vintage dies in this release, and this card shows 4 of them. I will list them all below for you :)
 Cheery Lynn Designs Dies:
B881 Old Leather Books ( I chose to use them up at the top as banners)
B888 Flourish Frame ( small frame used for the sentiment)
B886 Vintage Tile(used behind the hot air balloon)
B897 Vintage Hot air balloon

On my card I chose to use some design papers from Graphic45 as I thought this would match perfectly, as there is a hot air balloon on the design paper. This is the 'Come Away with Me' paper stack. Next I LOVE all the dies in this collection and figured I would try to use as many as I could on this card. I added some liquid Viva Pearls to the hot air balloon and the books. I wanted to do something different with the books, so I used them as banners on my card :) I truly enjoyed creating this one, and hope you enjoyed my post for today :)
Hugs to all,
Cheryl

Sunday, July 16, 2017

Sending Love to You Card with Bonnie Garby

3:30 AM 0 Comments
Hi friends.  Bonnie here with you today from Make Time to Craft.  I hope you were able to Hop Along in our July Vintage New Release Blog Hop yesterday.  If not, it's not too late to hop and comment for a change to win a $20 gift certificate to Cheery Lynn Designs.
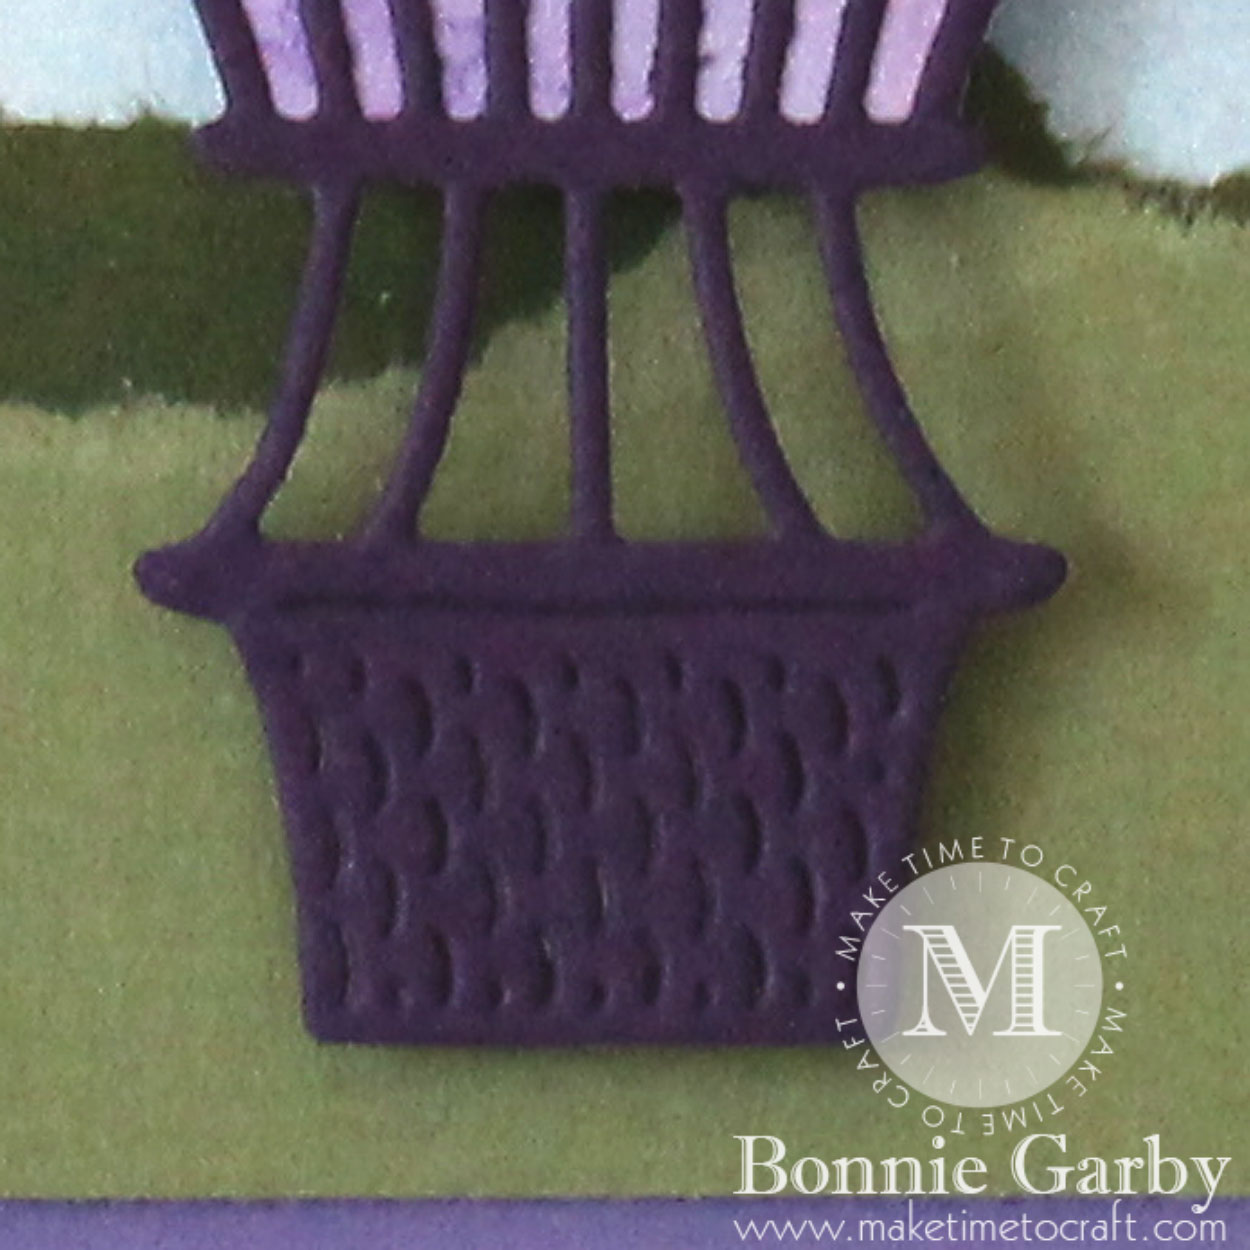
My card today features the Vintage Hot Air Balloon Die set from the new Vintage release.  This is such a fun die with amazing detail.  Just look at that basket.  

This is a two piece set and there is a die included which will but out the balloon portion for you so you can make it any color you want.  No fussy cutting needed!
My sentiment was stamped on one of the Weathered Scrolls dies.  In order to get the dark back layer, I traced around the die and cut in dark purple.
I also pulled out my Whimsical Sun & Clouds die set and cut a variety of clouds to use in my sky.

Cheery Lynn Dies used:

My card was topped off with a bi-color bow made on my Bow-it-All V3.0 tool using two of the ribbon styles in the July Ribbon Club Assortment from Really Reasonable Ribbon.  I then added a pretty pearl star shaped embellishment to the center of the bow.
Thanks so much for stopping by today.  If you missed the Blog Hop yesterday, be sure to head on over and see all the amazing projects showcased by the design team using dies from the new Vintage Release from Cheery Lynn Designs.  Happy crafting!

~  Bonnie  ~


Copyright Statement


All content, including designs, pictures and words are the exclusive property of the author of each blog post. Information shared here is for inspiration only and may not be copied for publication, competition or profit. Thank you for your cooperation.

SOCIAL MEDIA 2


Follow Us @jointhemakersmovement


All content, including designs, pictures and words are the exclusive property of the author of each blog post.
Information shared here is for inspiration only and may not be copied for publication, competition or profit. Thank you for your cooperation.