Showing posts with label Wicker. Show all posts

Wednesday, July 11, 2012

Elegant Evergreen

3:30 AM 7 Comments

The Cheery Lynn Designs challenge this week is Silver and/or Gold.  So I thought I would make another Christmas card, this one with silver.  I began with this beautiful Cathedral Lace Frame, die cutting it from Cryogen white card stock and backing it with Silver metallic card stock.  I mounted this to a red panel that I first added texture to with my Big Wicker die (embossing instead of cutting)  I mounted both of these onto a 5 x 7 Cryogen card stock base.  Next came the Elegant Evergreen; I separated the layers and then popped them up for some added dimension.  For the border on the bottom, I die cut Anastasia out of silver card stock, backing it with more Cryogen.  The last step was to add some gems; holly in the top corners and then red gems on the tree and border.  This card has a lot of sparkle and shine!

Be sure to visit the Cheery Lynn Designs Challenge blog for inspiration and to join in for a chance  to win a $20 shopping spree at Cheery Lynn Designs
Sandy

Wednesday, June 6, 2012

Floral Oval Lace

3:30 AM 11 Comments

For my post today, I have taken the new Manon's Wedding Garland oval die and built a card around.  It is such a beautiful lacy die that I felt it needed little color and clean embellishments.  To create my background panel, I used my Big Wicker die, embossing rather than cutting.  It reminds me of the beadboard in my Grandmother's kitchen.  One of the perks of the Garland oval die is the two flowers you get in the center of the die; they are the open petal flowers you see in my creation.  I combined them with Cheery Blossoms, Judy's Blooms and Sweet Williams to create my flowers, bending some of the petals up for added dimension.  For the leaves I used the new Flourish Leaf Strip and Pine Branches.  The border across the bottom is my Dancing Doily Lace.  I used Cryogen white paper for the entire card, then decided it needed some color so I used my B000 and G40 Copic markers.  Just the right amount of color, I think!  Finished size is 5 x 7 inches.

Be sure to visit the Cheery Lynn Designs Challenge blog.  During the month of June, all entries into the challenges will also be entered for a chance to win a Big Shot die cut machine!  And you still have the chance to win a $20 shopping spree at Cheery Lynn Designs.

Friday, January 6, 2012

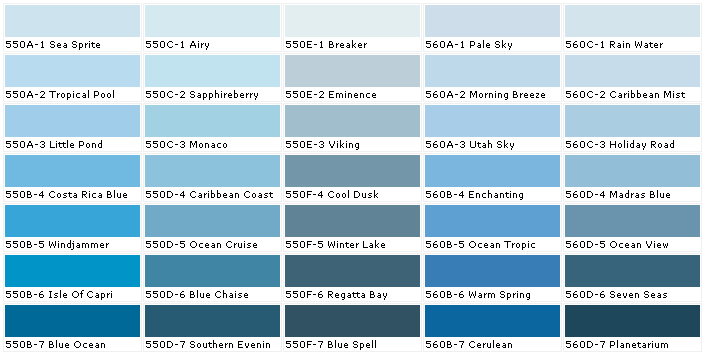
Have you got the Winter Blues?

3:30 AM 7 Comments
Whether you get the Winter Blues or not, I have some blues to share...

I found this wonderful picture to start me thinking about Cheery Lynn Designs current challenge which is


I then found this gorgeous picture as my inspiration...


If that was not inspiration enough, I came across this quote by Vincent van Gogh that ties it all together, "There is no blue without yellow and without orange."

Aww..so perfect! 
 I wanted to show you my background without anything on it.
I used both the Wittle Wickers and Wittle Weavers to create this. 
 After I built my base, I used the Rectangle Card Stackers to cut it to the size I wanted.


Here is the finished card with the flowers handmade with the new Large Rose die.

I hand dyes coffee filters and then cut these out.  They are a combo of oranges and yellows, although you can't tell in this picture.


I used many layers so they are soft and puffy.  I was trying to make my roses look more like my favorite flowers, ranunculuses.


I hope I have given you some eye candy and a push to join our challenge.
The weekly winner get a $20 gift certificate to Cheery Lynn Designs.
You can go HERE to see all the details on our challenges.
This has been Jeannie with The Polka Cabana with today's post!
Have a great weekend.

Friday, December 23, 2011

All Occasion Card

4:08 AM 4 Comments
On my last post when I had made the Tussie Mussie, I really loved using the Wittle Weavers for weaving the base.  I knew this week I wanted to use the Wittle Weavers again, but this time I used them on my card background.


The creme and blue papers are woven together and then I used the Stitcher Plate to create the stitched look.


I love flowers so much and I never tire of creating them.  It is fun finding new ways to make them.
For the rolled up looking flower, I took the Wittle Wicker and cut strips of the blue and red papers.
Then I glued the strips together and wound them around a button to create the rolled flower.  The flower with the petals is made from our brand new Medium Rose.  The accordion flower is made with the leftover scraps I had from cutting out the ZIG ZAG RIC RAC.


Other dies I used were the Lace Edger and the Tropical Flourish.


The teddy bear is done on shrink film and is and adorable digital stamp from Whimsy Stamps called Teddy's house.  It is removable to use as a decoration/ornament etc.
That does it for my project today!  I truly look at it and smile.
I never tire of making things and I hope you never tire of the things I share.
My wishes to all you are to have a wonderful holiday, enjoy your family and loved ones as we all celebrate this beautiful season.
Merry Christmas everyone!
This has been Jeannie from The Polka Cabana with today's post.

Remember we have a new challenge up.  Please join us for the TIS THE SEASON challenge.
The winner will be chosen based on merit by Cheery Lynn Designs.  They will receive a $20 coupon for shopping at the Cheery Lynn website.  The challenge will end on Sunday night at 22:00 Eastern time.
Click HERE for all the details.

Friday, December 16, 2011

Tussie Mussie's Cheery Lynn Designs Style

3:30 AM 7 Comments
Today I am sharing with you this adorable hanging cone, aka a Tussie Mussie.  I looked up Tussie Mussie and found out that at some point they were to hold wedding bouquets without getting your hands wet.  Who would've known?
The first thing I did was to use the Wittle Wickers and Wittle Weavers to create my woven cone.
I am using all papers from the Authentique Paper Wonder collection.
The picture on the left it the start of the weaving, the center is the cone all done and the right picture is the start of embellishing before I started to assemble the cone.


Here are some pictures of my final product.  I had such a fun time trying to photograph this, NOT!!
The tag that is close to the handle is actually an ornament that can be taken off and hung on the Christmas Tree.  The picture on the right is where you can see how gorgeous the woven pattern looks.


 I moved indoors trying to get better pictures and got this close up of the Tussie Mussie .  


Here again is that fabulous weave pattern. You can also see how I took the Ribbon Eyelet Border and wove ribbon through the holes.  I then sewed this to a piece of canvas to make it strong.
I also edged the cone with the Anastasia Border.


The dies I used for the flowers are Judy's Blooms and the Sunflower.


On the tip of the cone, I took the Celtic Fire Doily and wrapped it around and secured it with my sewing machine.


Here is a close up where you can see the ornament.  I made this from a free printable Mary Engelbreit had on her blog a week or so ago.  I enlarged it and printed it on shrink film.  I attached it so some cut out   Sunflowers to complete the look.


One last look, what do you think?


Usually when I am creating for a post, I am pretty stressed and sometimes my 7yo son likes to pitch right in and create exactly what I am creating alongside(which adds to my stress level, believe me!).
 He has used Cheery Lynn Designs dies too.  He has a strip from Wittle Wickers for his handle, edged it with the Grass Border and has Darling Daisy on the other side.


He even has to photograph his projects the same way I do.


This is the mess WE made(mostly me!)


But look, all my Cheery Lynn Designs dies are neatly put away!


I hope you have enjoyed this post from me and my son.  
This has been Jeannie with The Polka Cabana with today's post.

Don't forget that we have a challenge going.  
It is your opportunity to win a Cheery Lynn Designs gift certificate and get yourself some of our fabulous dies.
The theme is FLOWERS.
Check HERE for all the details.

Friday, November 4, 2011

Thanksgiving Place Settings

3:51 AM 7 Comments
I have such a fun idea to share with you!
The holidays are upon us.  I have an adorable idea for you to try for your Thanksgiving table this year.


How about mini cornucopias and easel place cards?


I had so much fun looking at my dies and figuring out what I could make for this cornucopia.


I think I am the queen of "thinking outside of the box."


I will tell you my secret ingredients(dies) for each thing you are seeing here.


To start with, I used the Folding Fan.


The pumpkins are made from Wittle Wickers and Dimensional Small Leaves #2.


The tomato is made from Stacker Flower 3 and Leaf.


 The corn is made from the Tulip in the Tulip Frame die.


The vine the grapes are attached to is from Bird on a Branch.   The sunflower is from the Sunflower die.


I made the place cards from the Little Stackers French Flair dies.


The tiny rolled flower is the handle from the Folding Fan die.


All my papers are from Authentique Paper's new line called Gathering.


SO what do you think?  Can you imagine how cute it would be to have these decorations at your table for Thanksgiving?  
This was such a joy to make.  My kids just went nuts when the saw the tiny ears of corn.  They loved it all.
I hope you have enjoyed my project today.
This has been Jeannie from The Polka Cabana with today's post.
Happy Friday oh and Happy Birthday to me!!
Dies used in today's post:

Tuesday, August 23, 2011

Box - Kianel

3:29 AM 13 Comments
Hello Cheery Lynn Designs lovers!
Kianel here with you today to share a box i made lately for my niece's birthday. The last tomic challenge is about recycling so i used a cereal box to cut all my dies. I am also showing you another use of your XL scalloped oval stackers building a simple arch  (i already showed you a big complete birdcage, several layers on a card and a little half bird cage with base). Here is the finished box:


And i have made a tutorial to show you how to build a bush with Cheery Lynn Designs dies.

STEP 1
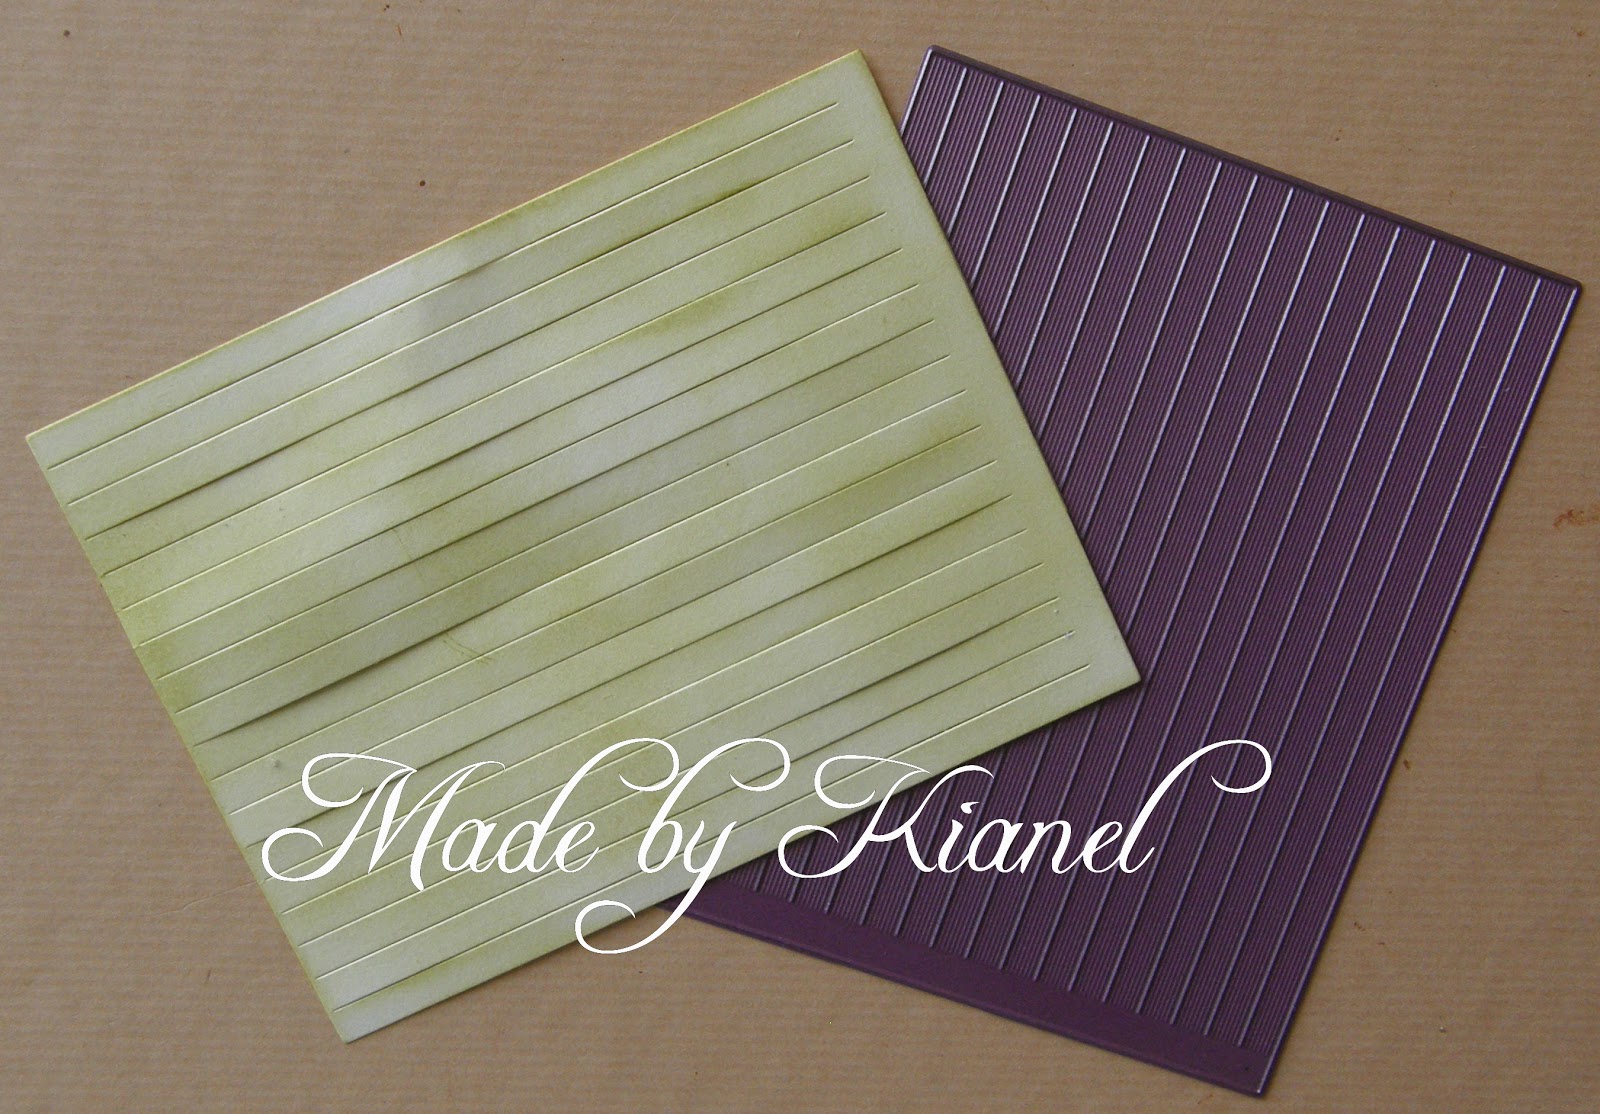
Cut out 2 pieces with the "wittle wicker" die in a thick paper. I used white Canson paper 224gr that i covered with distress ink and Creative Inspirations paints for the shimmery look.

STEP 2
Cut each piece in half and keep the ones with the 0,5cm plain border. Cut in 2 each little fringe and here is what you get.

STEP 3
Glue the plain 0,5cm part for each piece and roll it around a pencil. Let it dry with the help of a clothespin to keep it tight.

STEP 4
Here is what you get when it is dry. Add a piece of double sided tape at the bottom. This will help maintain your first rolled fringes at the base.

STEP 5
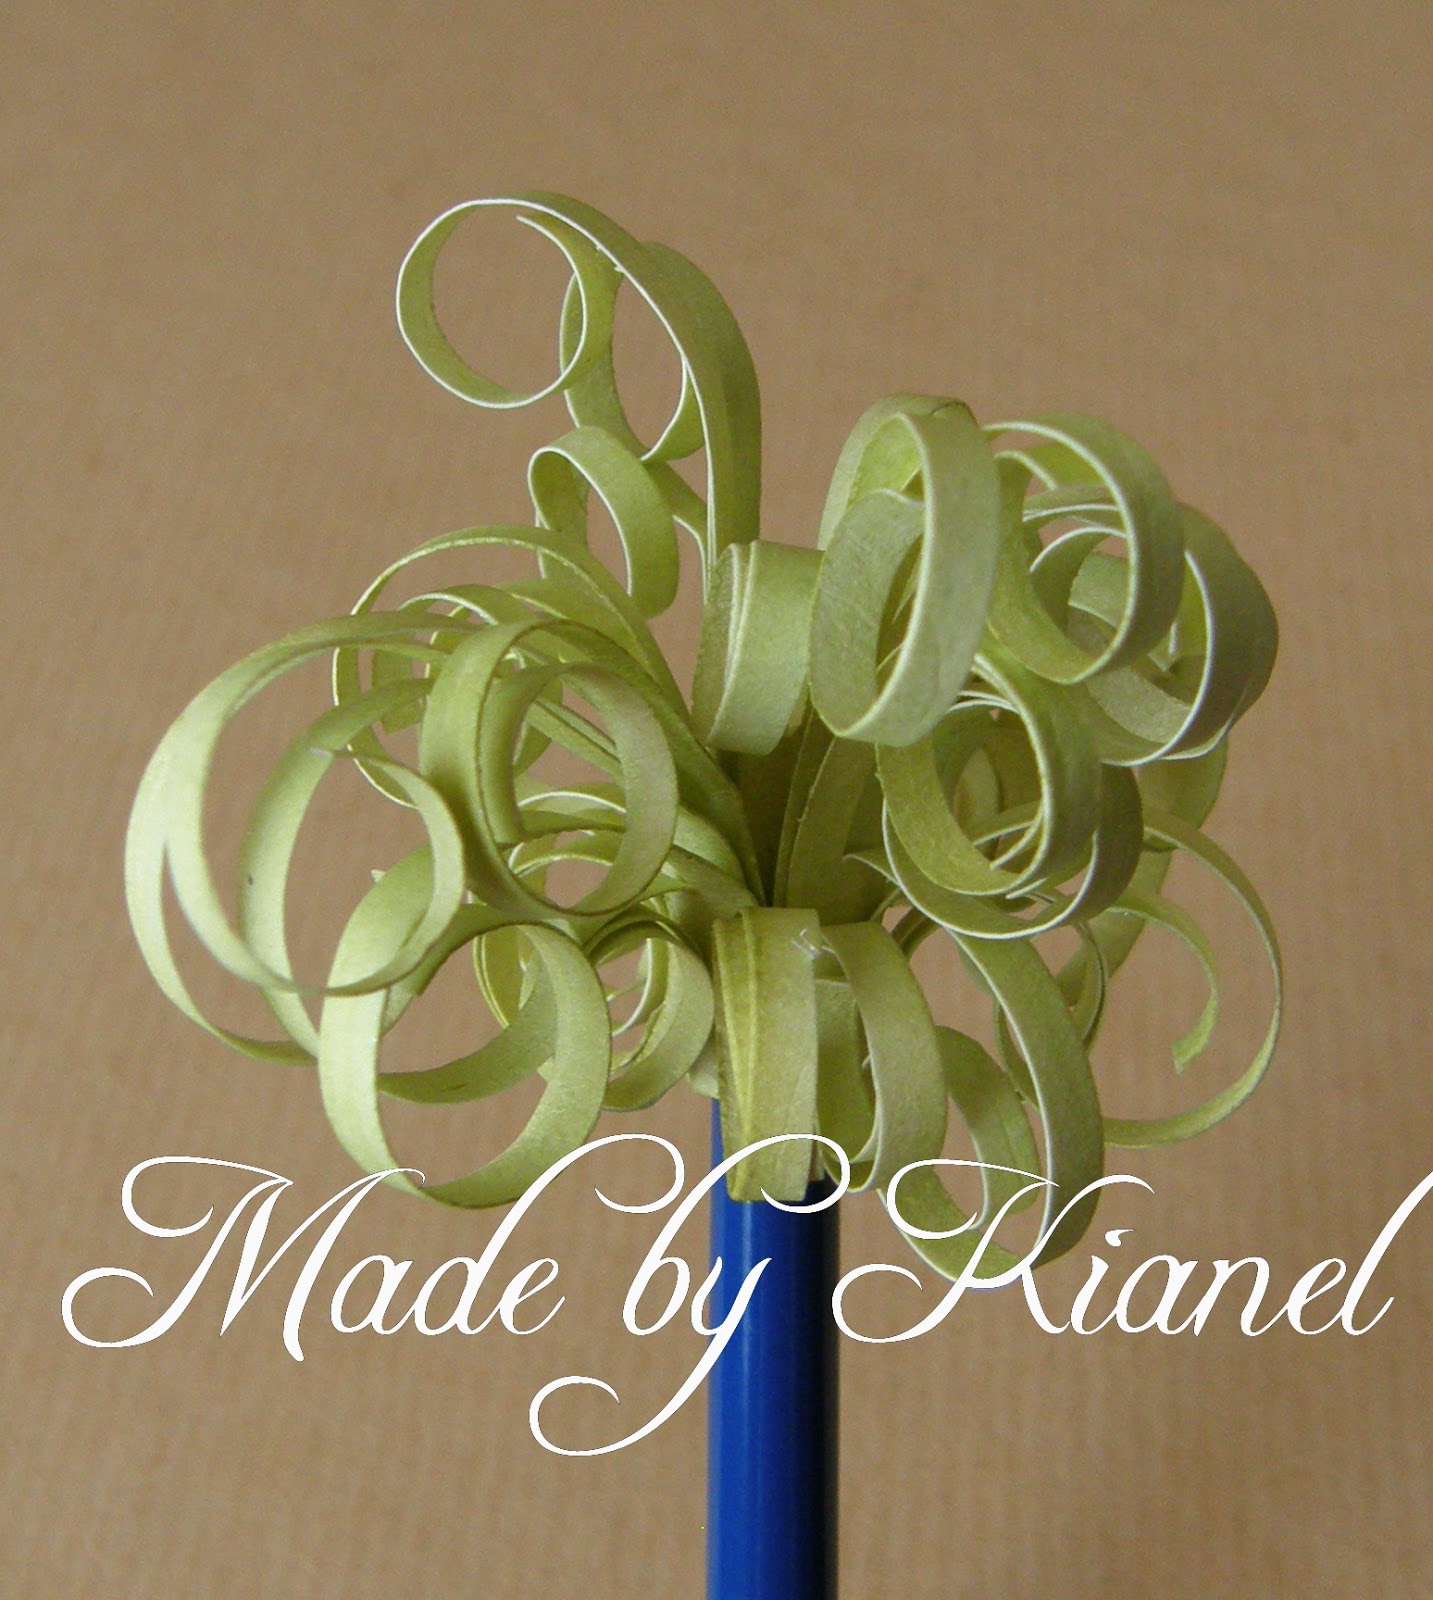
With the help of a pencil, roll every fringe at different heights as the picture shows.

STEP 6
Here's what you get when finished: a nice little bush!

STEP 7
To complete your small bushes, just add some flowers in it and place on any creation you want. Of course using different lengths of fringe, you can make bigger or smaller bushes.


 Here are the dies i used on this box (click to go directly to the shop):
XL scalloped oval stackers, XL oval stackers, XL scalloped square stackers, XL square stackers, pierce rectangle plate, wittle wicker plate, English tea party doily, Little circle stackers, Little scalloped circle stackers, slightly script 5/8" font and don't forget to use the cuttlehug to get a beautiful cut!

Oval - Scalloped LG Stackers Nesting Dies   Oval - Classic - LG Stackers Nesting Dies   Square - Scalloped LG Stackers Nesting Dies


 Square - Classic LG Stackers Nesting Dies   Pierce Plate Large Parallel Rectangle   Wittle Wicker 1/4" Strips

English Tea Party Doily    Scalloped Circle       Circle
 

Slightly Script  5/8" Tall Upper/Lower Case 

Well, I hope that you liked that box as much as my niece did. I just became the world's best auntie! yeah!
Don't forget to pop by everyday to see the marvelous projects my DT mates make. If you have any question about the tutorial, feel free to ask and I'll do my best to answer.
Love from France, Kianel. 

Copyright Statement


All content, including designs, pictures and words are the exclusive property of the author of each blog post. Information shared here is for inspiration only and may not be copied for publication, competition or profit. Thank you for your cooperation.

SOCIAL MEDIA 2


Follow Us @jointhemakersmovement


All content, including designs, pictures and words are the exclusive property of the author of each blog post.
Information shared here is for inspiration only and may not be copied for publication, competition or profit. Thank you for your cooperation.