Showing posts with label Circle Stitch and Cut Tool. Show all posts

Saturday, April 21, 2018

"I Robot" with Lisa Blastick

3:30 AM 0 Comments

Hi! Welcome back to another card using the new release from Cheery Lynn Designs! These new retro die cuts are really adorable and I love how this card is perfect for a boy. It is really hard for me to make cards that do not have flowers, ribbon, or pearls. So, if you are looking to find something for boys these new die cuts are perfect for you! 


 The robots, the small circle and the rocket have pop dots behind them all. Lots of tiny details but worth the end result. 


Hope you enjoyed! 
Have a great day! 
Hugs Lisa 

Tuesday, July 4, 2017

Forever Friend by Julie Lavalette

3:30 AM 0 Comments

Hi Cheery Lynn fans, its JULIE here today and I am sharing some Vintage inspiration on my latest Forever Friend card.


My papers used on this card are from Lemoncraft. I started by cutting out my Stacker Layers, sprinkling some copper embossing powder onto my paper and heat setting for a shabby feel. I tattered and inked my faux stitched layers, layering onto my card with my beautiful die cut Doily as an accent in the background.


My image was die cut out using my Stitched Circles adding copper embossing powder to the edge to frame it, adding an accent of cheesecloth and layering onto my die cut layers.


I have small Whimsy ticket stamps that I stamped with Archival Ink and shaded with Distress Ink, I die cut out and tattered the edges slightly with my scissors.


My flowers were shaped on my Embossing mat and once the glue was dry I added some Distress Ink to the edges for definition. Finishing my card with a touch of lace and pearls.

Cheery Lynn Dies Used :

Thanks so much for stopping by today and for all your lovely comments. 

Crafty Hugs, 

Julie x 

Monday, June 26, 2017

Thanks Teacher by Jenny Alia

3:30 AM 1 Comments

Hi, it's Jenny here today! I'm happy to be sharing a thank you card I created for my daughter's teachers.  Once I found the cute design paper in my stash and matched colors, this card was a snap to make.  I ended up making a few and they all came out slightly differently but I liked the colors on this one best and my daughter insisted we add the worm to her reading teacher's card.  


I cut the apple and backed it with white paper.  On this one I actually glued in the letters after but for a similar look and a faster card gluing another paper underneath gives a similar effect.  I double layered the ABC as well.  Much like the card I created in my last post I only used three dies.  The apple was adhered with foam tape for dimension.  


Thanks for stopping by the blog today!
Hugs, Jenny

Sunday, June 18, 2017

Beach Bum by Laurie Schmidt

12:30 AM 1 Comments


Hi everyone!

 Laurie here from Stamping Up North, back with another summer themed card to share.


It's been raining and dreary the last few days up north, so I decided to make a cheerful, sunny card. 


My thoughts drifted to the beach, and I made a little beach scene with the Surfs Up set. I added some sand by using just a small piece of a pierced circle tucked behind the wave. The tiny flower with the cute smile is from the Oval Companion set. I added the Whimsical Sun and Clouds,and backed everything on a pierced circle and scalloped rectangle.


Here's a list of the dies I used:


Thanks for stopping by!

Friday, February 3, 2017

Be My Valentine by Julie Lavalette

3:30 AM 1 Comments

Hi everyone, it's JULIE here today and I thought I would share some inspiration for Valentines Day using the beautiful intricate Doily called Sophie's Heart as my pretty backdrop to my card.


My flowers are made using the Sweet Williams die strip cutting them out in white cardstock and inking at the edges with Distress Ink. Next I sprayed the petals with a little water and added folds to each petal drying with my heat gun. I added several layers to my flowers finishing with a few pearl stamens.


My flowers were mounted onto my card with a mix of leaves and flourishes for added detail and interest.

Thanks so much for stopping by today and I hope my card inspires you to make some pretty flowers or a Valentine card for a loved one.

Crafty Hugs,

Julie x

Cheery Lynn Dies Used:

Tuesday, June 14, 2016

Birthday Wishes by Debbie Brownmiller

3:30 AM 4 Comments
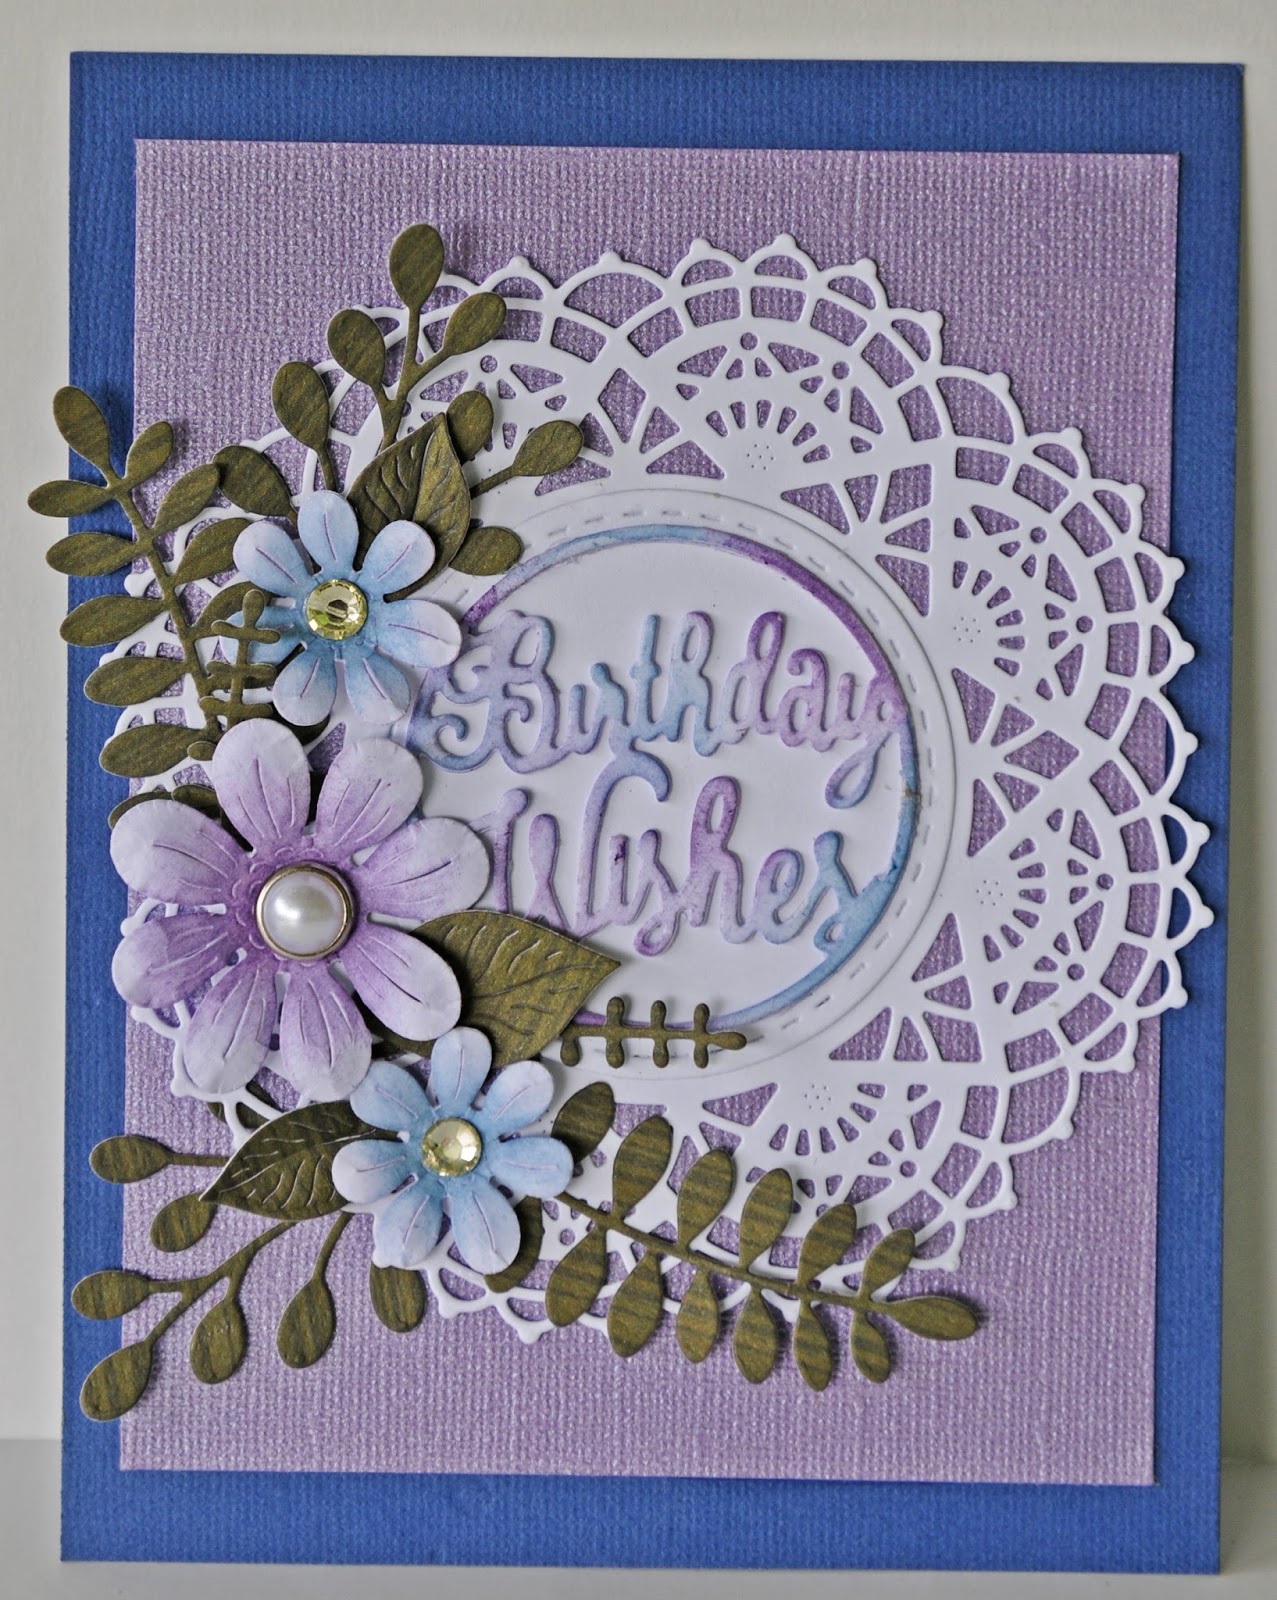
Hi.  It's Debbie with you today from Debbie's Time Out. Today I am featuring two dies sets from the May release and I am loving them. They are the Birthday Wishes Circle Die  and Floral Bouquet Kit Die Set .


I started with the Nautical Wheeler Doily  as my base to build on. I layered the Birthday Wishes  onto the Circle Stitch and Cut Tool  .


Now look at this flower arrangement created using only one die set. It is the Floral Bouquet Kit Die Set   and it is amazing as you can see.

I invite you to come play along in the Cheery Lynn Designs Challenge at http://cheerylynndesigns.blogspot.ca/search/label/challenge. You will have a chance to win a $20.00 shopping spree. I would love to see your creations.

Thanks for visiting the blog today and have a crafty week.

Dies Used
Birthday Wishes Circle Die - B783
Circle Stitch and Cut Tool - LG Silver Stitch Tool - LSC-4
 Floral Bouquet Kit Die Set - B777
Nautical Wheeler Doily - DL180

Copyright Statement


All content, including designs, pictures and words are the exclusive property of the author of each blog post. Information shared here is for inspiration only and may not be copied for publication, competition or profit. Thank you for your cooperation.

SOCIAL MEDIA 2


Follow Us @jointhemakersmovement


All content, including designs, pictures and words are the exclusive property of the author of each blog post.
Information shared here is for inspiration only and may not be copied for publication, competition or profit. Thank you for your cooperation.