Showing posts with label Daisy Chain Border. Show all posts

Wednesday, April 12, 2017

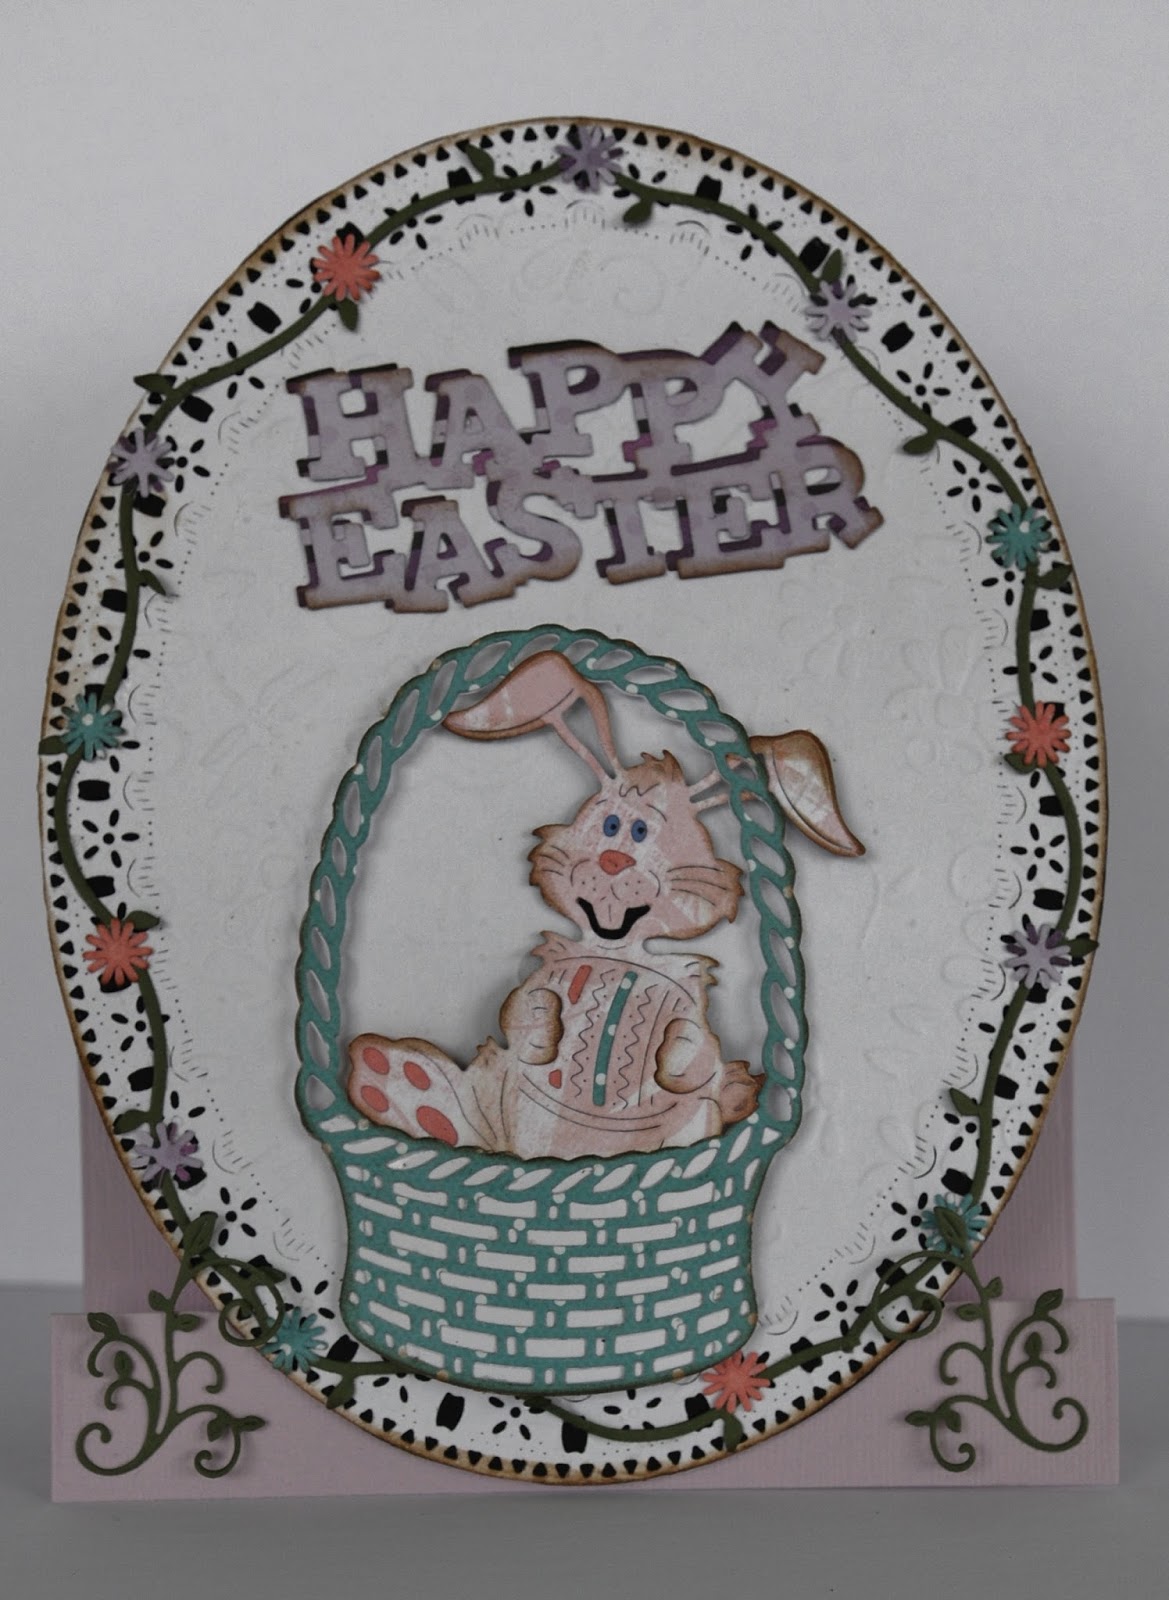
Happy Easter by Debbie Brownmiller

3:30 AM 0 Comments

A warm hello to you. It's Debbie back with you from Debbie's Time Out. With Easter just over a week away I thought I would share an Easter card with you. I also want to wish you a Happy Easter.
I started by using the Step Card  as my base. I then layered the largest doily of the  Oval Doily Stacker One   stacker die set. I embossed the base of the doily with the Black Eyed Susan Embossing Plate .
I cut the Daisy Chain Border Die  in green and then cut the flowers from it in a few different colors. I layered it around the edge of the doily. I added a couple of the Tiny Fanciful Flourish Right & Left  to the bottom corners of the step card.
Here I cut the Happy Easter  sentiment in two colors and offset them to give it a shadowed look. The  Spring Basket 1 was layered next and the Easter Bunny  then tucked into the basket. Cherry Lynn Designs does have some cute Easter dies for making Easter cards.

Thank You for visiting the blog today and for the comments you have left on my other posts. I always enjoy hearing from you. Have a crafty day my friends.

Dies Used
Black Eyed Susan's Embossing Plate - E148
Oval Doily Stacker One Die - DL183
Spring Basket 1 Die - DL214
Easter Bunny Die - B525
Daisy Chain Border Die - B111
Happy Easter Die - B529
Tiny Fanciful Flourish Right & Left 2 Piece Die Set - B387
Step Card - B348

Friday, March 3, 2017

Special Day by Julie Lavalette

3:30 AM 2 Comments

Hello, it's JULIE here hosting the blog today and this week I have been having fun layering our Stacker Dies to make a frame, adding finishing touches with the gorgeous Daisy Chain Die.


I started by cutting out my large square die along with a smaller square to form my aperture frame. Next I cut out another square frame in yellow cardstock and cut along the pierced edge with my gullotine and inserted behind my frame along with my lace edge that had a little Distress Ink added at the edges. I added foam strips to my frame and placed on my card.


My Blue Tit bird was coloured in with Distress Inks and a Black Fine Liner Pen. For my Daisy Chain I positioned 4 strips around my card and layered my flowers twice, shaping them on my Embossing mat adding pearls to the centres and hiding the joins with a Daisy.


My sentiment and frame were layered up with foam strips and a little cheesecloth and pearls for extra detail.


Thanks so much for stopping by today and for the continued comments left, I love reading them. 

Crafty Hugs, 
Julie x

Cheery Lynn Dies Used :
XL22 Pierced Stackers #4
B111 Daisy Chain Border
B332 Ankara Lace Border
B557 Feathered Friends
CABD98 Tags #2
B443 Special
B236Day 

Copyright Statement


All content, including designs, pictures and words are the exclusive property of the author of each blog post. Information shared here is for inspiration only and may not be copied for publication, competition or profit. Thank you for your cooperation.

SOCIAL MEDIA 2


Follow Us @jointhemakersmovement


All content, including designs, pictures and words are the exclusive property of the author of each blog post.
Information shared here is for inspiration only and may not be copied for publication, competition or profit. Thank you for your cooperation.