
Supplies:
Cheery Lynn Designs Dies:
Scor-Pal
Scor-Tape
Fancy Pants - Home for Christmas collection
Core'Dinations - Signature Series Graphic 45
Clearsnap Ink
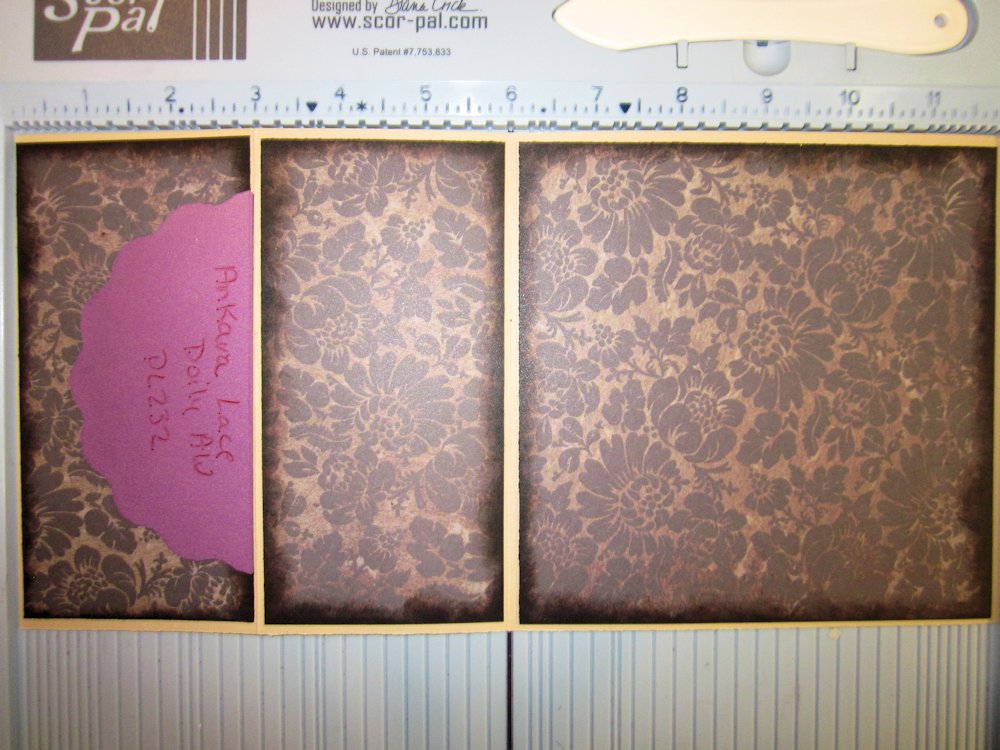
Cut a piece of cardstock 6" x 12". Score at 3" and 6". Fold as shown.

Cut patterned paper to add to the card base.
(2) 2 7/8" x 5 3/4"
(2) 5 3/4" x 5 3/4" : Set one of these to the side.
Ink
the edges of the paper. Use Scor-tape to adhere the panels to the base,
but on the first panel, do not put the tape along the edge that will
have the cut.

Take
the angel wing die (this is an outline die, that matches a fancy doily
die, but has one edge that is not a cutting edge). Tape the angel wing
along the scored/folded line. **If I want to hold something temporarily
in place with tape, onto pretty patterned paper, I stick the tape to my
skin a couple of times, before adhering to the paper, to make it less
sticky and to decrease the chance of messing up my patterned paper.
This is what your card will look like after you run it through your die cutting machine.

When
I added my doily on top of this, I wanted to have a consistent cream
background underneath, so I cut a full circle with the angel wing (make
the first cut, line the up so that it completes the circle, tape in
place and cut). Then I matched this up with the half circle, glued in
place, then added the doily on top. This will be the inside portion of
the card.

Take
the second piece of designer paper 5 3/4" x 5 3/4" and lay it on top
of the front, to see where the doily fits. Tape your angel wing to the
patterned paper, and using the two step method, cut a full circle from
this piece of paper. Then line it up on the front and attach.

Add your second doily to the front. Embellish as you please.


I love how this card looks like it's flipping around when you open it and hope that you will give it a try.


Simpy gorgeous! So many fine details working together to create that wow factor we all strive to achieve.
ReplyDeleteOh so lovely...thank you for the tutorial!
ReplyDeleteGini, I love that card! Very classy! Thanks for the tutorial!
ReplyDeleteWow Kool. Very elegant. I may have to try your tutorial out. Thanks for the tutorial
ReplyDeleteHi Gini, sorry, I am way behind in my commenting this week but I LOVE your card! Great fancy fold and your die combination works fabulously! Hugs xx
ReplyDeletegreat tutorial!! Thanks for shaing the doily in a different light! Now I need this one too!
ReplyDelete