Showing posts with label Pretty Pretty Bows. Show all posts

Wednesday, February 21, 2018

Happy Easter with Lisa Blastick

3:30 AM 2 Comments
Hello! Welcome back to another card for Cheery Lynn Designs using several die cuts for the upcoming  Easter holiday. I can't believe it is coming up so soon this year on April Fool's Day...LOL
So I wanted to use some fun colorful papers and several beautiful eggs throughout. 


I love the Easter Eggs, Bunny and Chick Egg. The Nesting Eggs are great for the background and the sentiment..there is also a bunny with that set too. Coming soon!


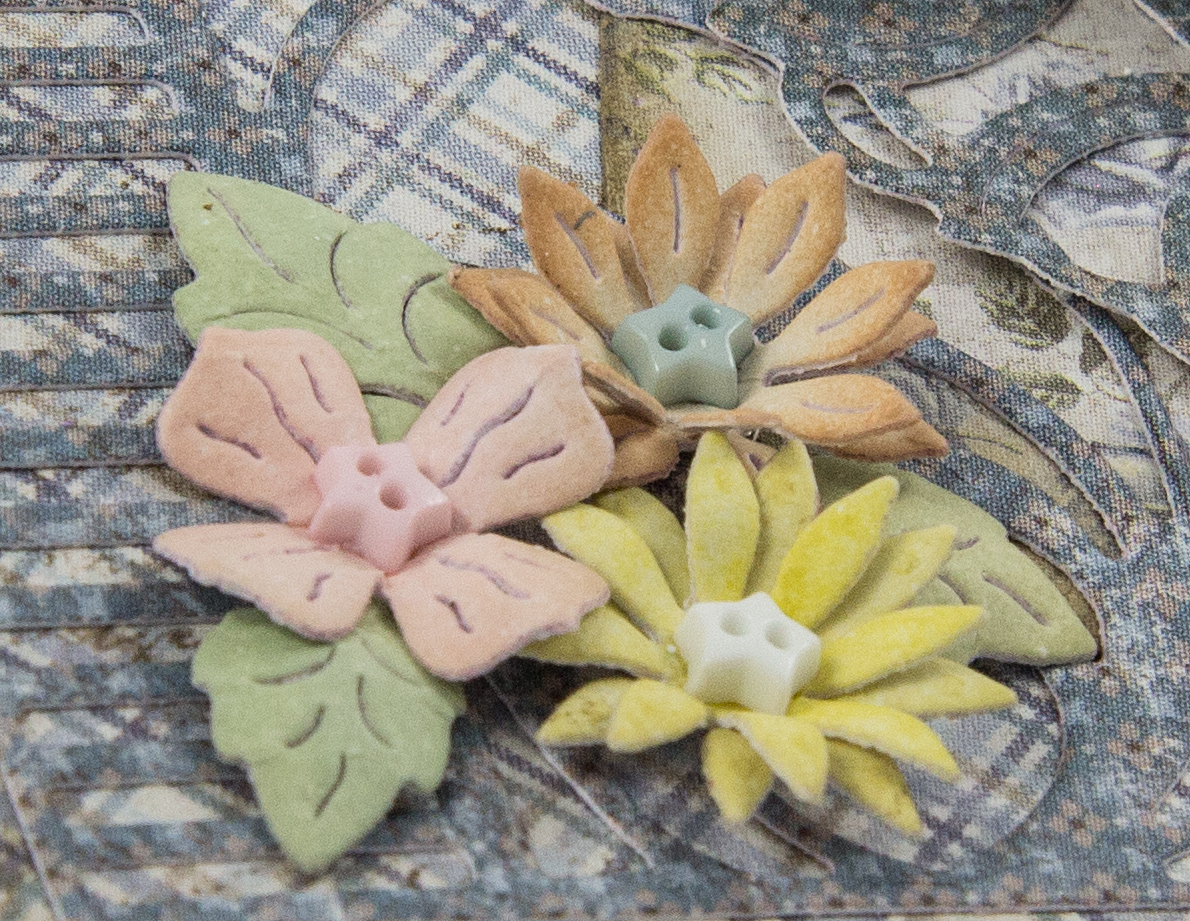
I die cut the laces part of the eggs in white and then used several colors for the background. The cracked egg was die cut in white and I colored the legs with a yellow marker. I decided to use the Pretty Pretty Bows instead of real ribbon. A few pearls and done! 


Hope you enjoyed...
Thanks for stopping by today! 
Hugs Lisa 

Sunday, January 1, 2017

Champagne Bottle Tag with Lisa Blastick

3:30 AM 2 Comments

Happy New Year!!!
I hope everyone had a fun and safe New Year's Eve! 
Today, I'm sharing a quick tag for a champagne bottle using some Cheery Lynn Designs Dies. 
The "horizon fishtail banner" is one of my all time favorite die cuts. I used all three dies, the largest in black and then the middle and smallest in white. I glued them all together and placed white stickers in the center for buttons. 


"Pretty pretty bow" was die cut in silver paper. I used the larger of the two bows. I then added two stars from "pierced stars" The white base behind the "banners" is 2 inches wide by 8 1/2 inches long. It was scored at 2 inches and I used the smallest of the "circle stitch" for the bottle opening. These fun tags can be used for any occasion and easy to make. 


Have a Happy New Year!!!
Thanks for stopping by today!! 
Hugs Lisa 

Friday, August 5, 2016

Hello Card with August Guest Designer Gloria Stengel

3:30 AM 7 Comments
Hello and good morning Cheery Lynn Fans! My name is Gloria Stengel from Scraps of Life Blog, and I am honored (and tickled pink) to be the Cheery Lynn August Guest Designer this month! I confess, when Bonnie asked me to be a guest designer, that I had only ever used one Cheery Lynn die before! Bonnie assured me that it was not an issue and that some product would be sent to me to play with! And boy...did I get some fun things in the mail!


I wanted to match the current challenge (Challenge #235 - Back to Nature Theme) so I found paper with a bird on it and went to town with my new dies! I spent some time just cutting things before picking the elements for the card. Let me just say, these dies cut like butter and fall right out of the die template! There was no poking or fussing or tearing...just cut and go! As a long time die user and a new customer of Cheery Lynn, let's just say, I am SUPER IMPRESSED!

Now, let's talk about the card! I created a top-fold 5 5/8" x 4 3/8" dark brown card. I trimmed blue paper to 5 1/2" x 4 1/4" and attached that to the card front. The next layer is an ivory panel cut with the Dutch Daisy Boutique Stacker A2 Frame - DL293. This is a very intricate die, and makes such a beautiful background.


Next, I layered on the bird paper, cut to 4 1/4" x 3 1/8". I created a focal point with feathers, leaves, and flowers, all cut from pastel and ivory paper (Medium Rose - B154, Small Gardenia - B433, Flourish Leaf Strip - B178). I combined the flowers to create roses from the pink paper. Each rose is approximately 1" across. I cut the feathers (Feathers - CABD62) and leaves from paper scraps. My favorite die of the card is the Hello Die - CARA8. The font is simply stunning and the word is the perfect size for a card!


I created a fun bow with the Pretty Pretty Bows - B422 die and more of the feathers. There are two sizes of bow with this die set and I created the large bow, which measures approximately 3 3/4" across from tail to tail. As much as I love working with real ribbon, it is fun to create paper bows to match the project exactly! I know that Pretty Pretty Bows will become a staple of my die repertoire!

Remember, the winner of the current challenge will be chosen randomly. They will receive $20 towards shopping at the Cheery Lynn website. The challenge will end on Wednesday afternoon August 17th at 15:00 Eastern time. We will also showcase the Top 3 picks from our Design Team.

Thanks for looking! I will be back on August 14th with a new project! Until then, stay cool and create pretty things!

~ Gloria: Scraps of Life


Cheery Lynn Dies Used:

Saturday, March 12, 2016

Easter Cupcake Baskets by Julie Lavalette

3:30 AM 3 Comments

Hi Everyone, it's JULIE here today and I am sharing with you some Easter Inspiration using our fab new Cupcake die.


These cute little baskets which measure approx 3" diameter by 4" height are easy to make and once I worked out all the measurements it didn't take long to make the second one. So let me show you how to make them.


I started by cutting my Cupcake Wrapper from cardstock and added a double layer of grass to the base. To get the grass strip to curve around your cupcake die, layer on sections measuring about 2 inches in length, offsetting the grass on each layer.


For my base I used the 2 largest dies in the Circle Classic set. You will see in this photo I cut my die out and then drew around the outer part of my smaller die and fussy cut out some notches.


My Cupcake Wrapper I added a little bit of glue to the die cut join for added strength for the weight of my chocolate eggs and formed the shape of my cupcake. I then bent all my notches up on my circle and added a little glue to each one, pushing my circle down into my cupcake to form the base of my basket, pressing all the notches onto my cupcake wrapper.


This makes it all lovely and neat and the grass disguises the notches on the inside.


Next I added on my handle with some brads, you will notice I have the pretty side of my Brad to the inside of my basket as I hid the closure with a flower on the outside.


Now the fun bit of adding all my Easter Chicks, sweet Bunny and flowers.


I disguised my join on the cupcake wrapper be carefully placing a Chick or Bunny over the join.


I finished off my baskets with a pretty bow and some Chocolate Mini Eggs which had been gathered inside a Cello bag that we normally place our cards into. I tied with some Easter ribbon and a die cut Sweetheart Candy.


Cheery Lynn Dies Used:


Thanks so much for stopping by today and you still have plenty of time to join in our Current Challenge which is Doilies.

Crafty Hugs, 
Julie x 

Saturday, December 12, 2015

Joy to the World by Julie Lavalette

3:30 AM 4 Comments

Hi Everyone, it's JULIE here and today I am sharing with you my latest Festive card making a Christmas Wreath for my sweet little Robin to sit on.


I started by matting and layering my first few chosen layers, adding Stickles and Distress ink around the edges. You will also notice on my top layer I highlighted all the pierced holes with a red Fine Liner Pen and scattered some Frantage embossing Powder for a snowy effect.


My Wreath was cut out 3 times and my base layer was cut in half and slightly offset to give 
the illusion of more foliage gluing another layer on top. For my final layer I added heat set Mistletoe coloured embossing powder onto the foliage.  This gave it added sparkle and detail.


My robin was shaded with Distress Inks and some Black Liquid Pearls added to his eye. My Candy Canes are from the Build a Tree set.  I die cut them in White cardstock and added some red with a Fine Liner Pen.


My wording was heat embossed with Red Tinsel and offset onto Green Card Stock for a shadow effect.


Finishing off with my Pretty Bow.

Cheery Lynn Dies Used:

Thanks for stopping by today and for your continued visits. Good luck to everyone entering our Weekly Challenge with the chance to win a $20 Shopping Spree.

Crafty Hugs,

Julie x

Saturday, June 27, 2015

Pretty Bows by Julie Lavalette

3:30 AM 1 Comments

Hi Everyone, It's Julie here today sharing with you my latest vintage style card.


This photo shows you the start of my layers. You will see I have shaded the edges with Distress Ink and used my Distress tool around the edges of my card for a shabby look.


My Butterfly I used embossing powders on and added a little button onto the centre.


My bow once die cut out I tattered the edges with my Distress Tool adding a little ink to the edges.


My flowers were all shaded with Distress Inks and shaped using my embossing mat, adding little buttons into the centres.

Cheery Lynn Dies Used:


Thanks for stopping by to see my post today and good luck to everyone entering our weekly challenge.


Julie x

Saturday, April 11, 2015

Dreaming of Summer Days by Julie Lavalette

3:30 AM 4 Comments

Hi Everyone, It's Julie here sharing the blog with you today. We have had such a lovely week of weather in Scotland, so I thought it would be nice to share a Summery card with you all. My card measures approx 7"wide x 6"Height ( 18cm x 14cm ) when standing. 


I started making this card by cutting out all my layers, inking the edges and gluing together with a stamped sentiment in the centre.


My Mega Doily was cut out twice to give a shadow effect. I layered them together cutting off a little section at the middle, to make it look neater on the outside. I also place a strip of card down the middle to strengthen my card. I trimmed a little bit off the bottom of my Doily to stop my card from rocking to one side.


Some photographs of my flowers being made.


A close up of a finished flower.


I added a bow to the top of my card using the Pretty Pretty Bows die.

  
Notice I have added some tiny flowers with pearl centres. 


Finally an angled shot of my finished card.

Cheery Lynn Dies used:


Thank you for stopping by today and good luck to everyone entering our weekly challenge with your chance to win a $20 spending spree here at Cheery Lynn Designs.

Julie x 

Wednesday, April 8, 2015

Birthday Wishes By Lisa Blastick

3:30 AM 3 Comments

Hello everyone! It's Lisa back today sharing a new card this week with Cheery Lynn Designs! This week's challenge is all about Flowers! Now who doesn't love flowers for their birthday? :) The Chrysanthemum Strip are such beautiful and intricate flowers that I knew I had to have them ASAP. I just added pearls in the centers.  For this card, I didn't use any patterned paper at all...that is because you don't need any with the Royal Scandinavian Doily. The details are wonderful and perfect for this 5x5 birthday card.  


A side view and as many of my followers know , I love bows! Cheery Lynn has a Pretty Pretty Bow  that takes only seconds to make...It is perfect for those who want to mail their card in a regular envelope because it can be flat and yet still be Pretty Pretty. 


For the sentiment, I used a birthday stamp on the smallest of the Circle Scalloped Stackers. I just used a mini punch for the little holes around the edges. Last but not least, I added some green Flourish Leaves. I just love the tiny details of the leaves. No stamping needed! :)

Cherry Lynn Diecuts Used:


Thanks for stopping by today! 
Be sure to check out this week's challenge Flowers with Cheery Lynn Designs Blog
 and a chance to win $20. 
Hugs, Lisa

Saturday, March 14, 2015

Spring Bouquet for Mum by Julie Lavalette

3:30 AM 10 Comments

Hi Everyone, it's Julie here today. Spring has definitely sprung here in Scotland and this weekend we also celebrate Mothering Sunday. So I decided with all this in mind to make a Mother's Day Card.


I started by layering up paper which was distressed at the edges and the Mini Italian Flourish was cut out in white card and inked with Shaded Lilac Distress Ink.

  
I then layered on the co-ordinating Italian Flourish Doily which I had folded in to a concertina and opened back up to give texture, it had also been inked in the same way. You will see I used the Trellis Die for the stems of my flowers.


I Love these Bows, a perfect accompaniment to a bouquet of flowers.


I got carried away and forgot to take some more ongoing pictures, so here are the close ups. Notice I have some closed buds as well as flowers about to open to add a realistic look to the flowers.


My Baby's Breath Flowers and Tiny Flower Kit I added a little stickles to their centres.


A couple of angled shots to give you an idea of the depth of the card.


The finished card once again. 

Cheery Lynn Dies Used :


Thanks for stopping by today and I hope you feel inspired to make a Floral Bouquet. Good Luck to everyone entering our Weekly Challenge.

Julie x

Copyright Statement


All content, including designs, pictures and words are the exclusive property of the author of each blog post. Information shared here is for inspiration only and may not be copied for publication, competition or profit. Thank you for your cooperation.

SOCIAL MEDIA 2


Follow Us @jointhemakersmovement


All content, including designs, pictures and words are the exclusive property of the author of each blog post.
Information shared here is for inspiration only and may not be copied for publication, competition or profit. Thank you for your cooperation.