Showing posts with label Leafy Flourish. Show all posts

Saturday, April 14, 2018

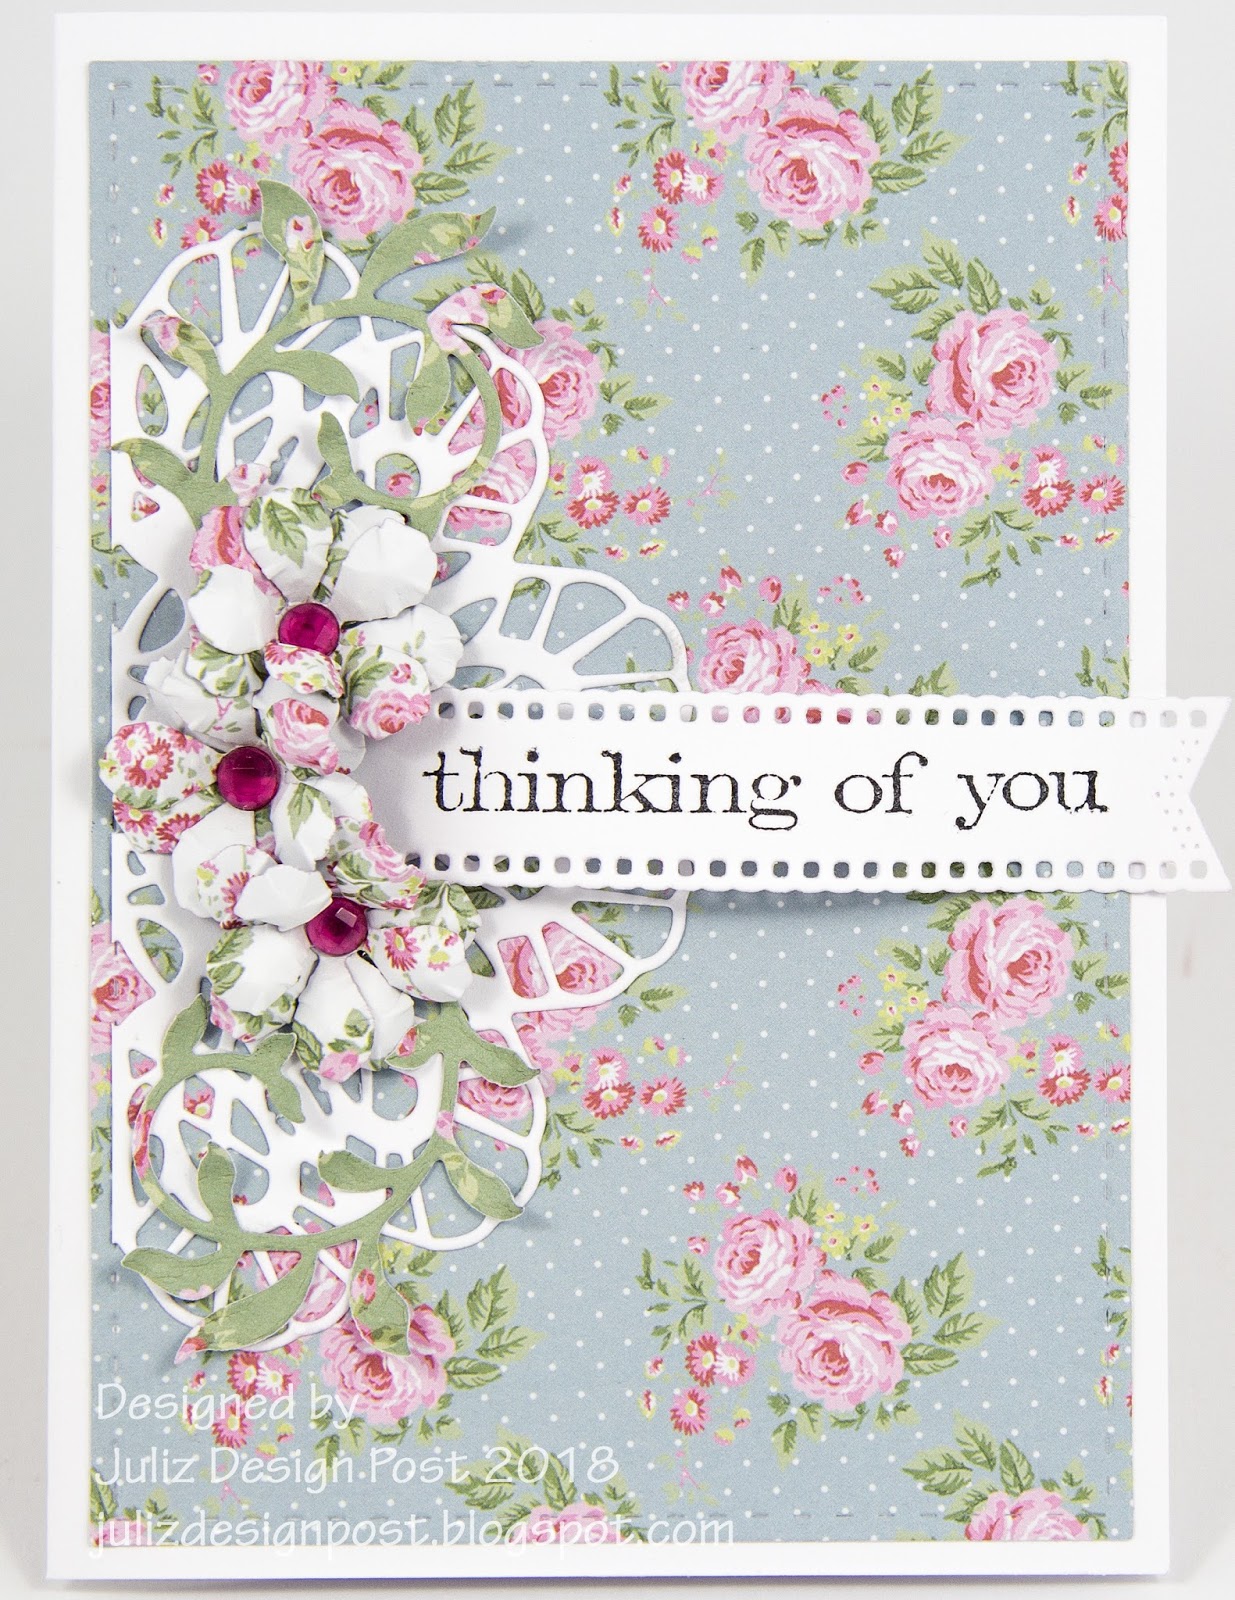
Thinking of You by Julie Lavalette

3:30 AM 0 Comments

Hi Cheery Lynn fans, it’s JULIE here today and I am sharing some inspiration on a card that could be used for many occasions just by changing the sentiment.


My card measures approximately 6 x 4 inches and the paper pad  I have used is from Craft Consortium called Wild Rose. I started by adding my base layer onto my card and cutting my Doily in half from white cardstock.


My Tea Roses were also cut from the same patterned paper, shaping on my Embossing mat and adding a Gem into the centres. I bunched them together onto my card with a leaf flourish and my stamped sentiment.


Cheery Lynn Dies Used :


Thanks so much for stopping by today and I hope you have a lovely creative weekend.

Crafty Hugs, 
Julie x


Wednesday, April 6, 2016

Flower Pot Card with Lisa Blastick

3:30 AM 4 Comments

Hi everyone! I'm so excited to share this flower pot card using Cheery Lynn Designs Dies with you today! I have seen several of these cards and I wanted to make one for my mother for Mother's Day this year. So I thought I would make one early to make sure it comes out the way I wanted it to look. OMGosh! If you haven't made one of these flower pot cards in the past...I highly recommend you trying to make your first. They are truly beautiful! 


The base is 3.5 x 9 inches. Scored at 2 inches and 5.5 inches. I then cut 1 inch off the top of the 2 border and added the "border carnivale" in white for the edge. I layered some ribbon  around the whole top and added a bow towards the left side. I then die cut 3 sets of the "sunflower set" in yellow and placed some black gala glitz in the centers for a bit of bling.  The 2 largest "leafy flourish"were placed behind the flowers and then I added 2 of the smaller "leafy flourish" to drape down onto the flower pot. 


The insert with flowers and your personal message is 2.75 x 5 inches. I stamped a sentiment on the left hand corner and added 3 small butterflies from "mini dimensional butterflies". There are so many cute butterflies to choose from this set. I layered them in white cardstock to make it pop out a bit.  


Hope your enjoyed my flower pot card today! 

Cheery Lynn Designs Dies Used:


Be sure to stop by and enter this week's challenge for your chance to win $20 at the Cheery Lynn Designs store. Have a great day!
Hugs Lisa

Saturday, February 13, 2016

Be Mine by Julie Lavalette

3:30 AM 1 Comments

Hi Everyone, its JULIE here today and I am sharing some inspiration for Valentine's Day using a couple of the new dies from our latest release.


I started off by matting and layering my stacker layers onto my card  and then I added my border to the top and bottom of my card.  I paper pieced my flourish into place to make it larger for this design, hiding the join with a flower. My flowers were cut out of patterned cardstock and some Flowersoft added to the centres.


I just adore this new Film Set, you get 2 different sizes in the pack. I cut mine out in Black cardstock and then positioned the same die over my image, this way it would nest perfectly into my Photo Frame.


My Teddy was cut out in White cardstock, shading with Distress ink. I layered patterned and black cardstock behind the accents. The heart and his arms were layered on twice for extra dimension. I also placed a little bend into the cardstock at his ears and feet. Finishing off with a little bling.

Cheery Lynn Dies Used:


Thanks for stopping by today and I do hope to see you joining in our latest Bi-Weekly challenge which currently is Tickled Pink.


Crafty Hugs, 
Julie x

Tuesday, September 29, 2015

Wishing You Sunny Days by Karen Maldonado

3:30 AM 7 Comments

Hello there sweet Cheery Lynn friends!

It's Karen here, sharing my "anything goes" challenge car.  Today, marks two years since I became a Cheery Lynn Designs Team Member.  It's very bittersweet posting my last blog entry for this amazing company!  On that note, I thought this sentiment was fitting for expressing my gratitude for all your lovely comments throughout my term here as DT member.  If you happen to follow my blog, I will still be promoting the use of these gorgeous and intricate dies!

I love to layer, so basically, I started with the French Flair Classic Silver Stacker die as my base.  Next, layered the Horizon Fishtail Banner right on top of the French Flair piece.  Then, I  die cut the Pierced Stacker #2 and stamped my sentiment.  I layered this onto the Circle Classic Silver Stacker, 
and then place it onto the Daphne Doily! You will notice that I intentionally left some of the pieces within the doily for a slightly different look.


Then, I made a blue daisy using the Daisy Strip! I die cut the Leafy Flourish and Leaf sets and placed them both underneath my flower. I added a sweet rhinestone flourish as well!  Lastly, I cut out one of the butterflies from my Small Exotic Butterflies set, and added a few shiny pearls.

List of Cheery Lynn Designs dies used: 


Come join in the fun playing this week's challenge for the chance at a $20 gift certificate to the on-line store!

Hugs & Smiles,

Thursday, July 23, 2015

Turkey Time with Jenny Alia

3:30 AM 0 Comments

Hello!  It's Jenny posting today with a card using Tom The Turkey.  This die is so incredibly detailed, it's amazing.  I didn't end up using a lot of embellishments because Tom didn't need it.  He can stand on his own.  I colored him with distress ink, fluffed out his tail feathers and popped him up with foam adhesive.  


He's standing on four layers of card stock that I cut using the Pierced Stacker #3 die.  The top layer was cut with the die and then I hand cut the pierced edge off so it would be slightly smaller than the orange layer.  The largest white layer of Pierced Stacker #3 was made by tracing the outside of the die and then hand cutting the edge with a scissor.  


The stitched detail on the 5.5" base layer was cut using the Square Stitch Nesting  die.  This die doesn't cut the squares but it does add these stitches in a variety of sizes.  It's perfect for adding a little extra detail.  Last I cut flourishes from the Leafy Flourish die, added a little distress ink to the edges and tucked the die cuts around the Turkey.

Cheery Lynn Dies

Thanks for visiting and don't forget to check out this week's Silver and/or Gold Challenge for a chance to win $20 towards shopping at Cheery Lynn Designs.  

Copyright Statement


All content, including designs, pictures and words are the exclusive property of the author of each blog post. Information shared here is for inspiration only and may not be copied for publication, competition or profit. Thank you for your cooperation.

SOCIAL MEDIA 2


Follow Us @jointhemakersmovement


All content, including designs, pictures and words are the exclusive property of the author of each blog post.
Information shared here is for inspiration only and may not be copied for publication, competition or profit. Thank you for your cooperation.
