Showing posts with label Poinsetta. Show all posts

Saturday, September 12, 2015

Merry Christmas my Reindeer by Julie Lavalette

3:30 AM 1 Comments

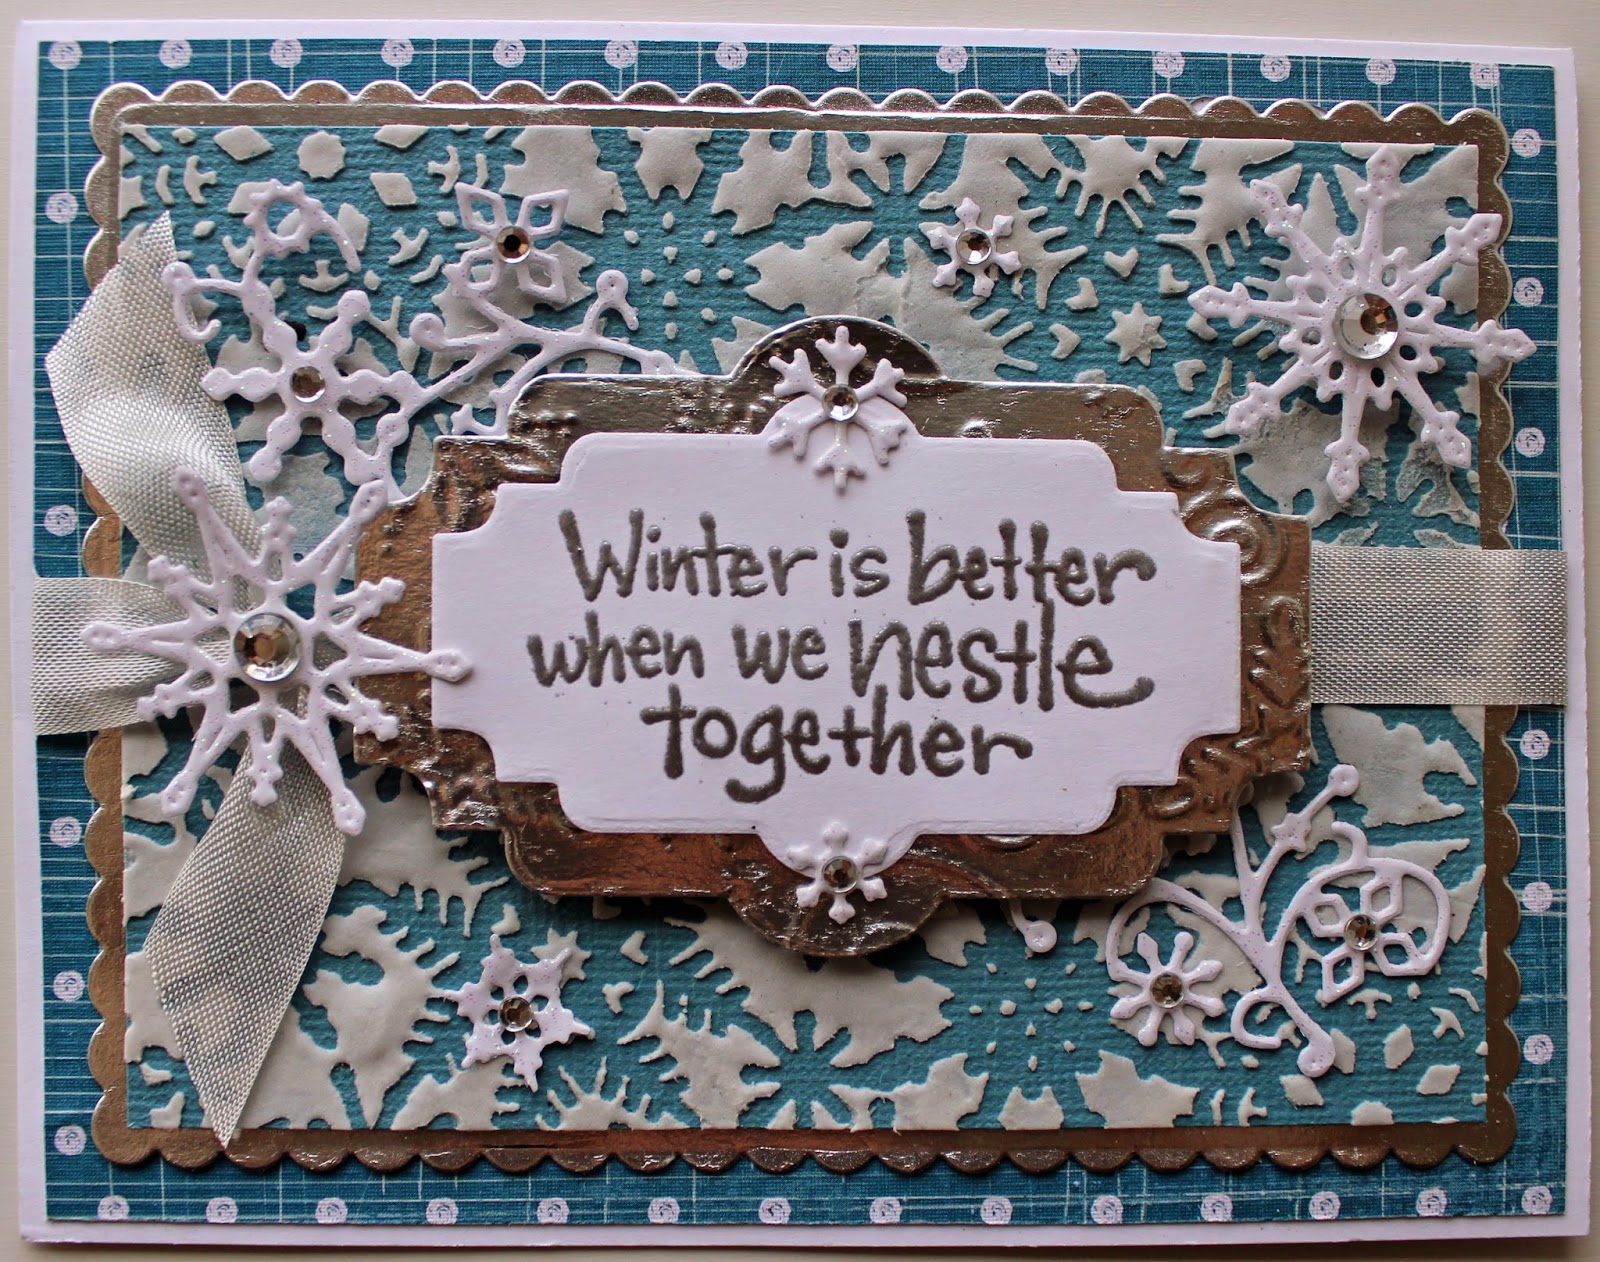
Hi Everyone, It's JULIE here today sharing a Festive card with some of our New Release dies.


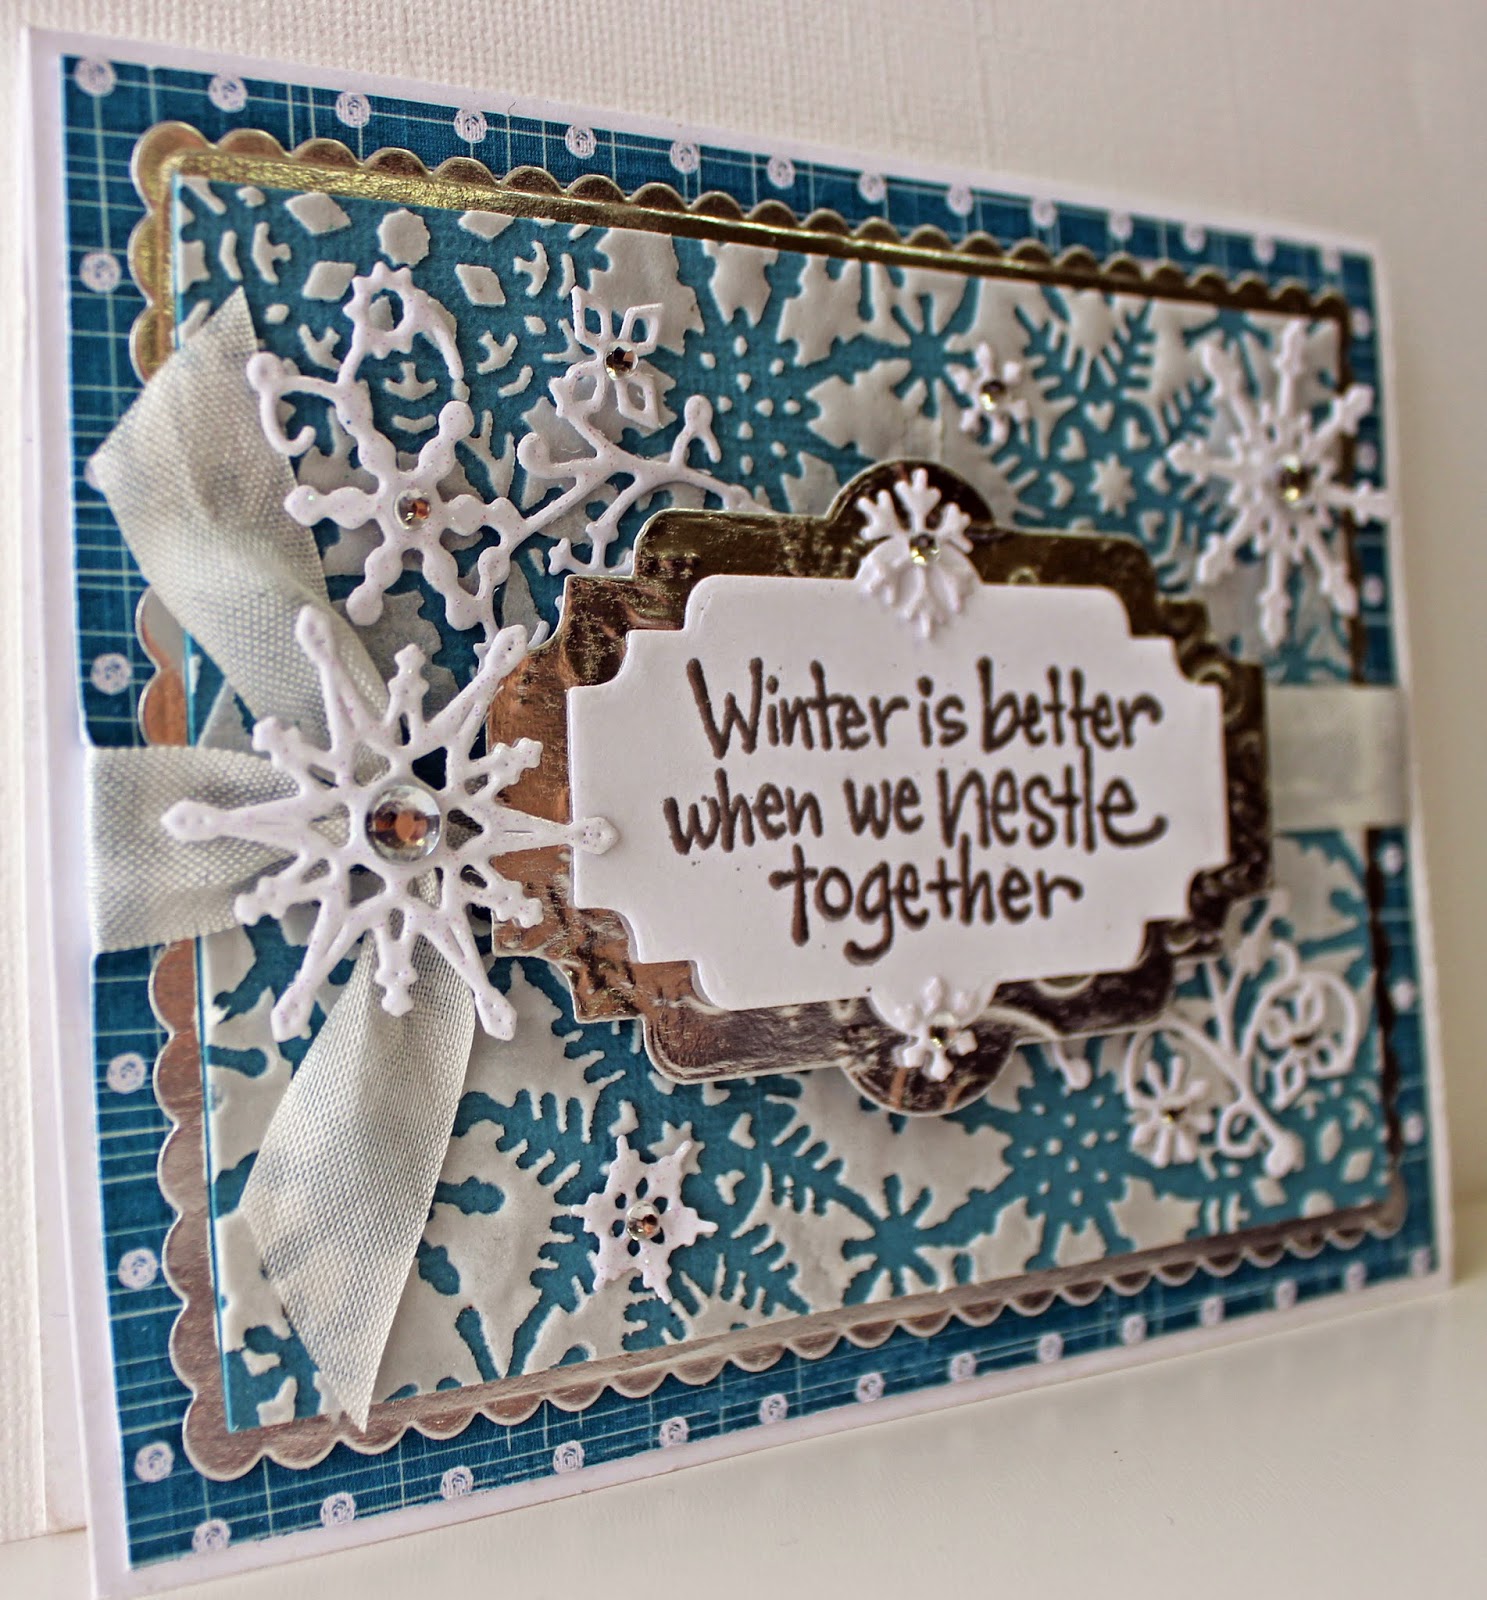
My large Snowflake die was cut out in White Cardstock. I sprayed with glue and added some extra fine glitter on it. You will also notice that on my Pierced Stacker die cut the little pierced holes act as a super guide line for adding Stickles evenly - Unfortunately the camera hasn't picked up the sparkle too well. 


My cute Reindeer was cut out in Kraft Cardstock adding a layer of White Cardstock to the back I shaded the areas with Red and Gold pens, adding a little ribbon to the neck and Stickles to the nose.


My Poinsettias were cut out in Patterned Cardstock, distressing lightly with ink and adding a few stamens.

Cheery Lynn Dies Used:


Thanks for stopping by today to see my post and good luck to everyone entering our weekly challenge.


Julie x

Friday, December 26, 2014

Vintage Holiday Card with Corina Finley

3:30 AM 2 Comments


Hello!

I hope everyone is having a Festive Holiday! Spending time with loved ones and making wonderful memories!

Today I am sharing with you a Vintage Holiday Card.

I created this card using pattern paper, a rich burgundy cardstock and three tones of green. I distressed the edge of the burgundy base and embossed the burgundy Sentiment Tag 2 with the Poinsettia embossing plate.


I second generation stamped a Script Stamp in brown ink to the top cream layer of the Sentiment Tag 2. *Second Generation stamping is when you ink your stamp and stamp off on scratch paper and then stamp. Leaving a lighter image in the true ink colour.

I adhered the Joy to the World sentiment which fits wonderfully!


I then wanted to create a wreath. I used the Joy to the World Wreath but wanted thicker boughs. I went to my die cut machine to cut another Joy to the World Wreath and saw the negative pieces that are removed from the Florence Filigree Doily die!


Perfect! No waste! I tucked them behind the Joy to the World Wreath and added the festive Holly Corner.

Dies used:

Thanks for joining me today!

Take care,

Corina Finley
Live, Laugh & Create!

Friday, December 5, 2014

Winter is Better Card with Corina Finley!

5:00 AM 4 Comments

 Hello Everyone!

Corina here with you today to share a Winter themed card. I will show you how I added texture/pattern to my card, with the snowflake border die to create a stencil and texture paste.

First I die cut the Snowflake Mesh Border out of thick/heavy card stock.
 

Then apply 2 Way Glue (this glue will dry tacky) which will allow the border to be removable.


Then place your stencil on to your card stock and apply the texture paste.


Lift up the stencil and place it down on the other side of card stock to use it again.


I love how it turned out! Cheery Lynn dies work so well for this technique because they are so detailed.

Also the Stencil that is left looks interesting with the texture paste on it - frosty! I will have to create a card using it for next week!


Here is a close up of the texture card stock after I layered a few snowflake dies and my sentiment. I tied a piece of white seam binding across the center to hide the gap in the middle. I used the

Dancing Snow Flurries snowflake, one snowflake from set #1 & #2 of Snowflowers, and a few of the small snowflake to create my blizzard! I finished my card off by adding a little Bling to the snowflakes!


Die used:

Dancing Snow Flurries - B486


I hope you will play along in our weekly Cheery Lynn Designs Challenge 161 - 'Tis the Season. You could win a $20 shopping spree at the online Cheery Lynn Design Store

Thanks for joining me today!

Take care,
Corina Finley
Live, Laugh & Create!

Monday, June 30, 2014

A Square Merry Christmas with Rhonda

3:30 AM 3 Comments
Happy Monday to you!  It's Rhonda here today to host the blog.

I can't believe it's almost July! For my project today I am playing along with our new challenge theme for this week, "Christmas in July".

Merry Christmas (5"x5" card)

Recently I received the Poinsettia Strip flowers and I've been wanting to use them. This week's theme was the perfect opportunity! I started by trimming my card base to 10"x5" and folding in half to create my 5"x5" card.


Next I layered the Dutch Scallop Square, then the Horizon Square Boutique Stacker. The Sophie's Heart Mini Doily anchors my Sentiment Frame #2.  A cluster of Poinsettia's are arranged and bits of the Mega Holly Flourish are used for the leaves.

I finished the card with a sweet little gold bow and bell along with a bit of pearl and gem accents.

Cheery Lynn Designs dies used:
Dutch Scallop Square - DL340 
Sophie's Heart Mini Doily - DL238
Horizon Square Boutique Stacker Frames - DL253
Poinsettia Strip - B324
Sentiment Frame #2 - B190
Mega Holly Flourish - B168

Please join us and play along with the Christmas in July challenge this week!  You could be the very lucky winner of a $20 gift certificate to the Cheery Lynn Designs online store just for playing along.

Have a super Monday!
~ Rhonda

Friday, November 1, 2013

Elegant Christmas

3:30 AM 3 Comments

Hi and Good Morning everyone :)  Alison here again today with this weeks card showcasing some of Cheery Lynn  Designs most fabulous and elegant Christmas Dies!
 
I started off with a 6 x 6 scalloped blank card base and layered deep red DCWV cardstock and Bo Bunny paper, and then had a blast cutting the gorgeous festive designs.
 
The back panel has the snowflake mesh border overlaying the striped paper, and also the gorgeous Holly Lace Flourish.  I then stuck down the second mat and paper and added the stunning Christmas Star Tree using the angel wing to back in red card for impact.
 
I added the Holly corner, Merry christmas sentiment, and then combined Alisons Ribbons and the star strip from the Expandable Tiny Borders
 
I used the poinsetta flower strip for 3 quick and easy christmas flowers, and these are held together with pearl brads.  I then added some deep red berry pearls and some ice white pearls for a finishing frosty touch.
 
All dies used on this card are:

DL247 - Christmas Star Tree
B372 - Snowflake Mesh Border
B324 - Poinsetta Strip
B186 - Merry Christmas Set
B184 - Holly Corner
B335 - Alisons Ribbons
B215 - Expendable Tiny Borders
B148 - Holly Lace Flourish

Thanks so much for visiting our blog today, and I hope you found time to enter our challenge this week where I theme is Borders and Edgers.

Have a smashing week!


Copyright Statement


All content, including designs, pictures and words are the exclusive property of the author of each blog post. Information shared here is for inspiration only and may not be copied for publication, competition or profit. Thank you for your cooperation.

SOCIAL MEDIA 2


Follow Us @jointhemakersmovement


All content, including designs, pictures and words are the exclusive property of the author of each blog post.
Information shared here is for inspiration only and may not be copied for publication, competition or profit. Thank you for your cooperation.