Baby Boy, Brag Book
Sandie
3:30 AM
8 Comments
 |
| Front Cover |
Hi Everyone.. This week for Cheery Lynn Designs I have created a "Baby Boy, Brag Book". I was reading a thread on a forum recently about how difficult it is to make a baby book for a boy, as you cannot add flowers. Well, for me personally - I add flowers, I just make them "BLUE"!!
Due to the length of this post, I will not go into the nitty gritty details - just wondering if nitty gritty is an Australian saying, so will explain it means 'small details'.
 |
| Close Up of Medium Rose |
Above is a close up of the Medium Rose, which is constructed by rolling the middle, and building up in layers. You can make them tight, open, or however takes your fancy. I will do a tutorial soon on how I do my roses, as it seems all of us DT girls do ours differently.
 |
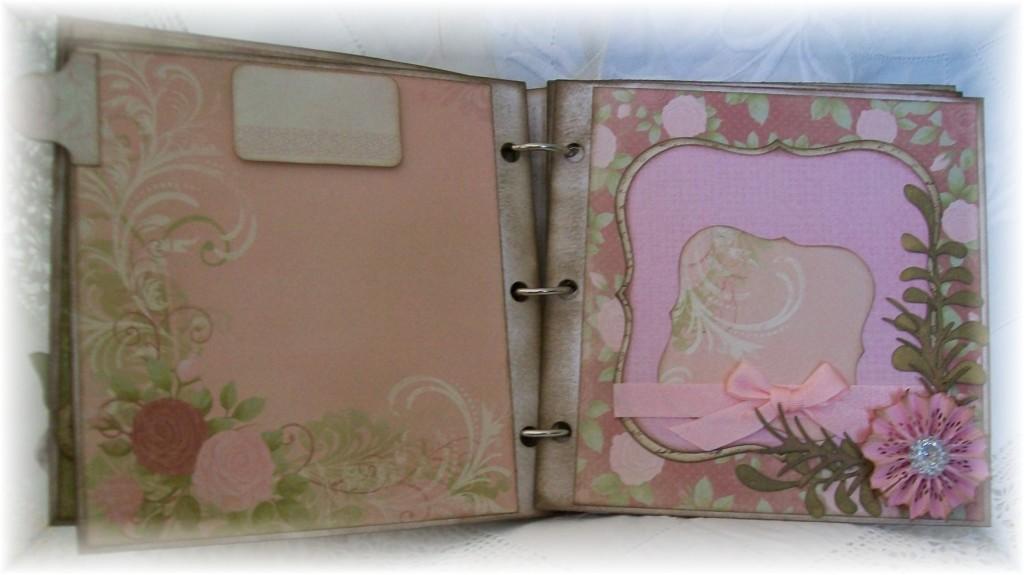
| Page 1 |
The flowers on Page 1: The large flower with button, being made from the Cuties 4. The smaller white flowers are from the Flower Chain Border (I just removed flowers from border), I included the medium sized Darling Daisies in the middle of each - they replicate stamens. The tiny flowers are the inserts to the Snow Flake Edger Border die. I really like those inserts, they could have 'many' uses when making flowers!
Page 2 below, I embossed the cardstock using the Black Eyed Susan Embossing Plate.
Page 2 below, I embossed the cardstock using the Black Eyed Susan Embossing Plate.
 |
| Page 2 |
 |
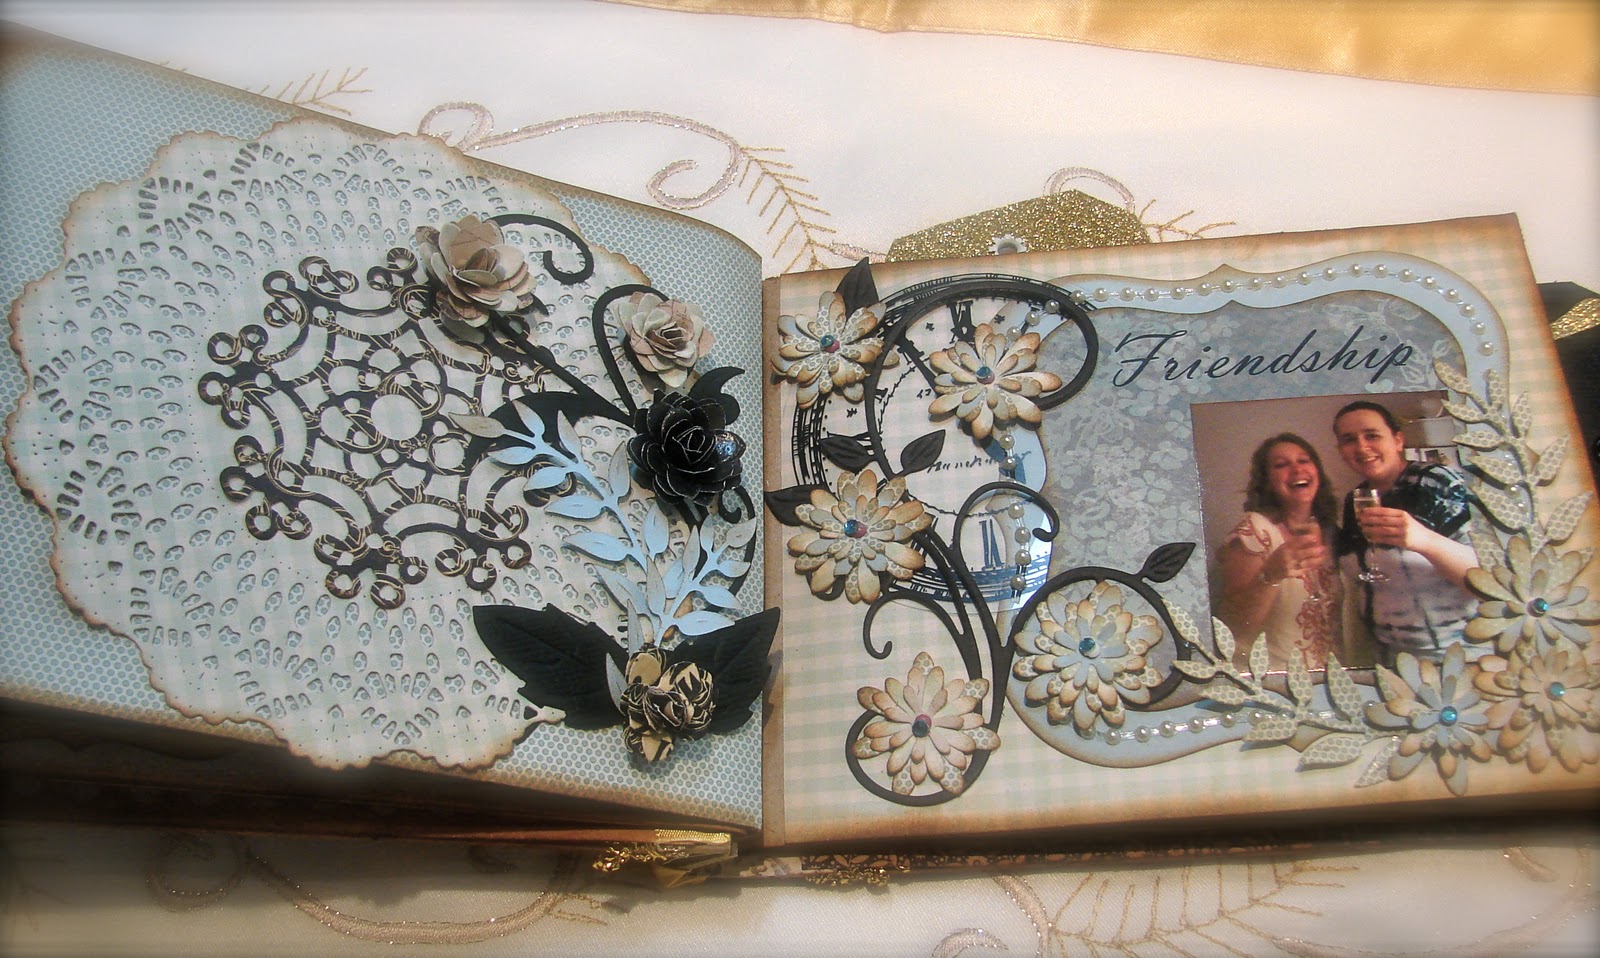
| Page 3 |
Page 3 and 4 (above and below) I have used the Cheery Blossoms and Dimensional Leaves.
 |
| Page 4 |
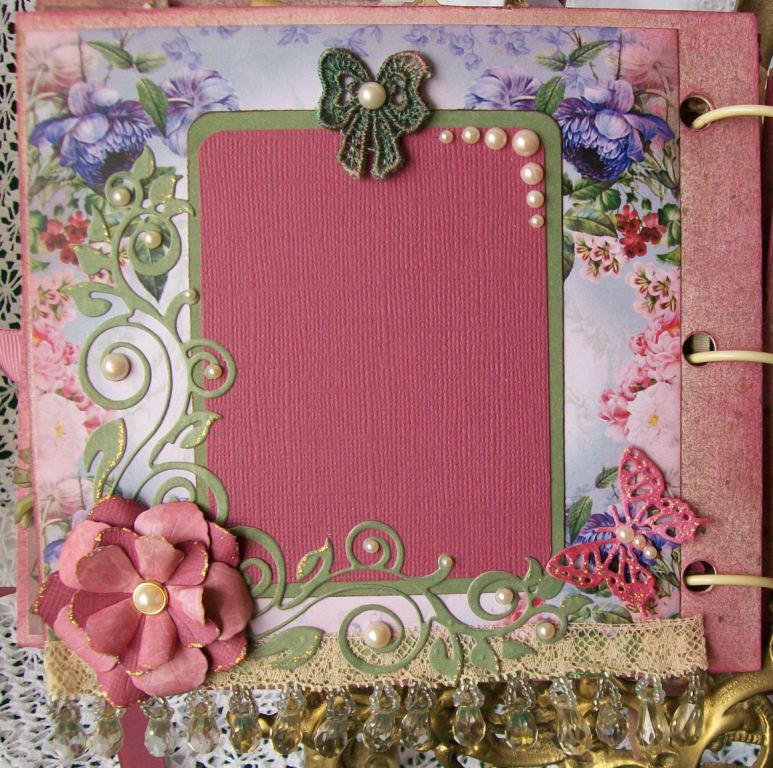
Page 5 (below) I used the Roses and Leaves Embossing Plate. I love the beautiful detail I manage to get using the Cheery Lynn Designs Embossing Plates, in conjunction with the Embossing Kit!! The French Flair-Classic Series was used to create journaling areas.
 |
| Page 5 |
 |
| Page 6 |
Page 6 (above) includes the Medium Rose, constructed more in a flat manner and not 3 dimensional. I just used an awl to round the leaves on a computer mouse mat.
 |
| Page 7 |
Judy's Blooms, and the Stacker Leaves on Page 7 (above), I always double the layers of the die to create more volume.
 |
| Page 8 |
The flower on Page 8 (above) was created using the new release Fransesca Border die. To create a flower like this, all you need to do is score at regular intervals over the whole die cut, and fold like a fan. Adhere the two ends together with a strong adhesive, and push down to form flower - adhere to the smallest circle in the Scalloped Window Stackers Series.
 |
| Page 9 |
Another rose using the Cuties 3 on page 9 (above).
 |
| Page 10 |
Using Snowflake 6 to add a little character to my flower arrangement. Snowflakes can be used in so many other creations, besides winter or Christmas!
 |
| Back Cover |
 |
| Journal Tag |
Dies Used:
B154 Medium Rose
Do not forget this weeks challenge, with the theme being "Sweethearts", all the details can be found "HERE". You have a chance of winning a $20 shopping voucher!!!
Have a great, and creative week...
Sandie
Do not forget this weeks challenge, with the theme being "Sweethearts", all the details can be found "HERE". You have a chance of winning a $20 shopping voucher!!!
Have a great, and creative week...
Sandie